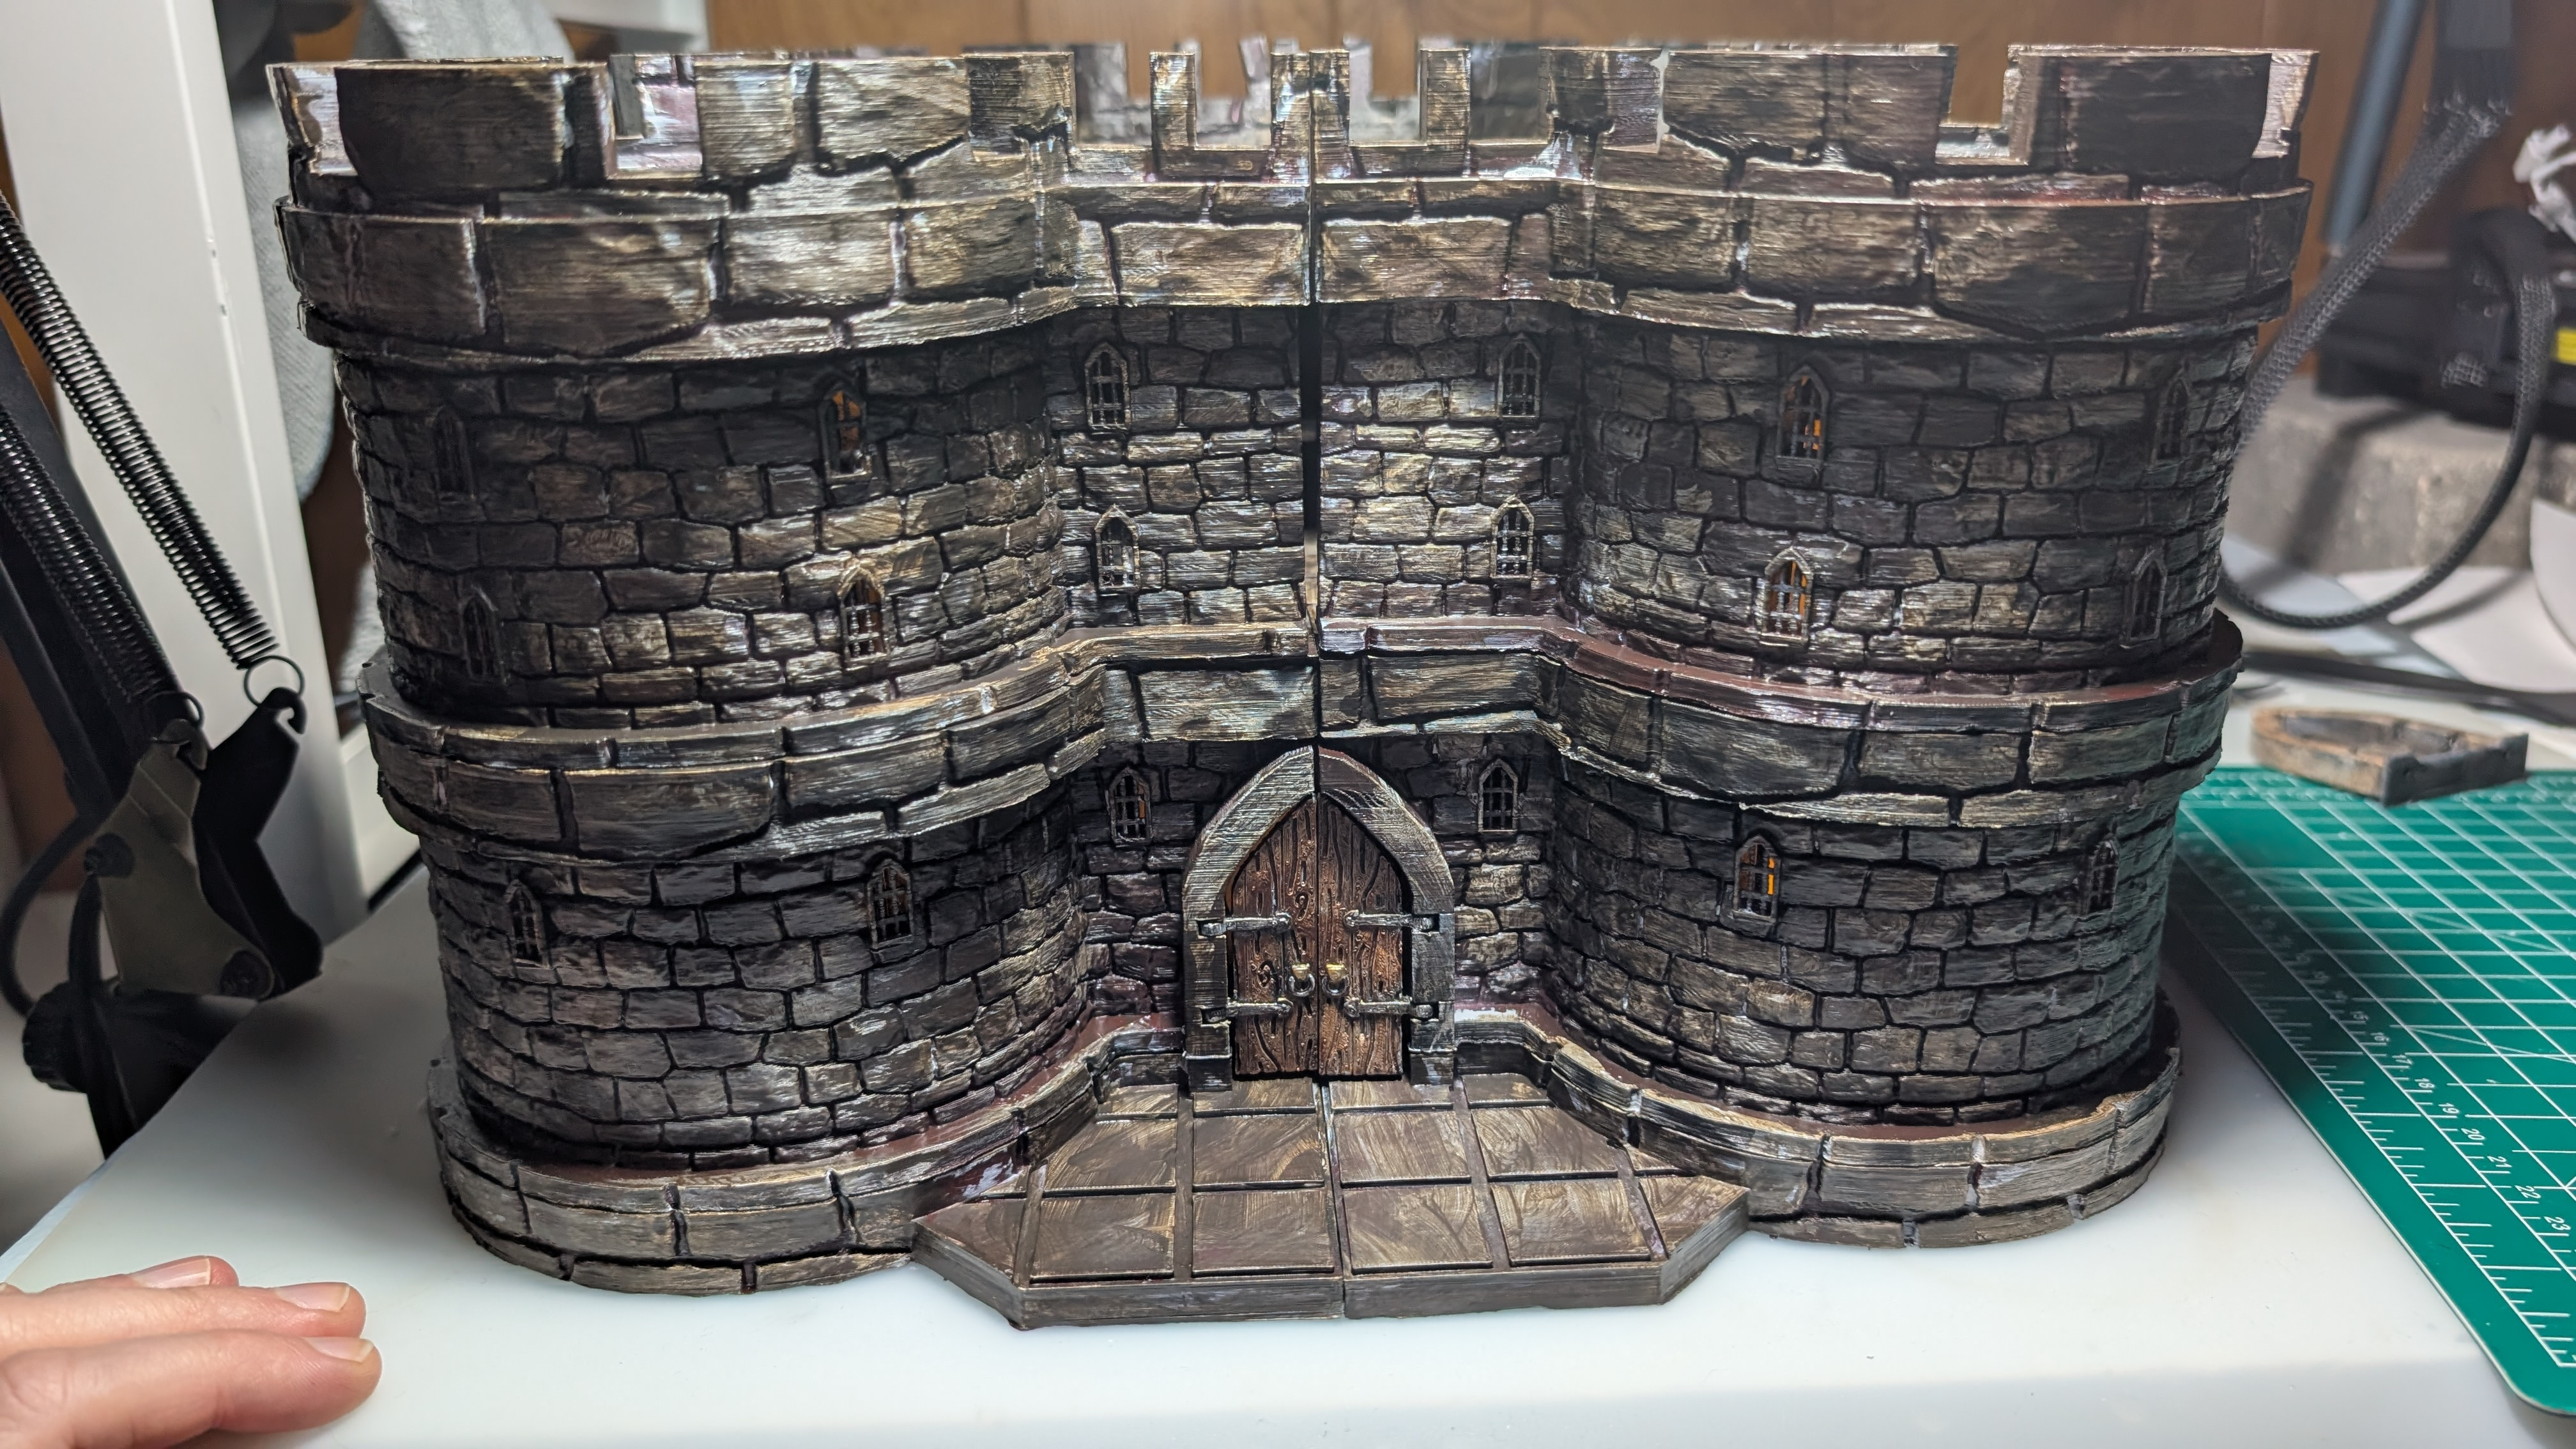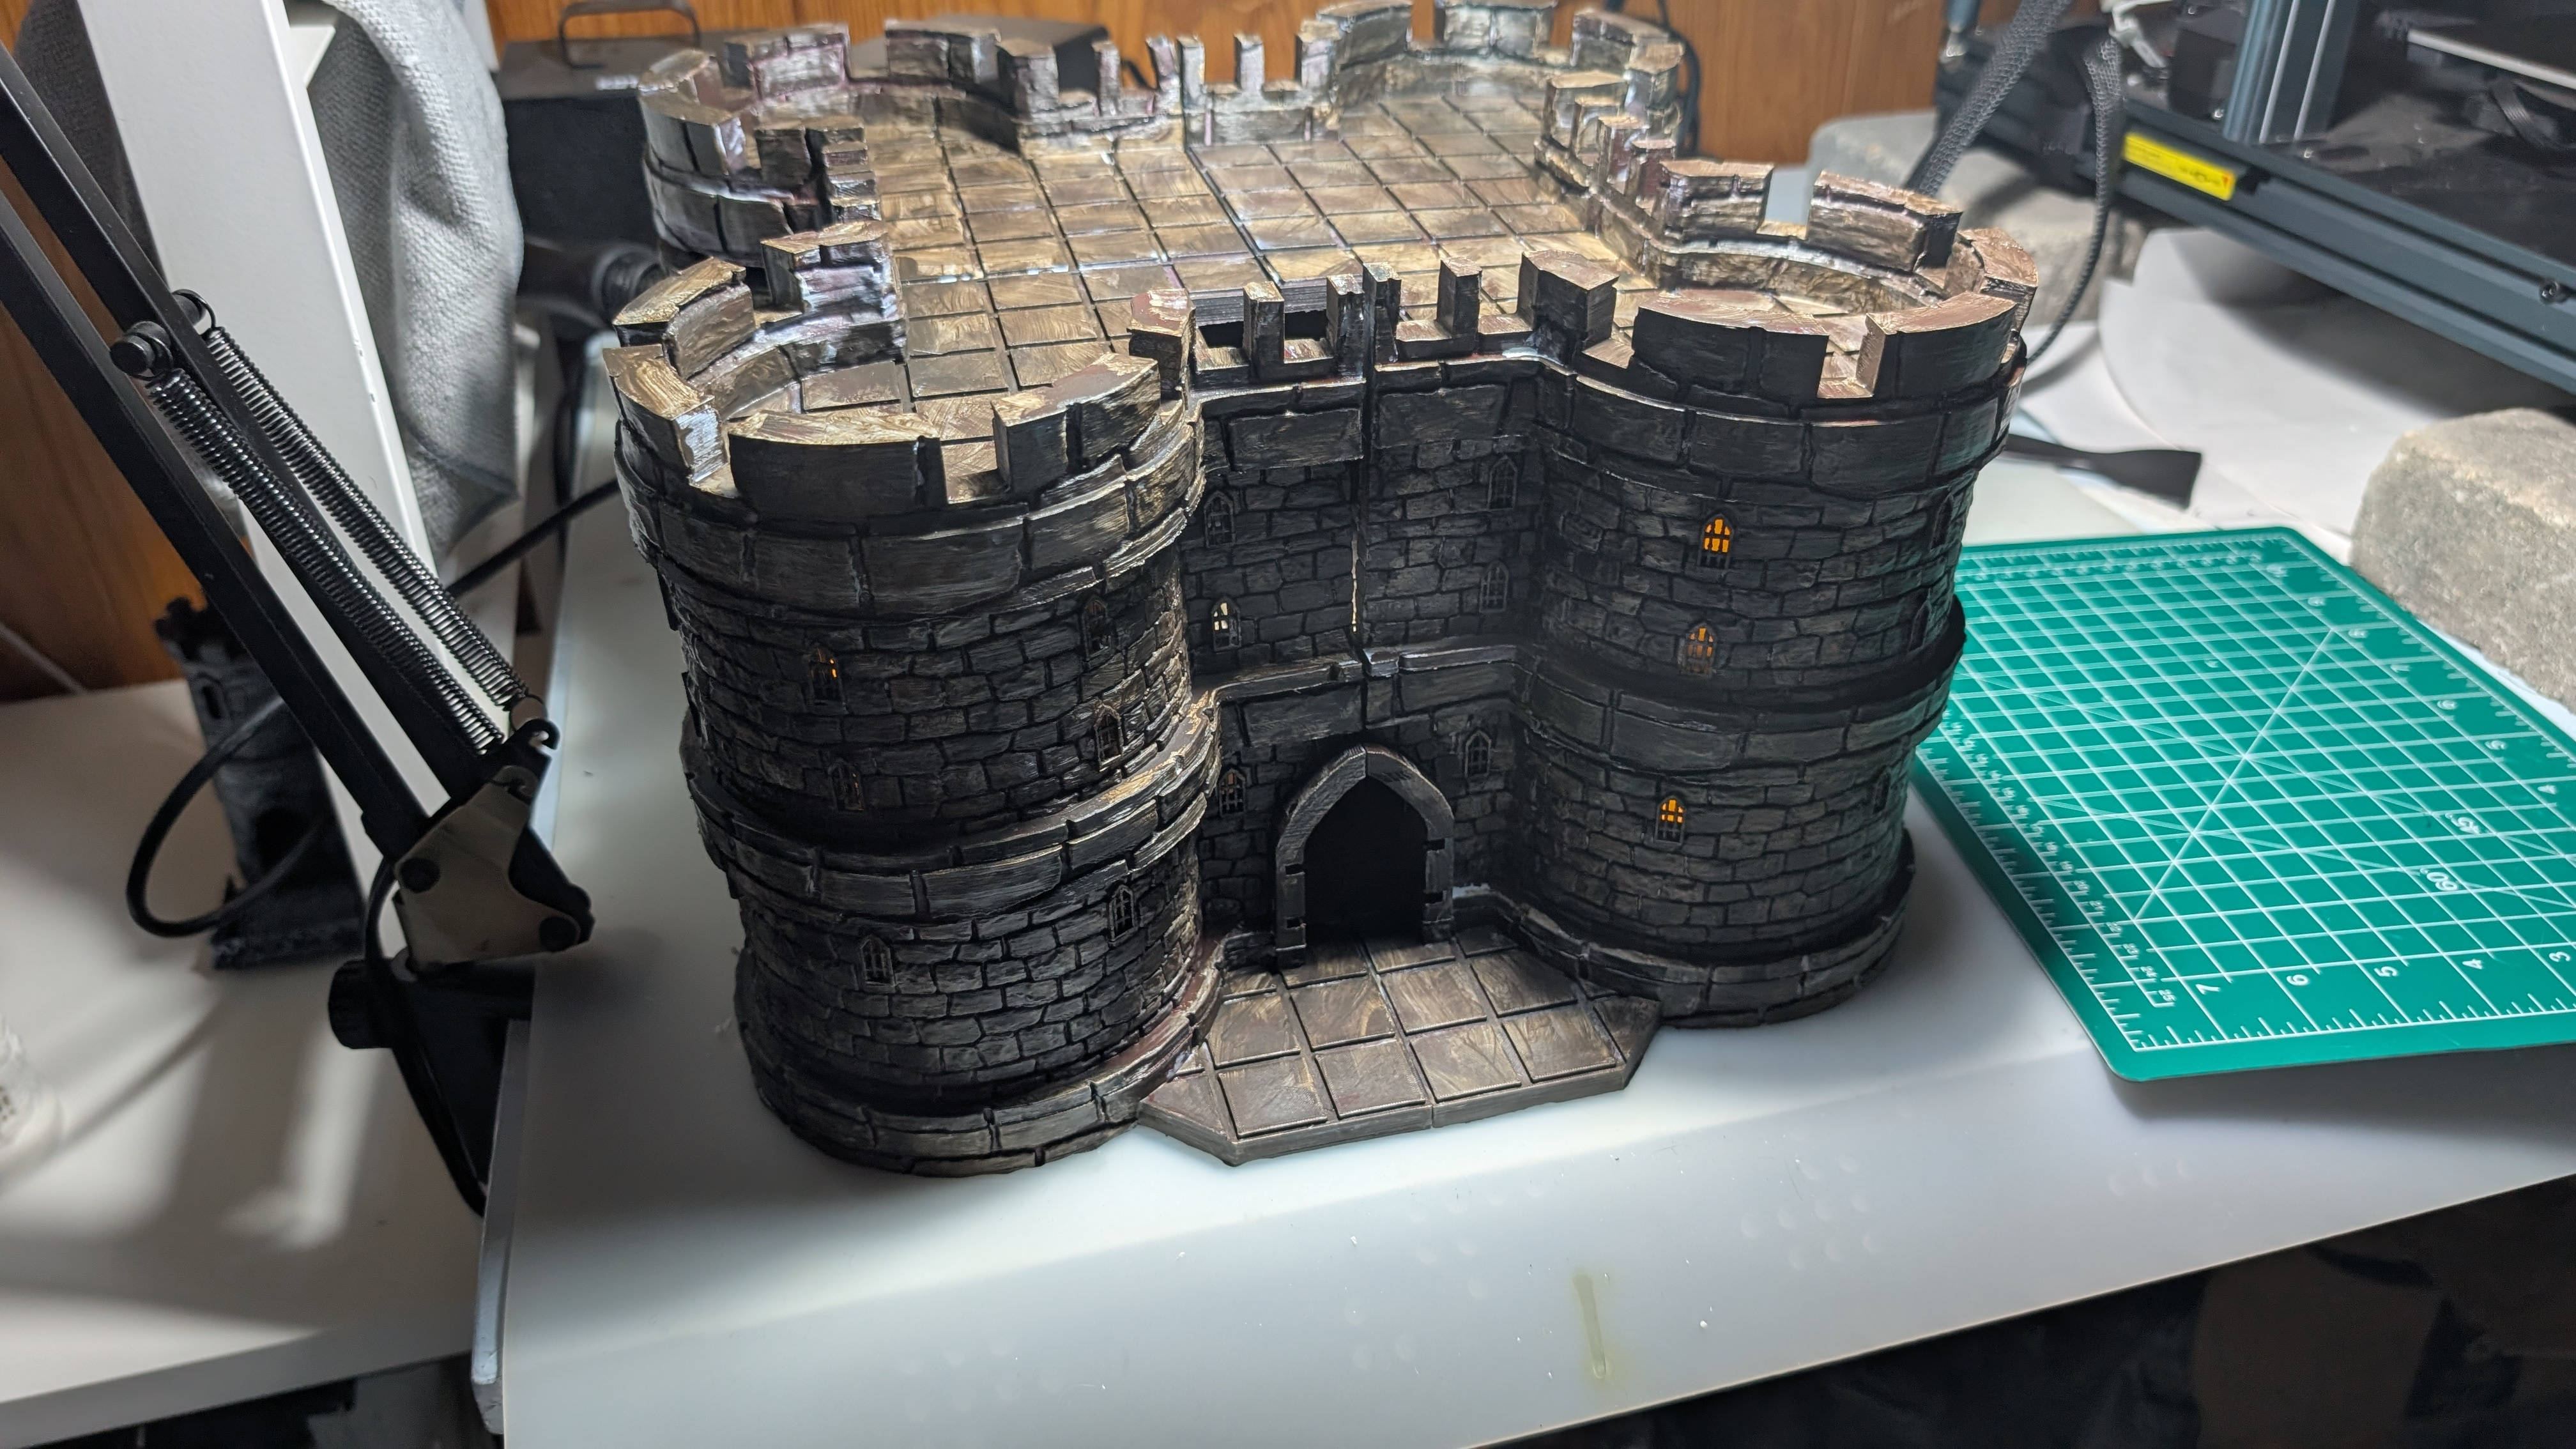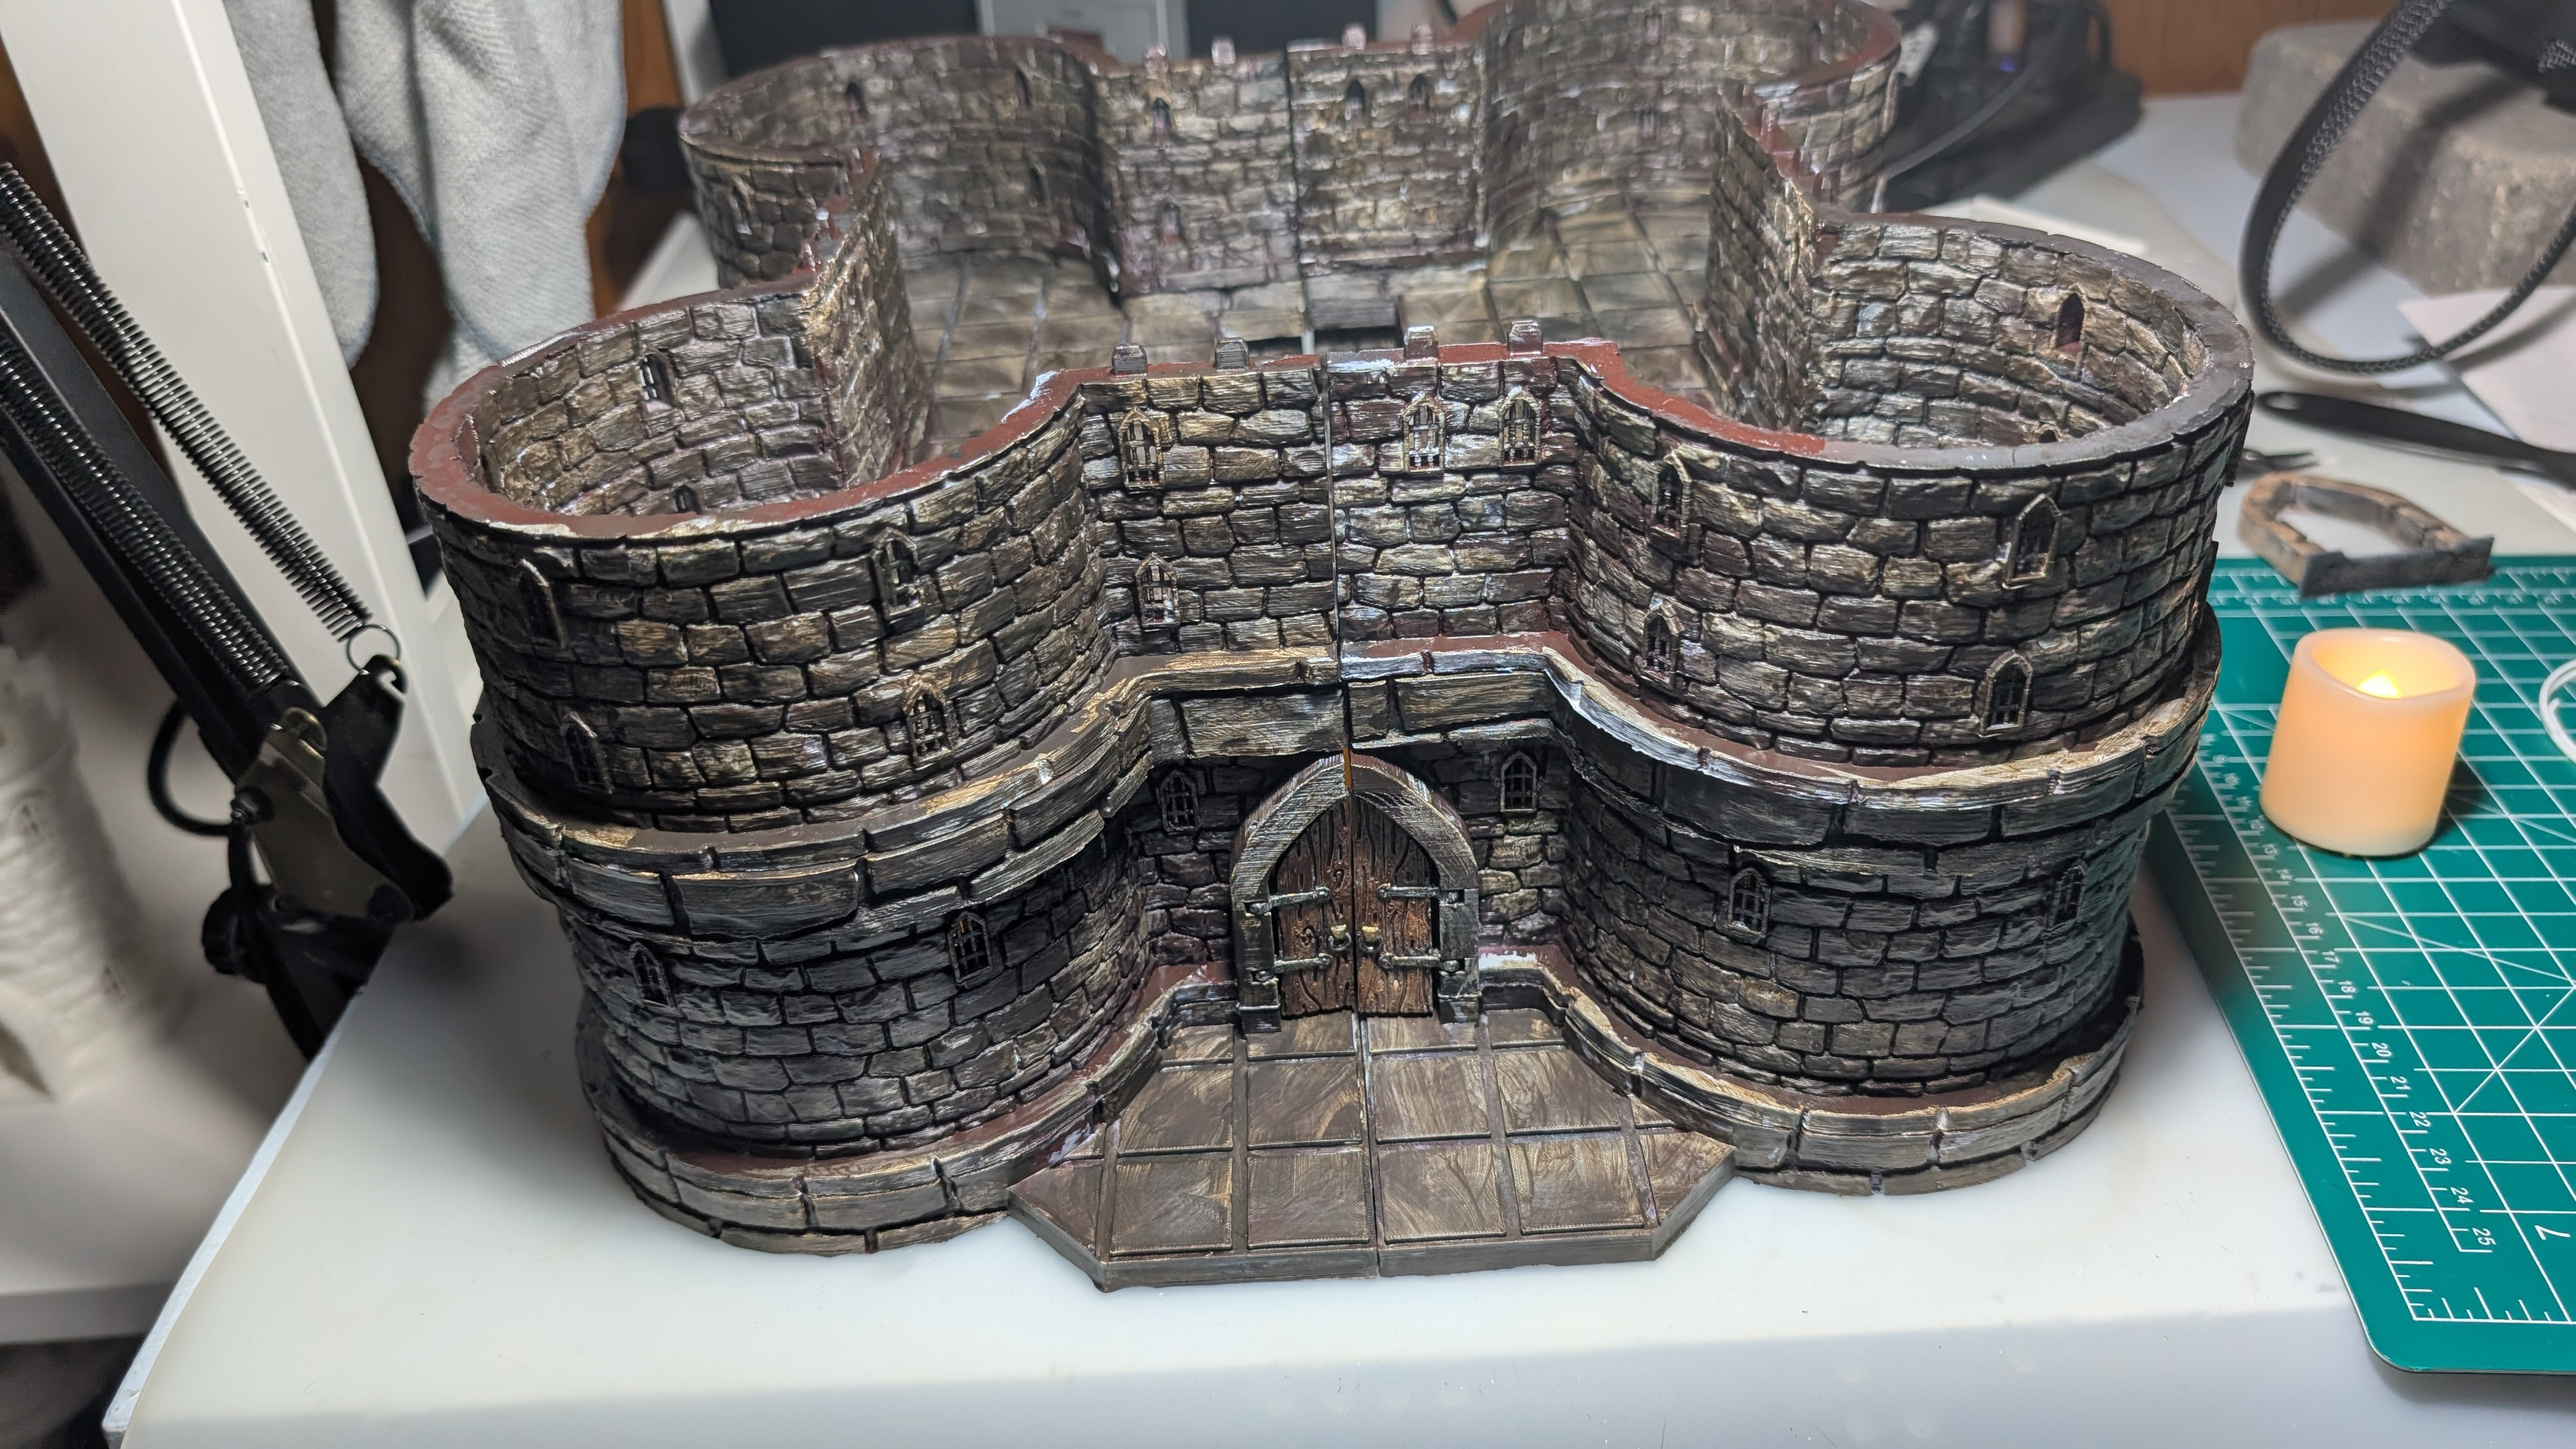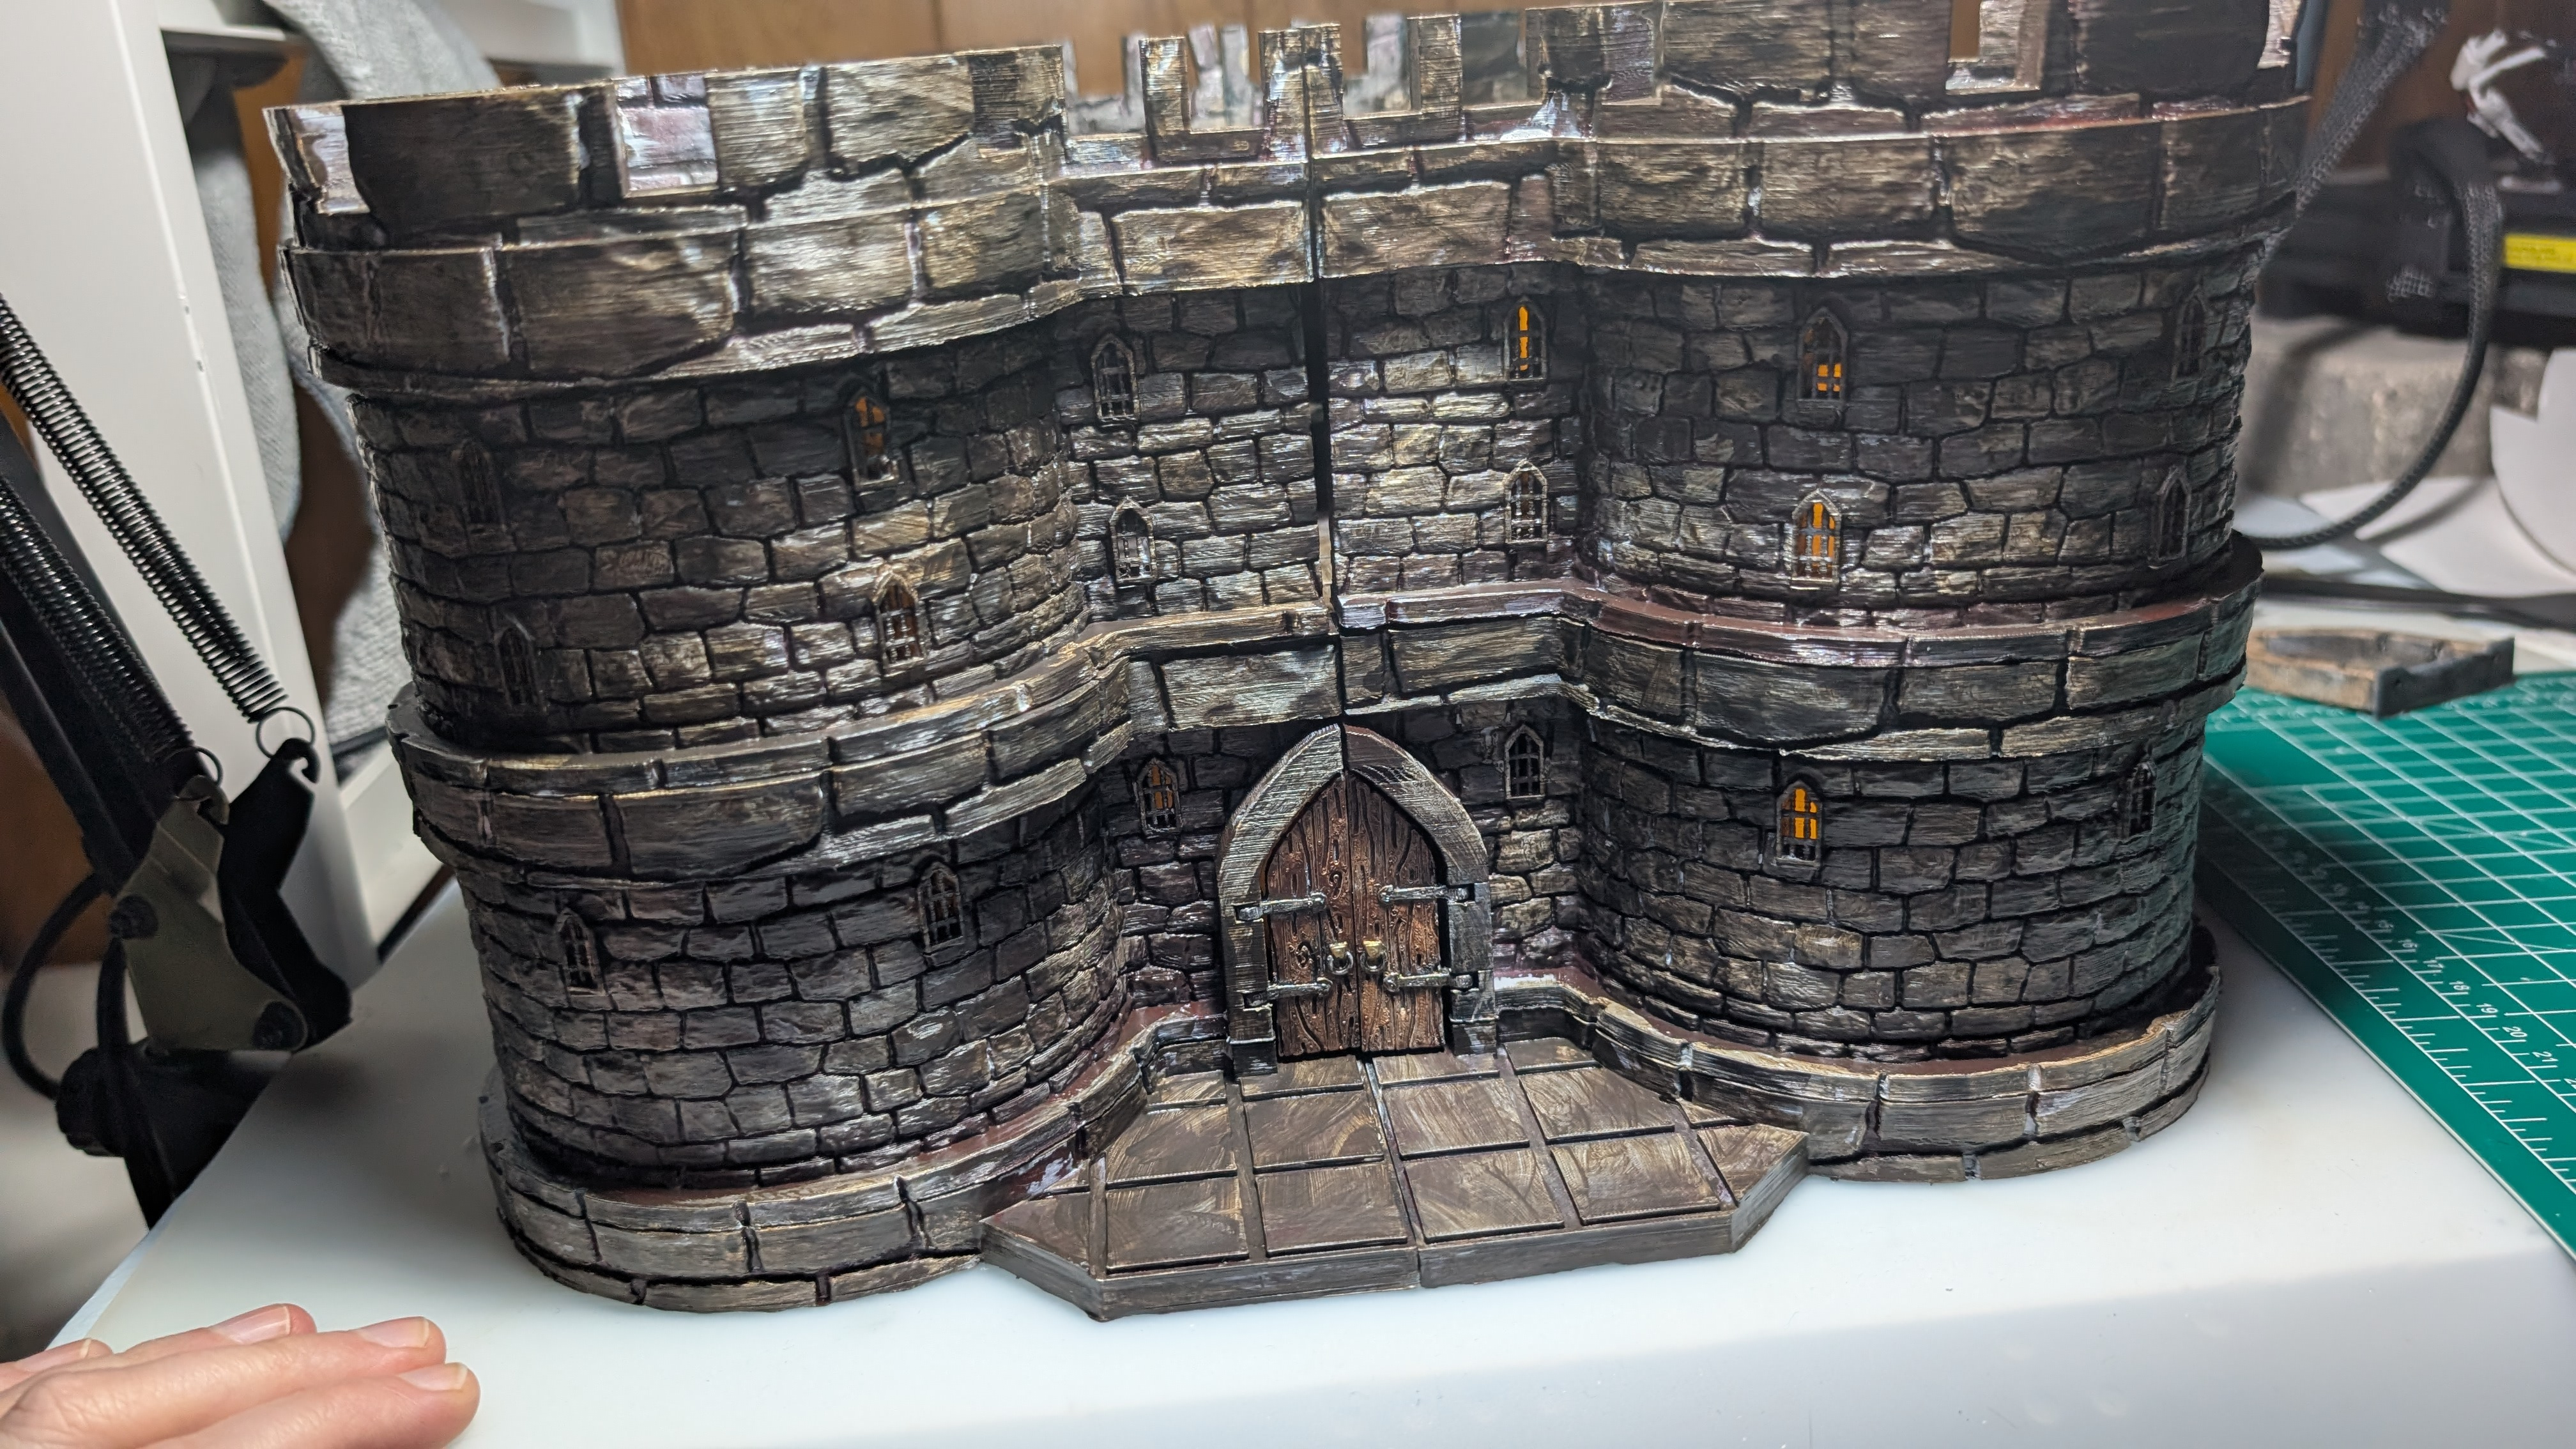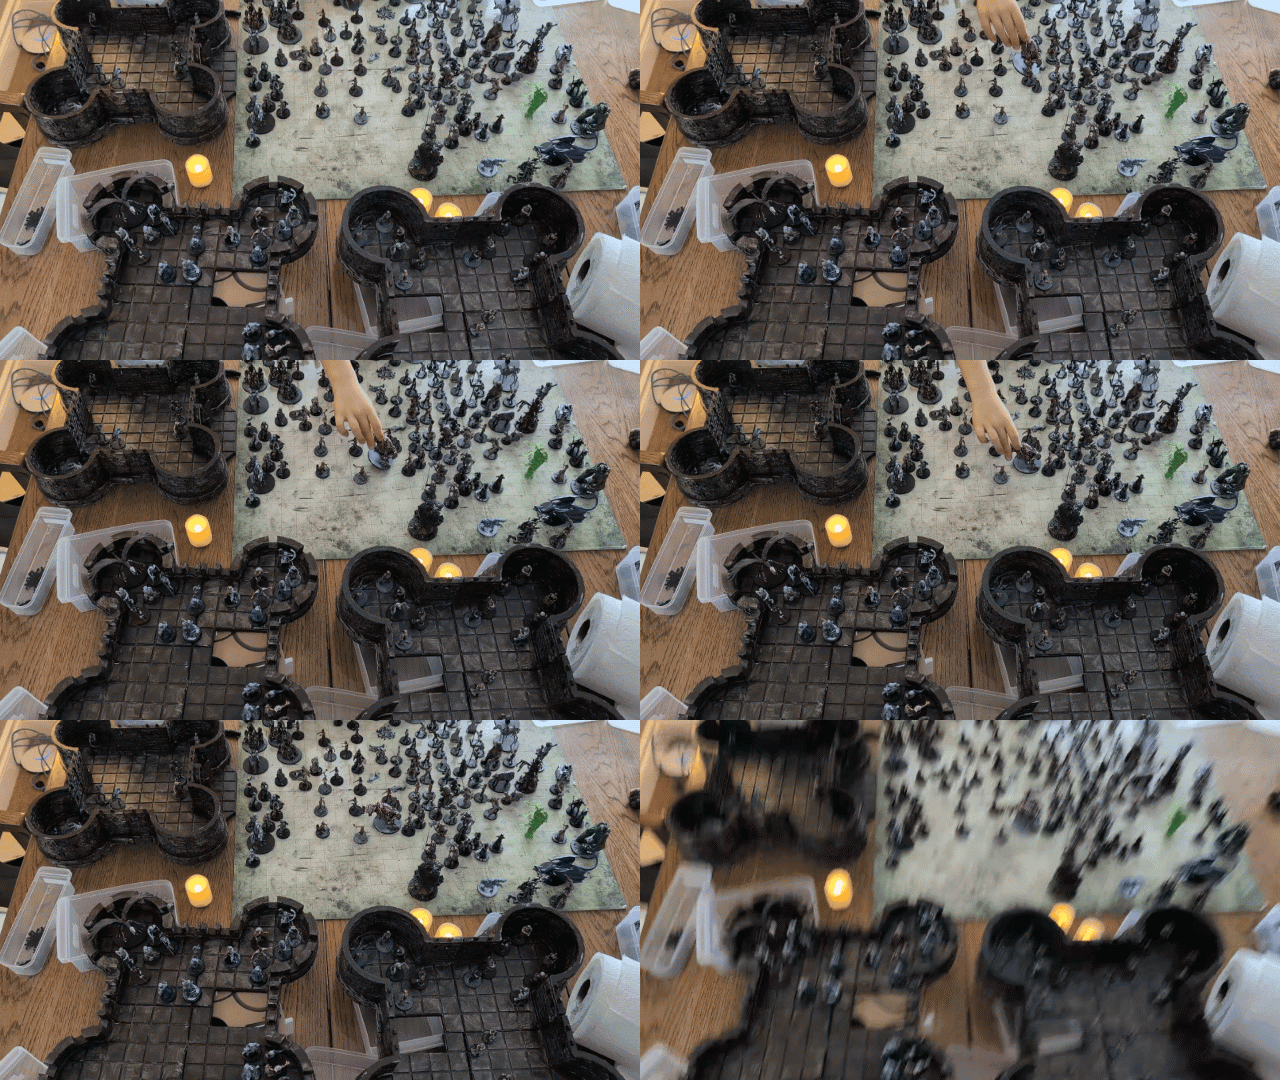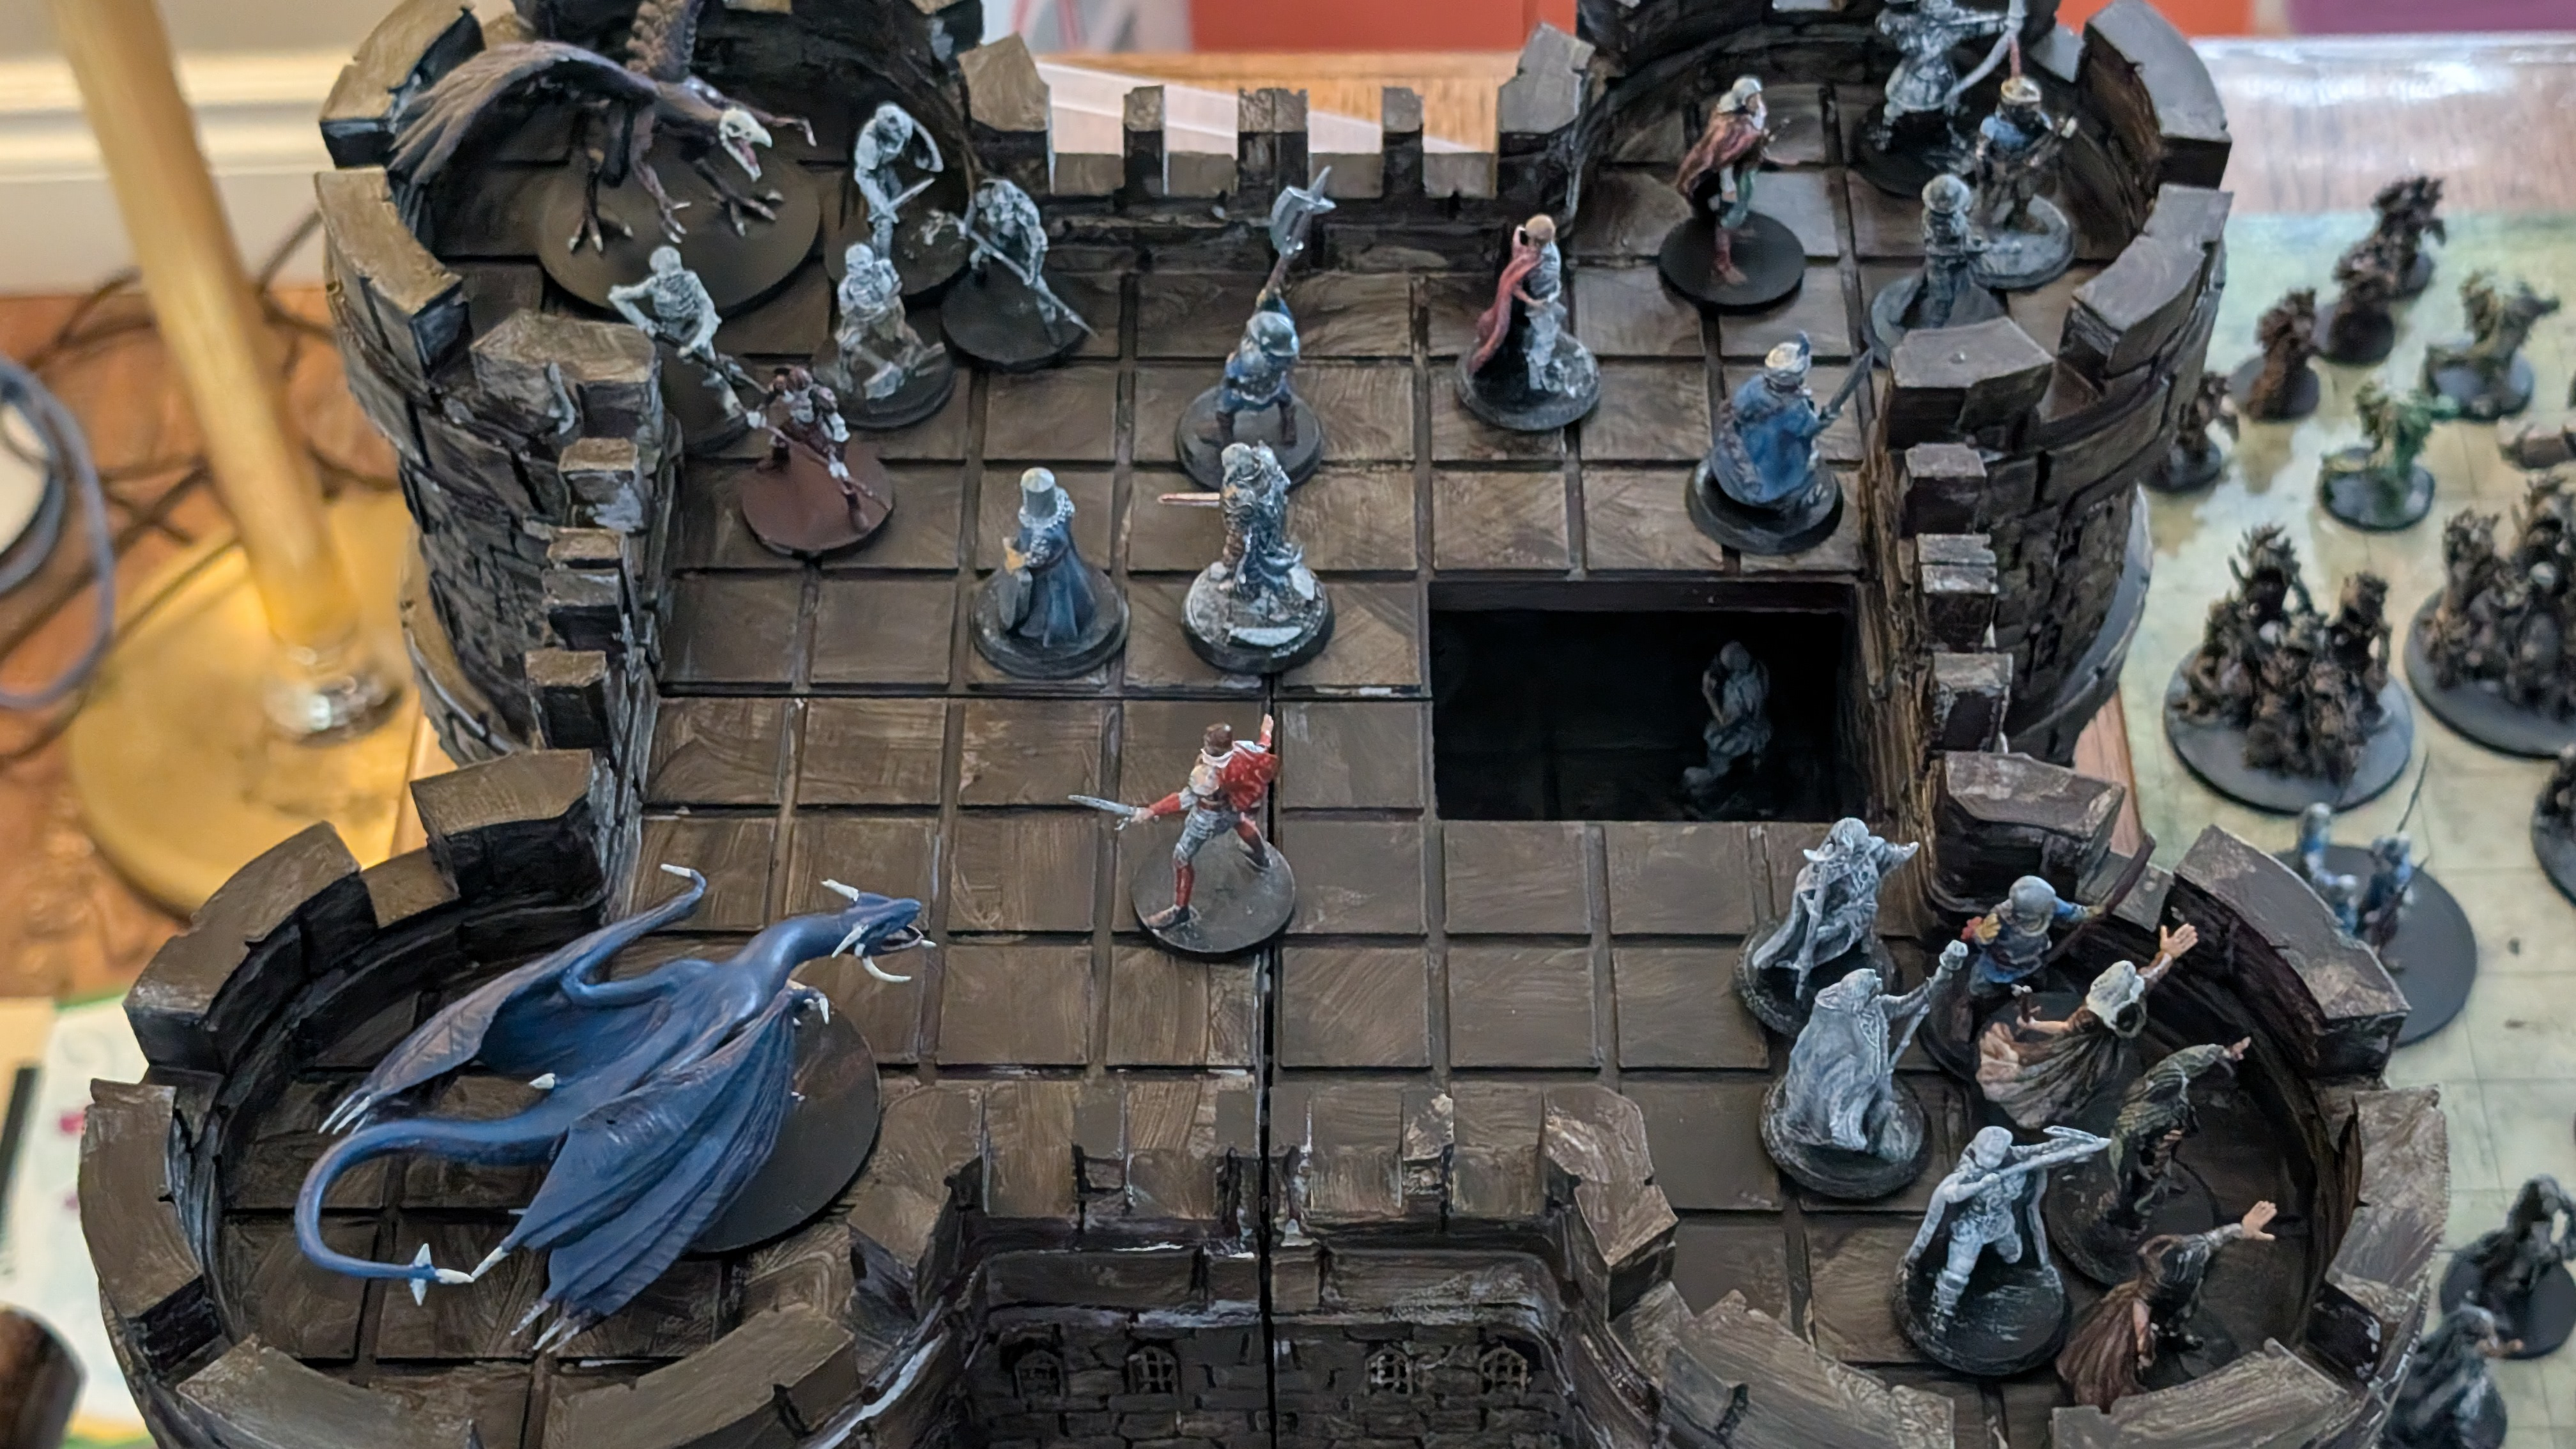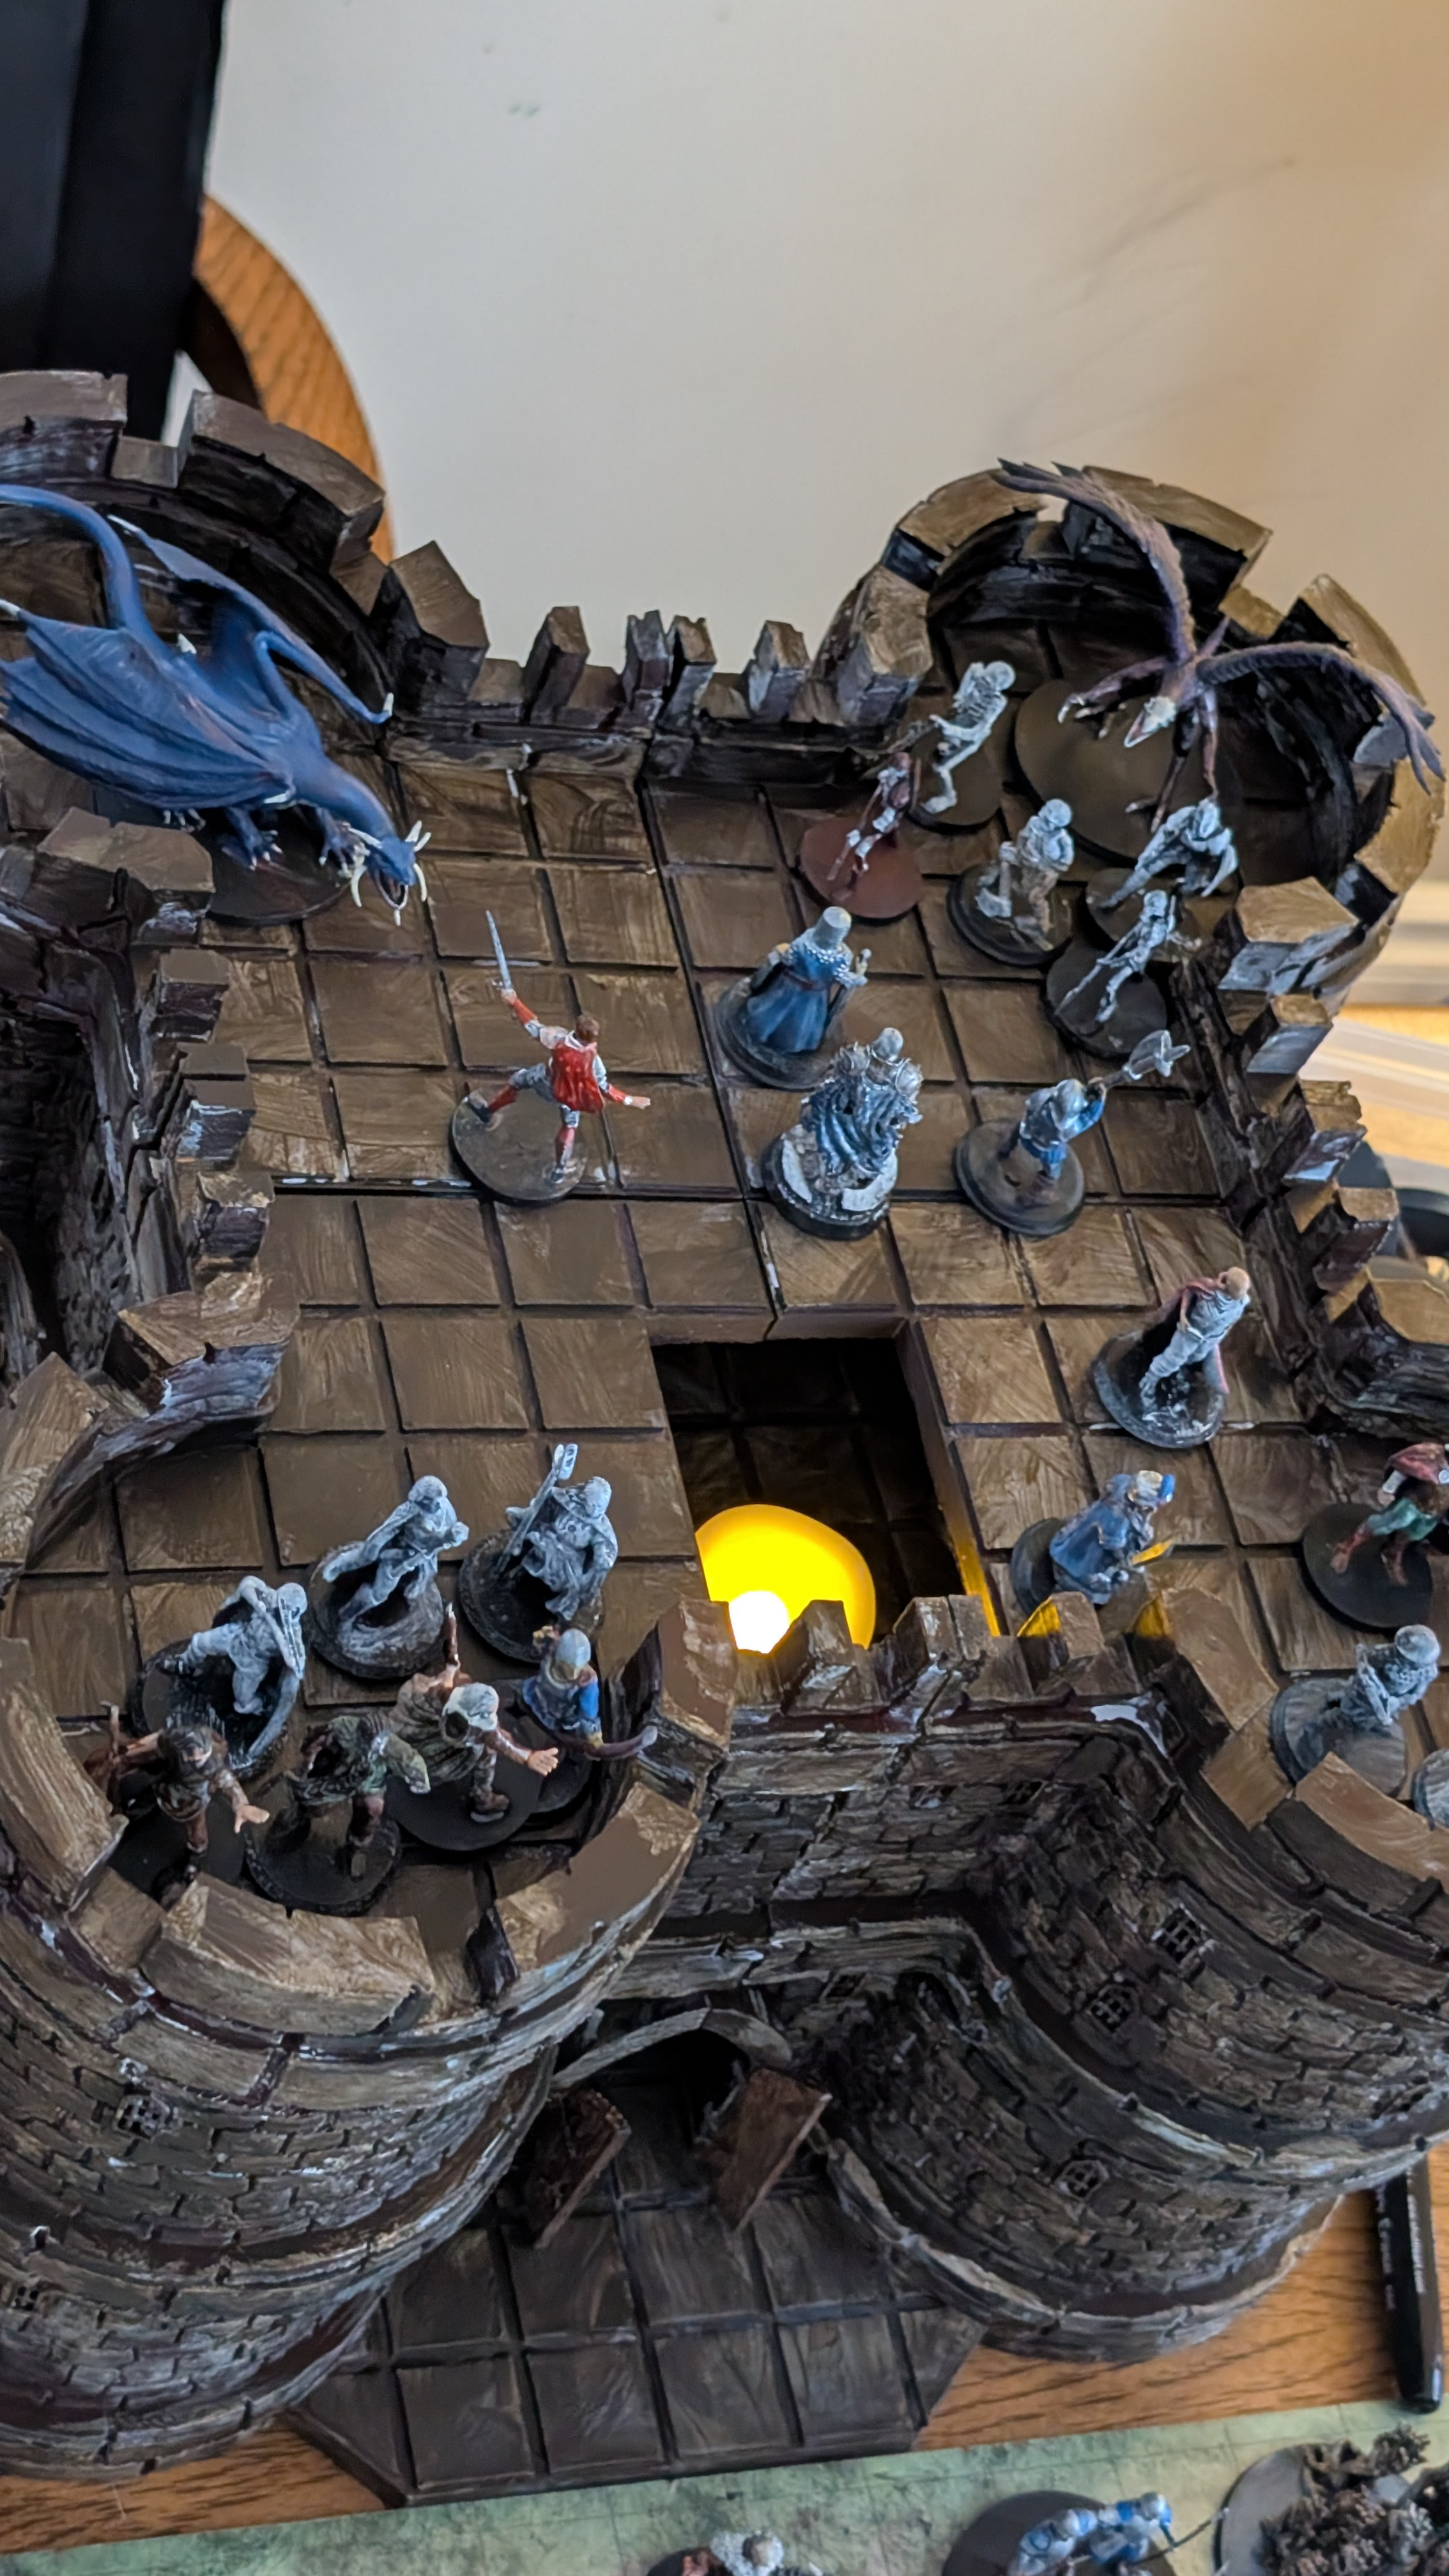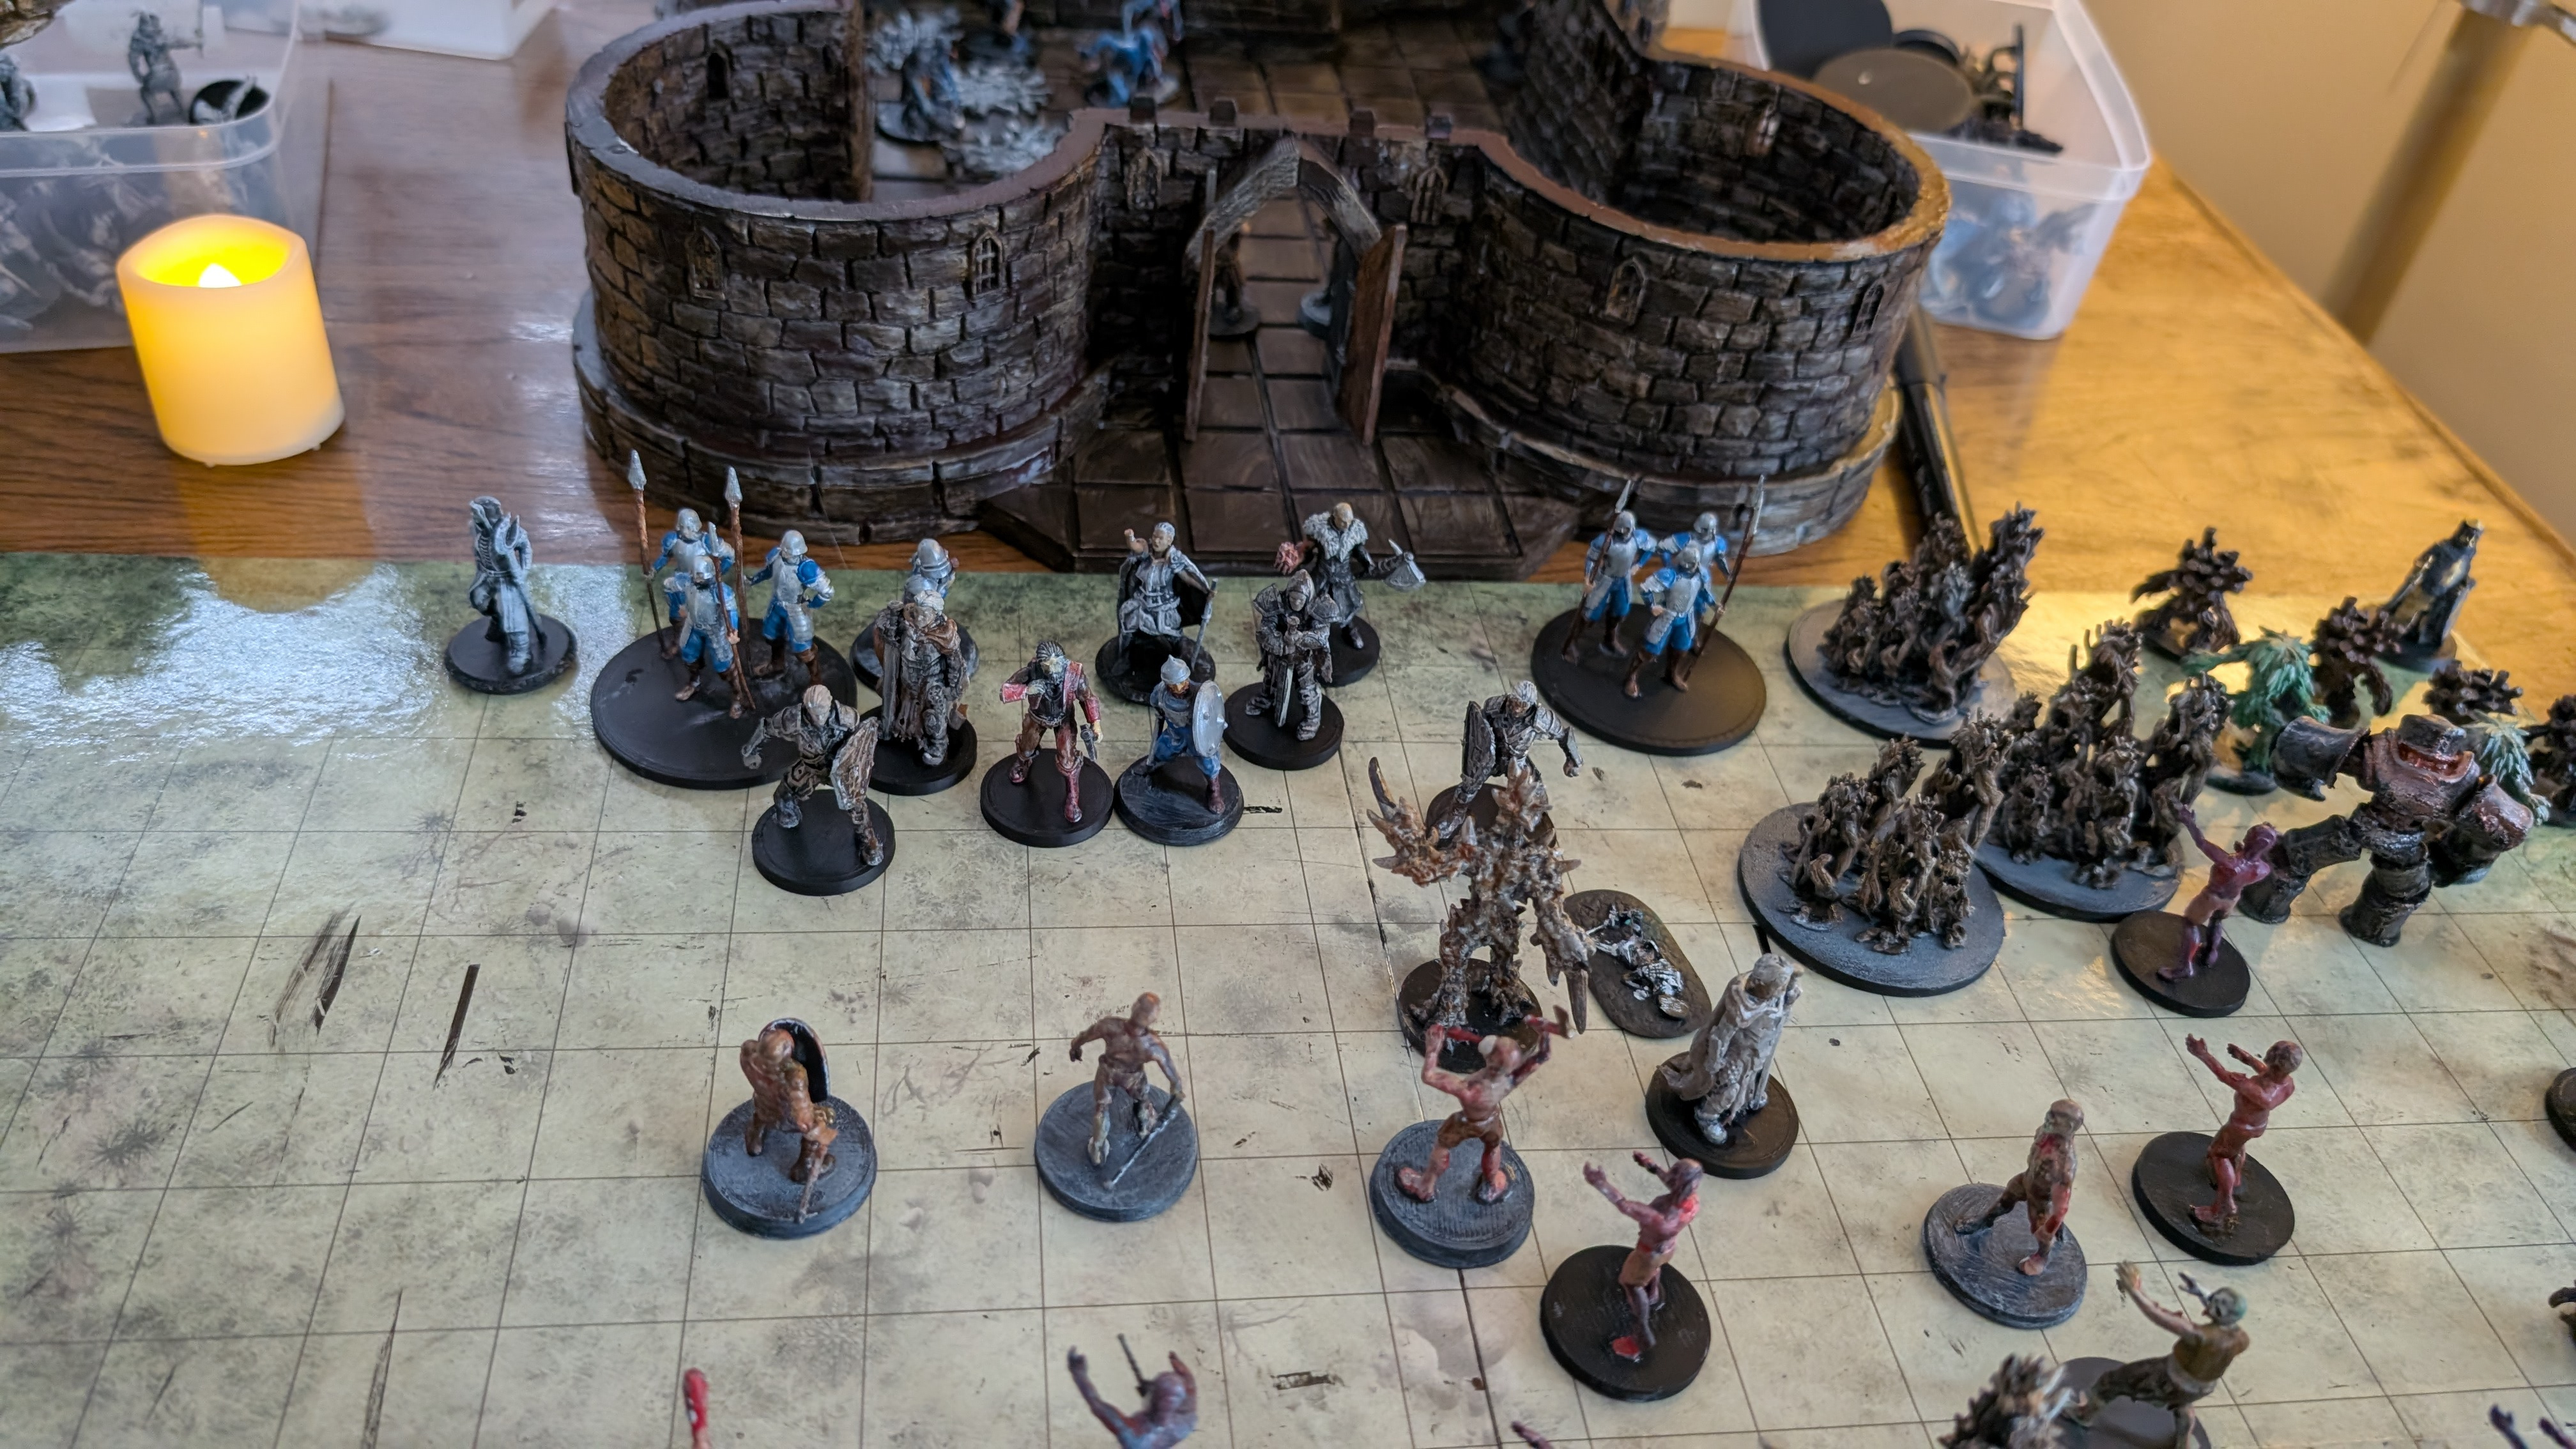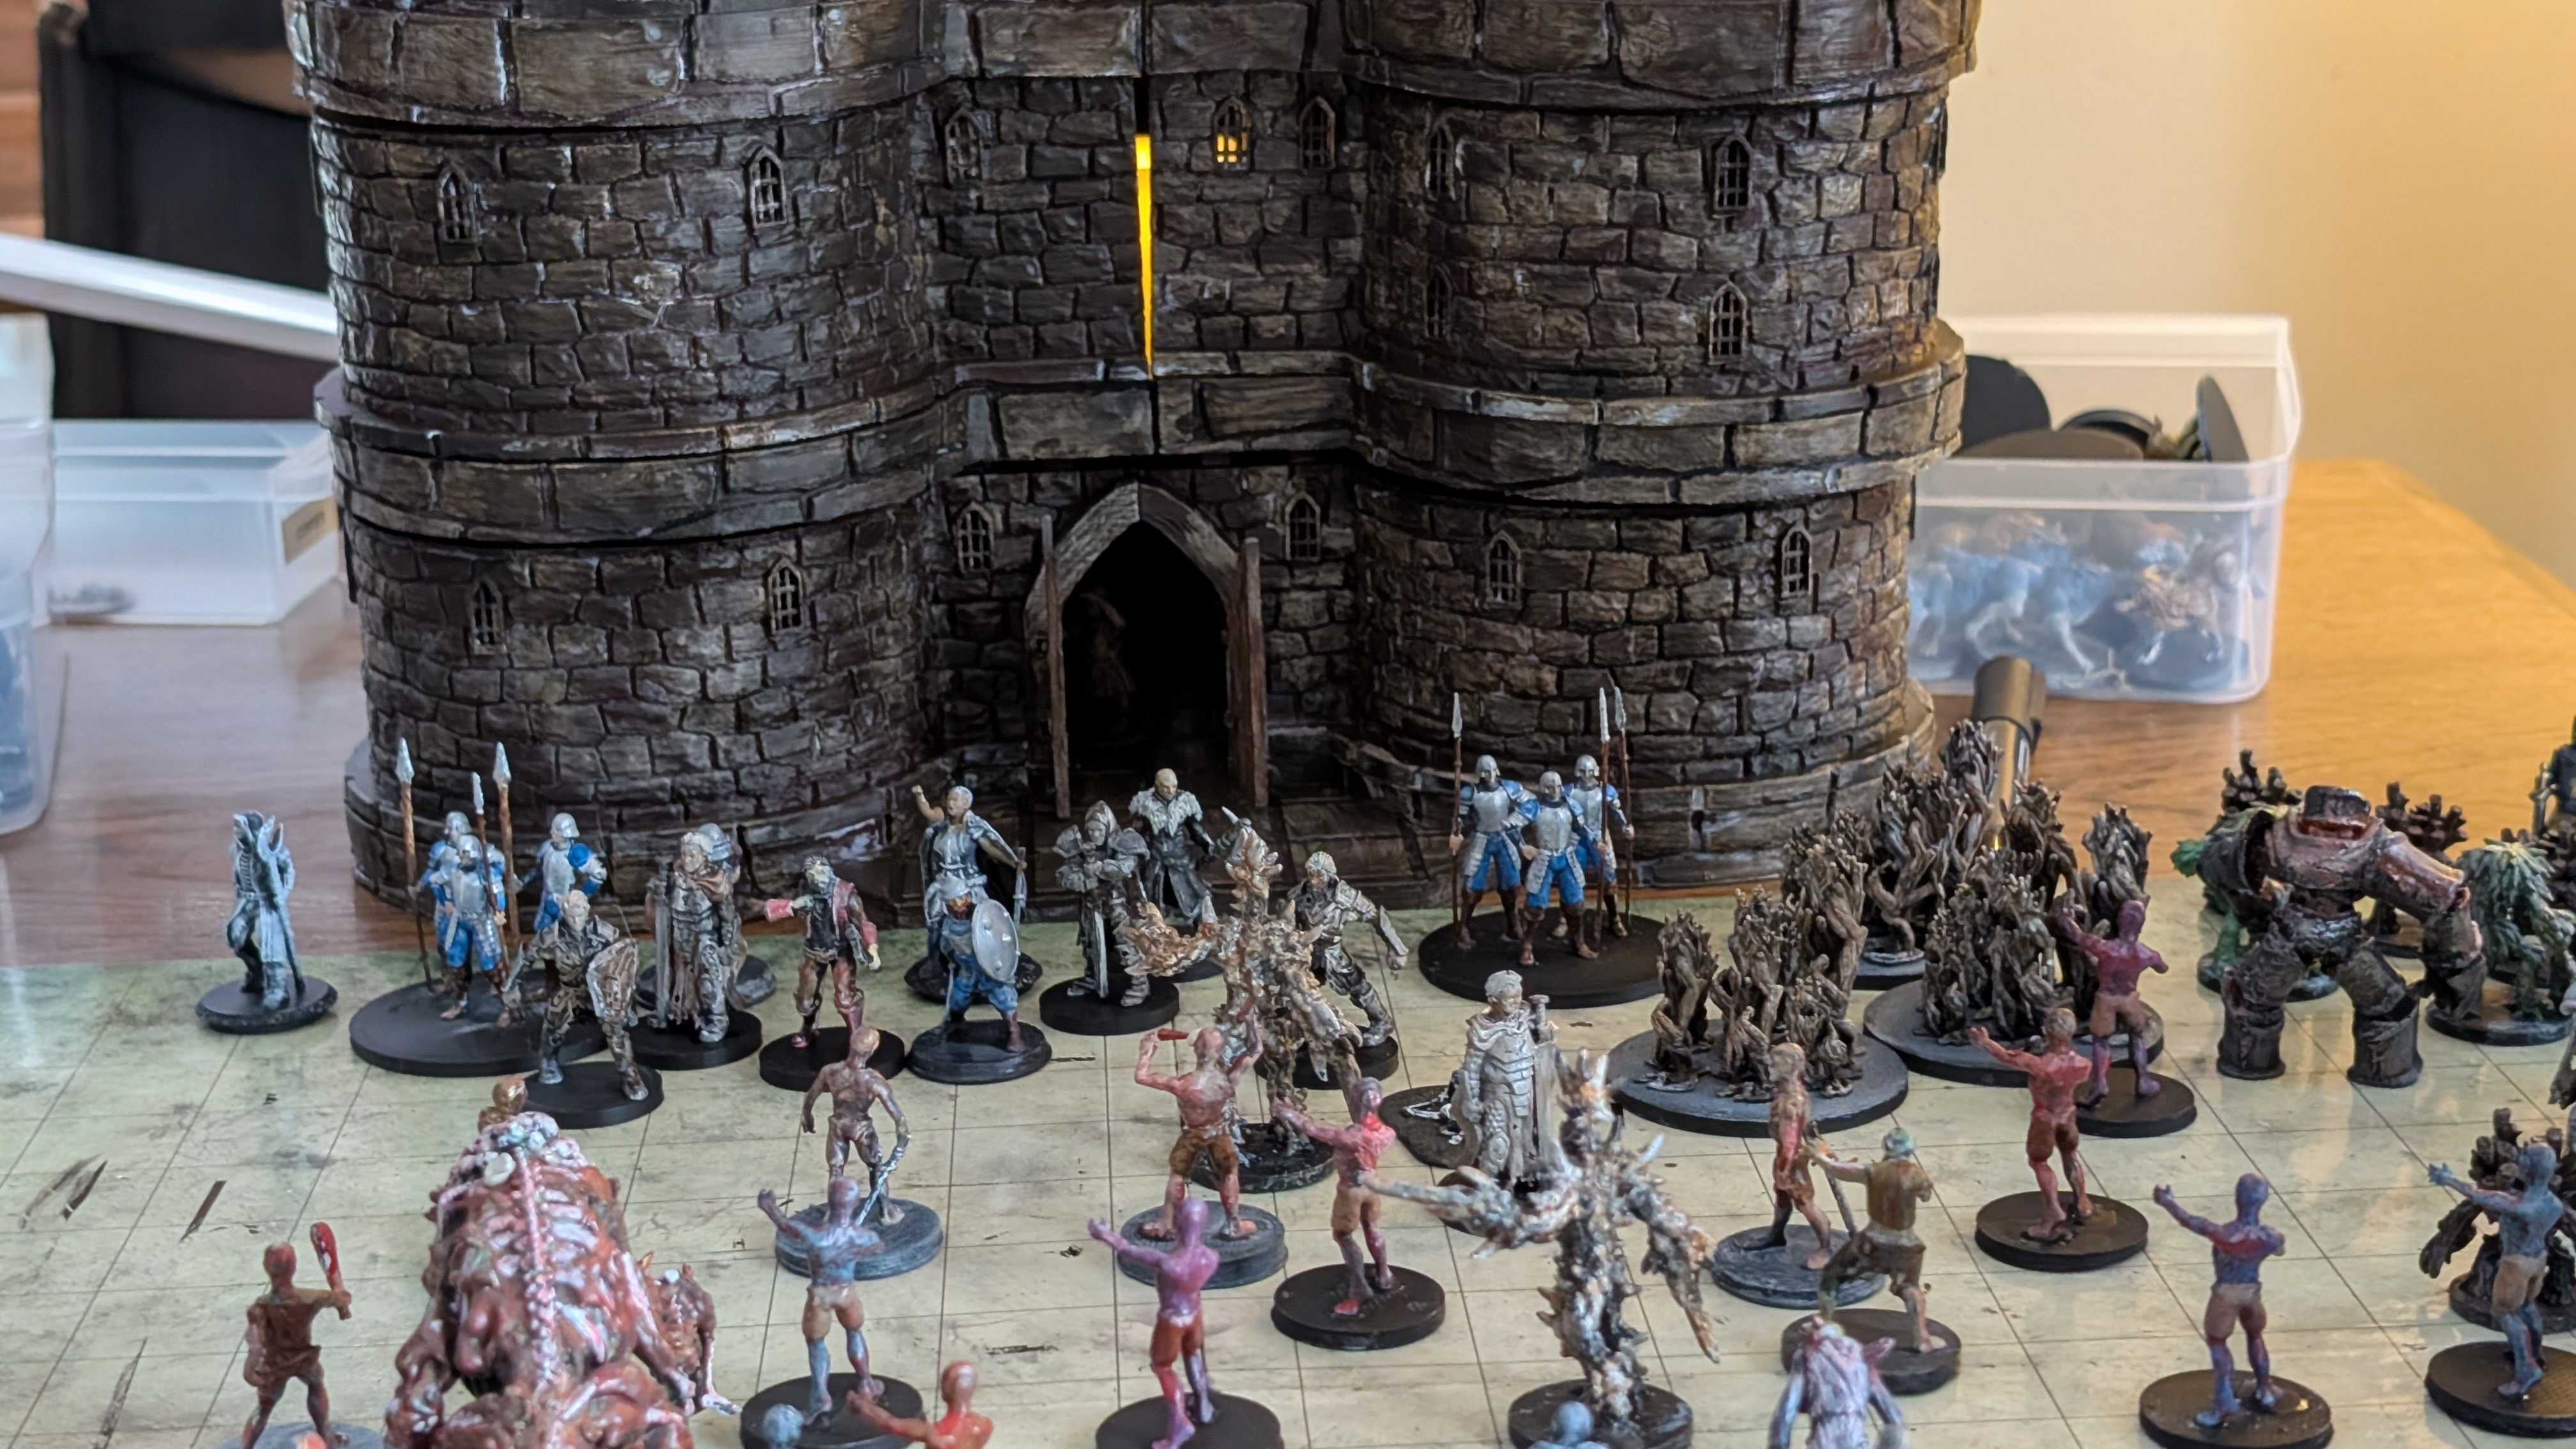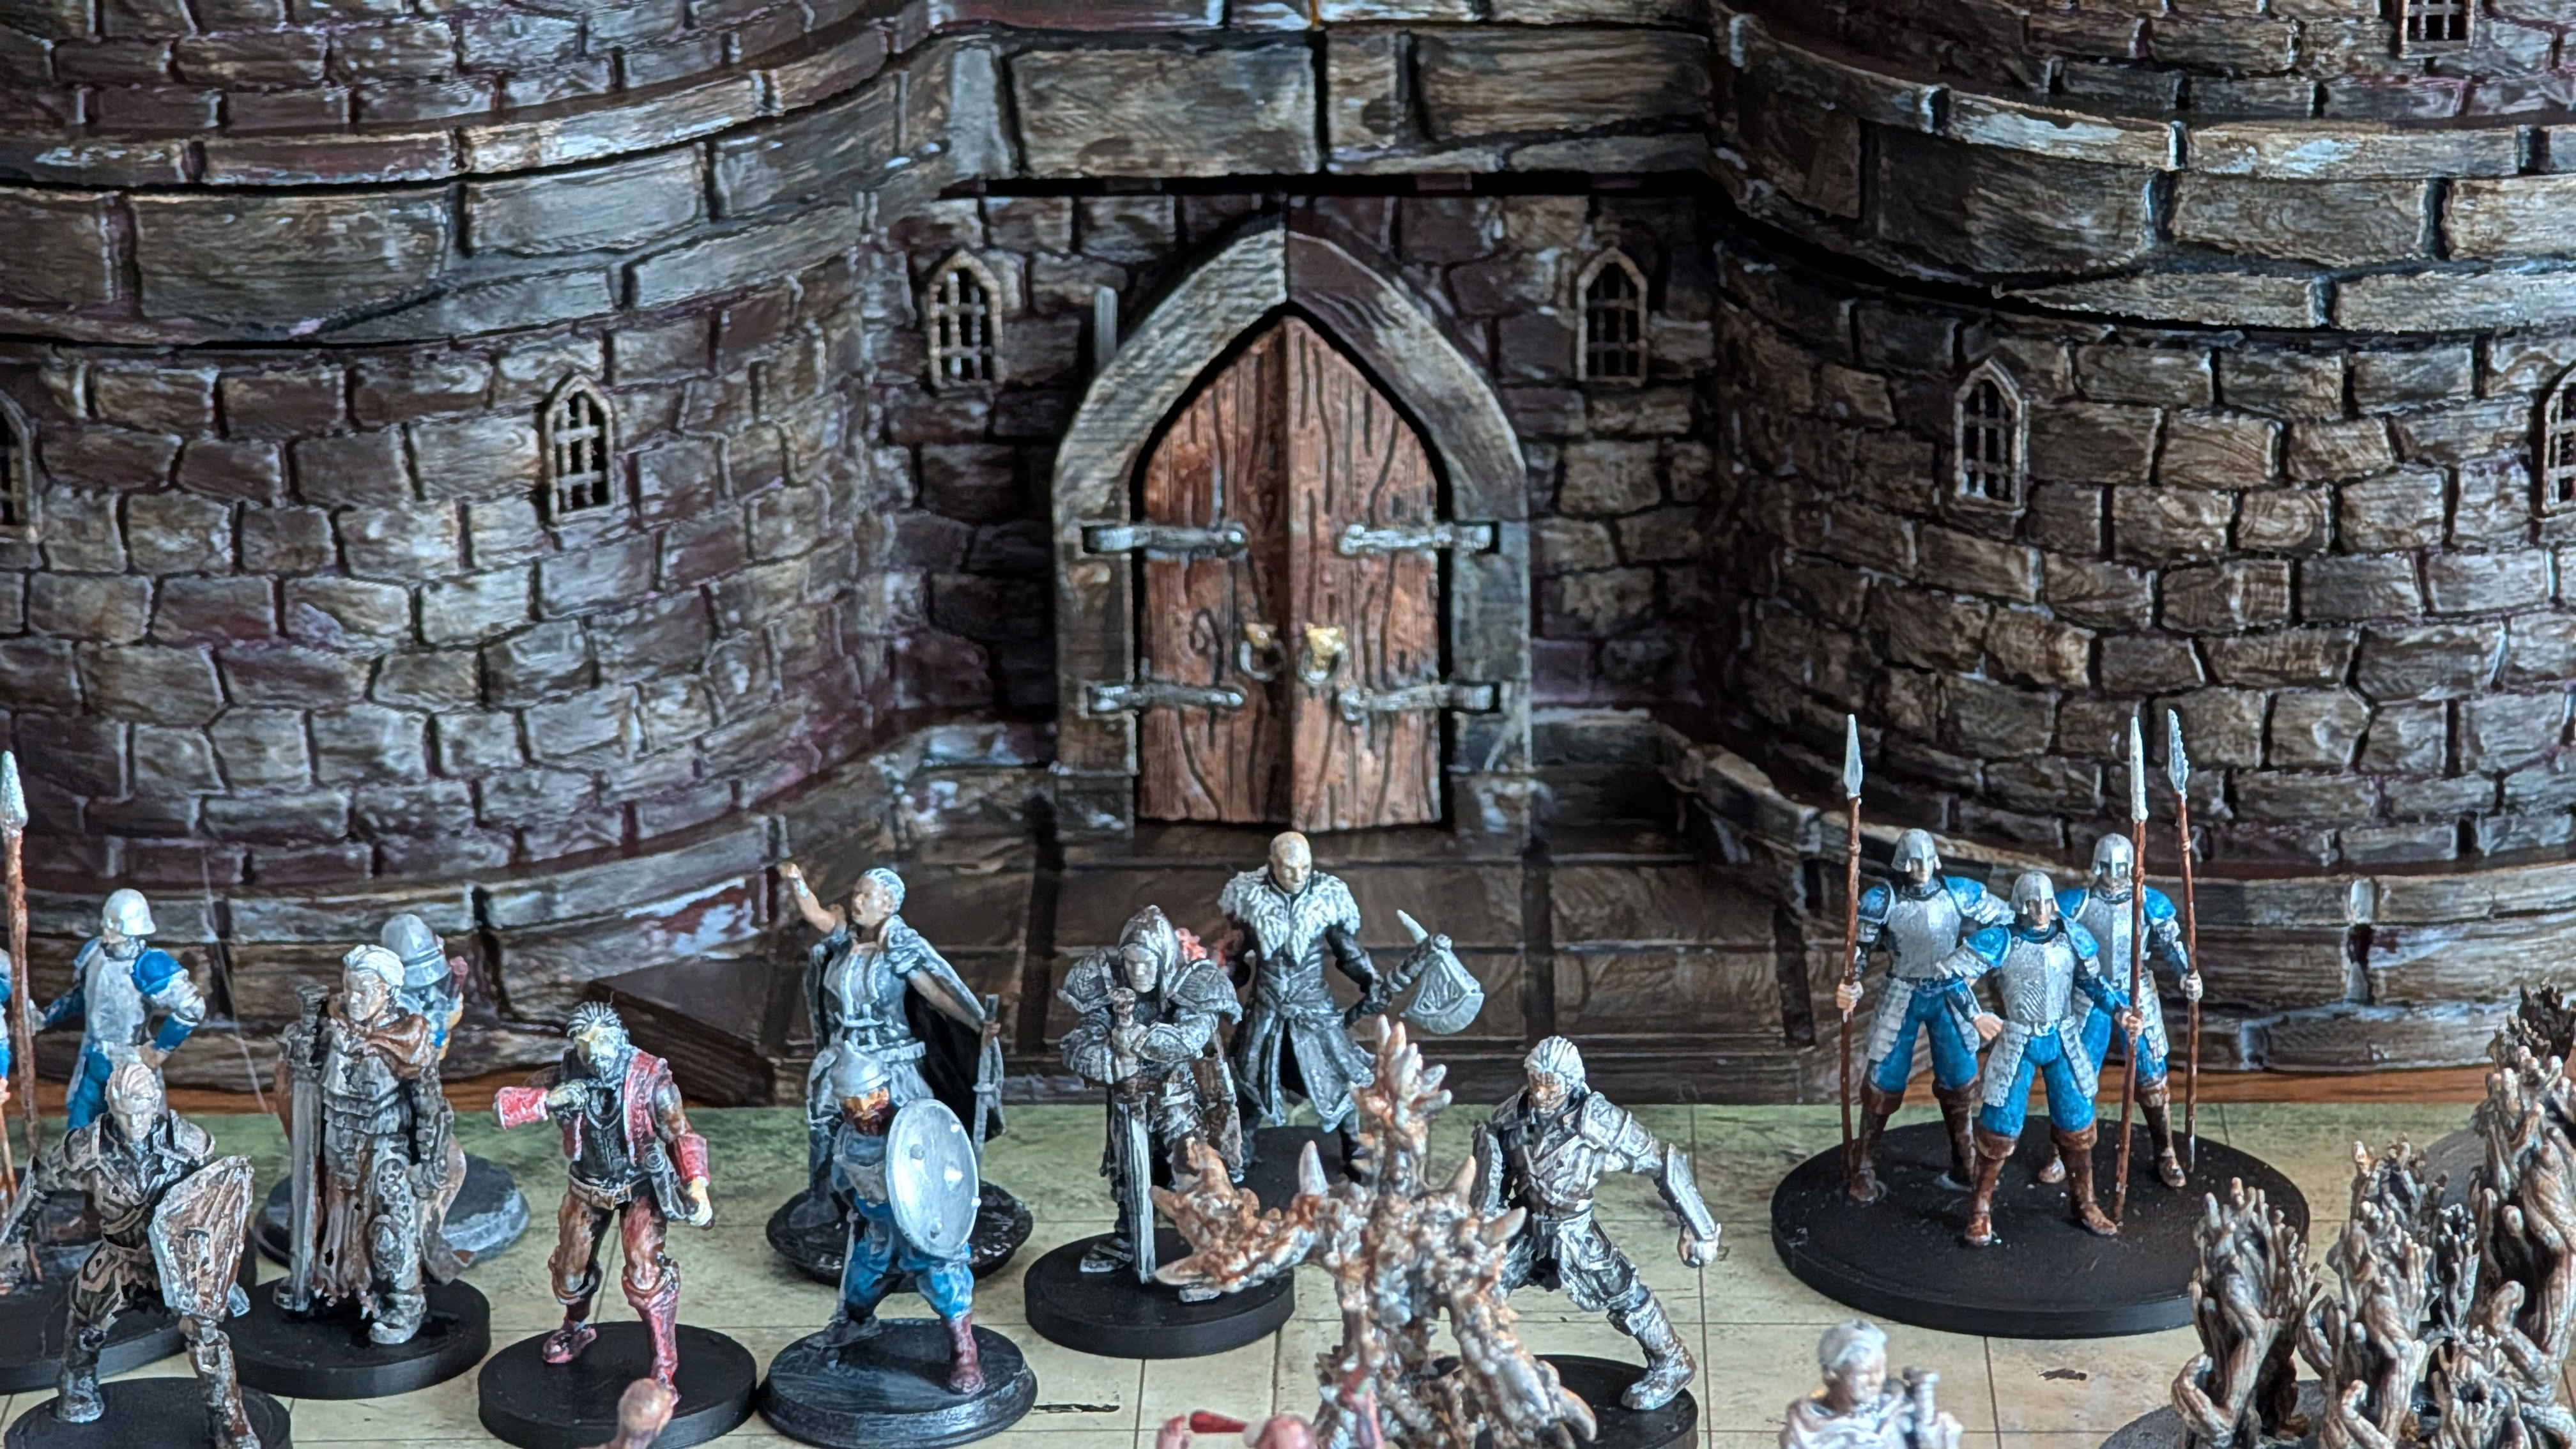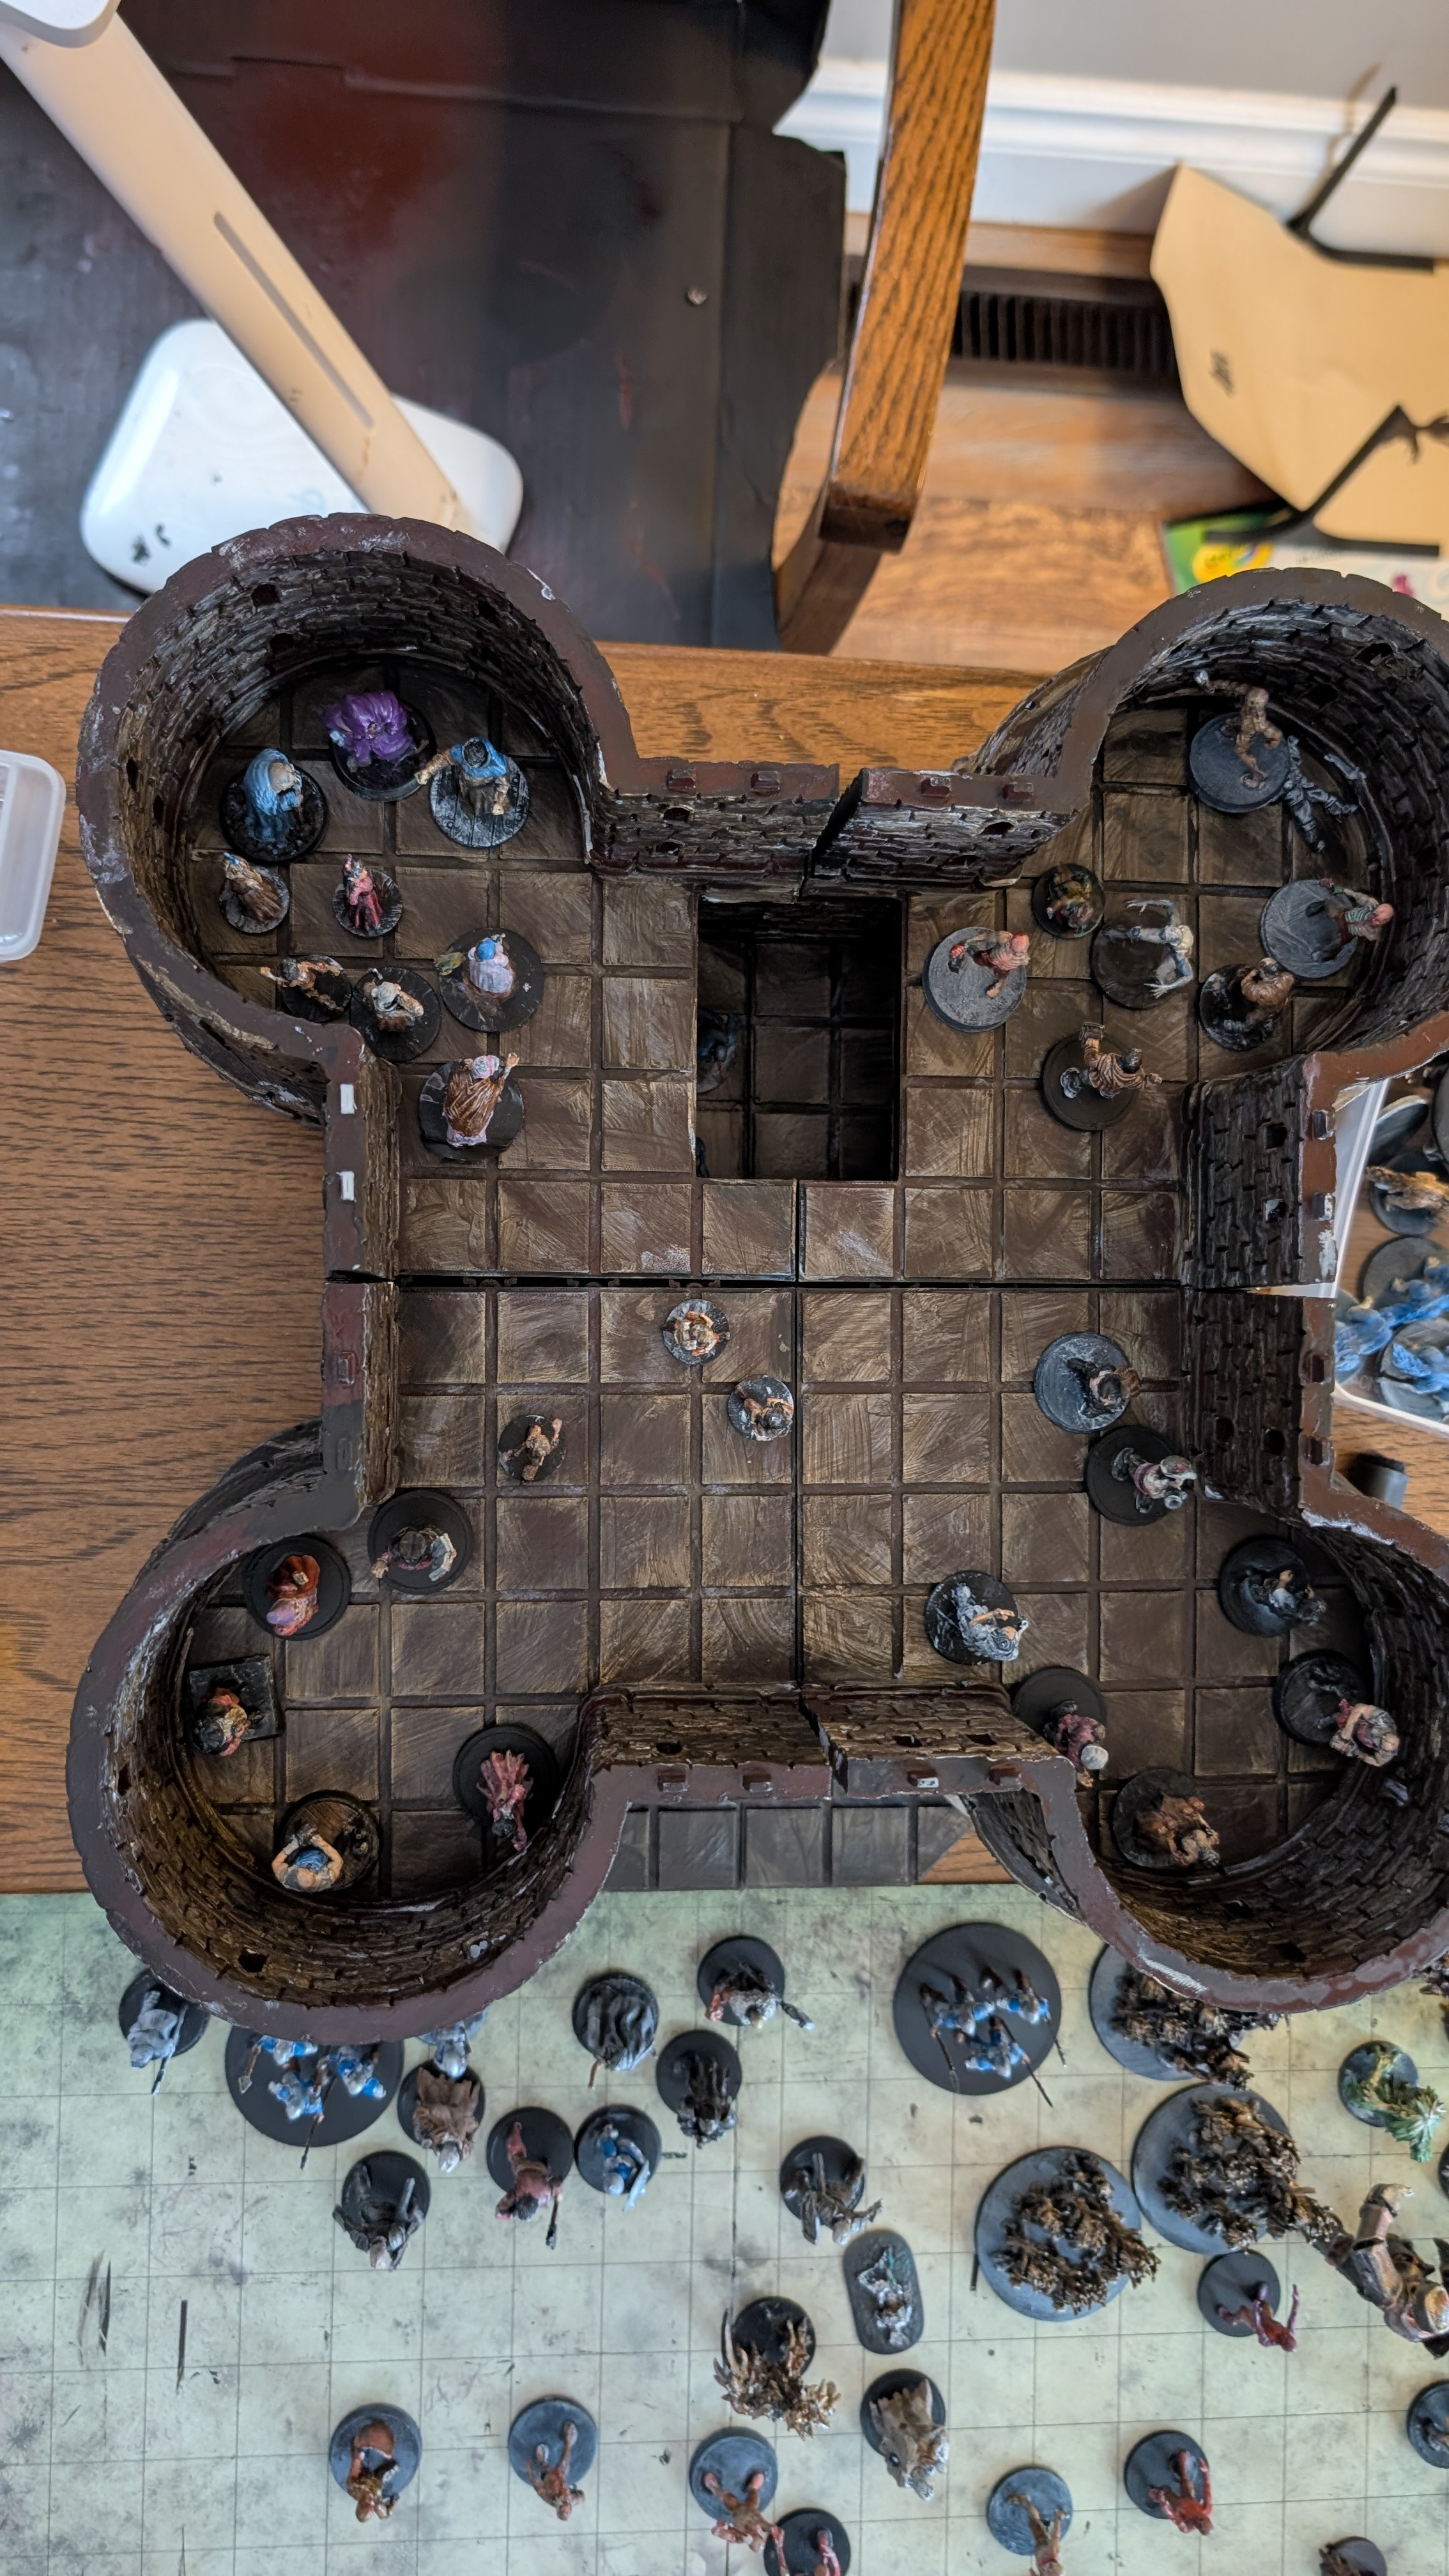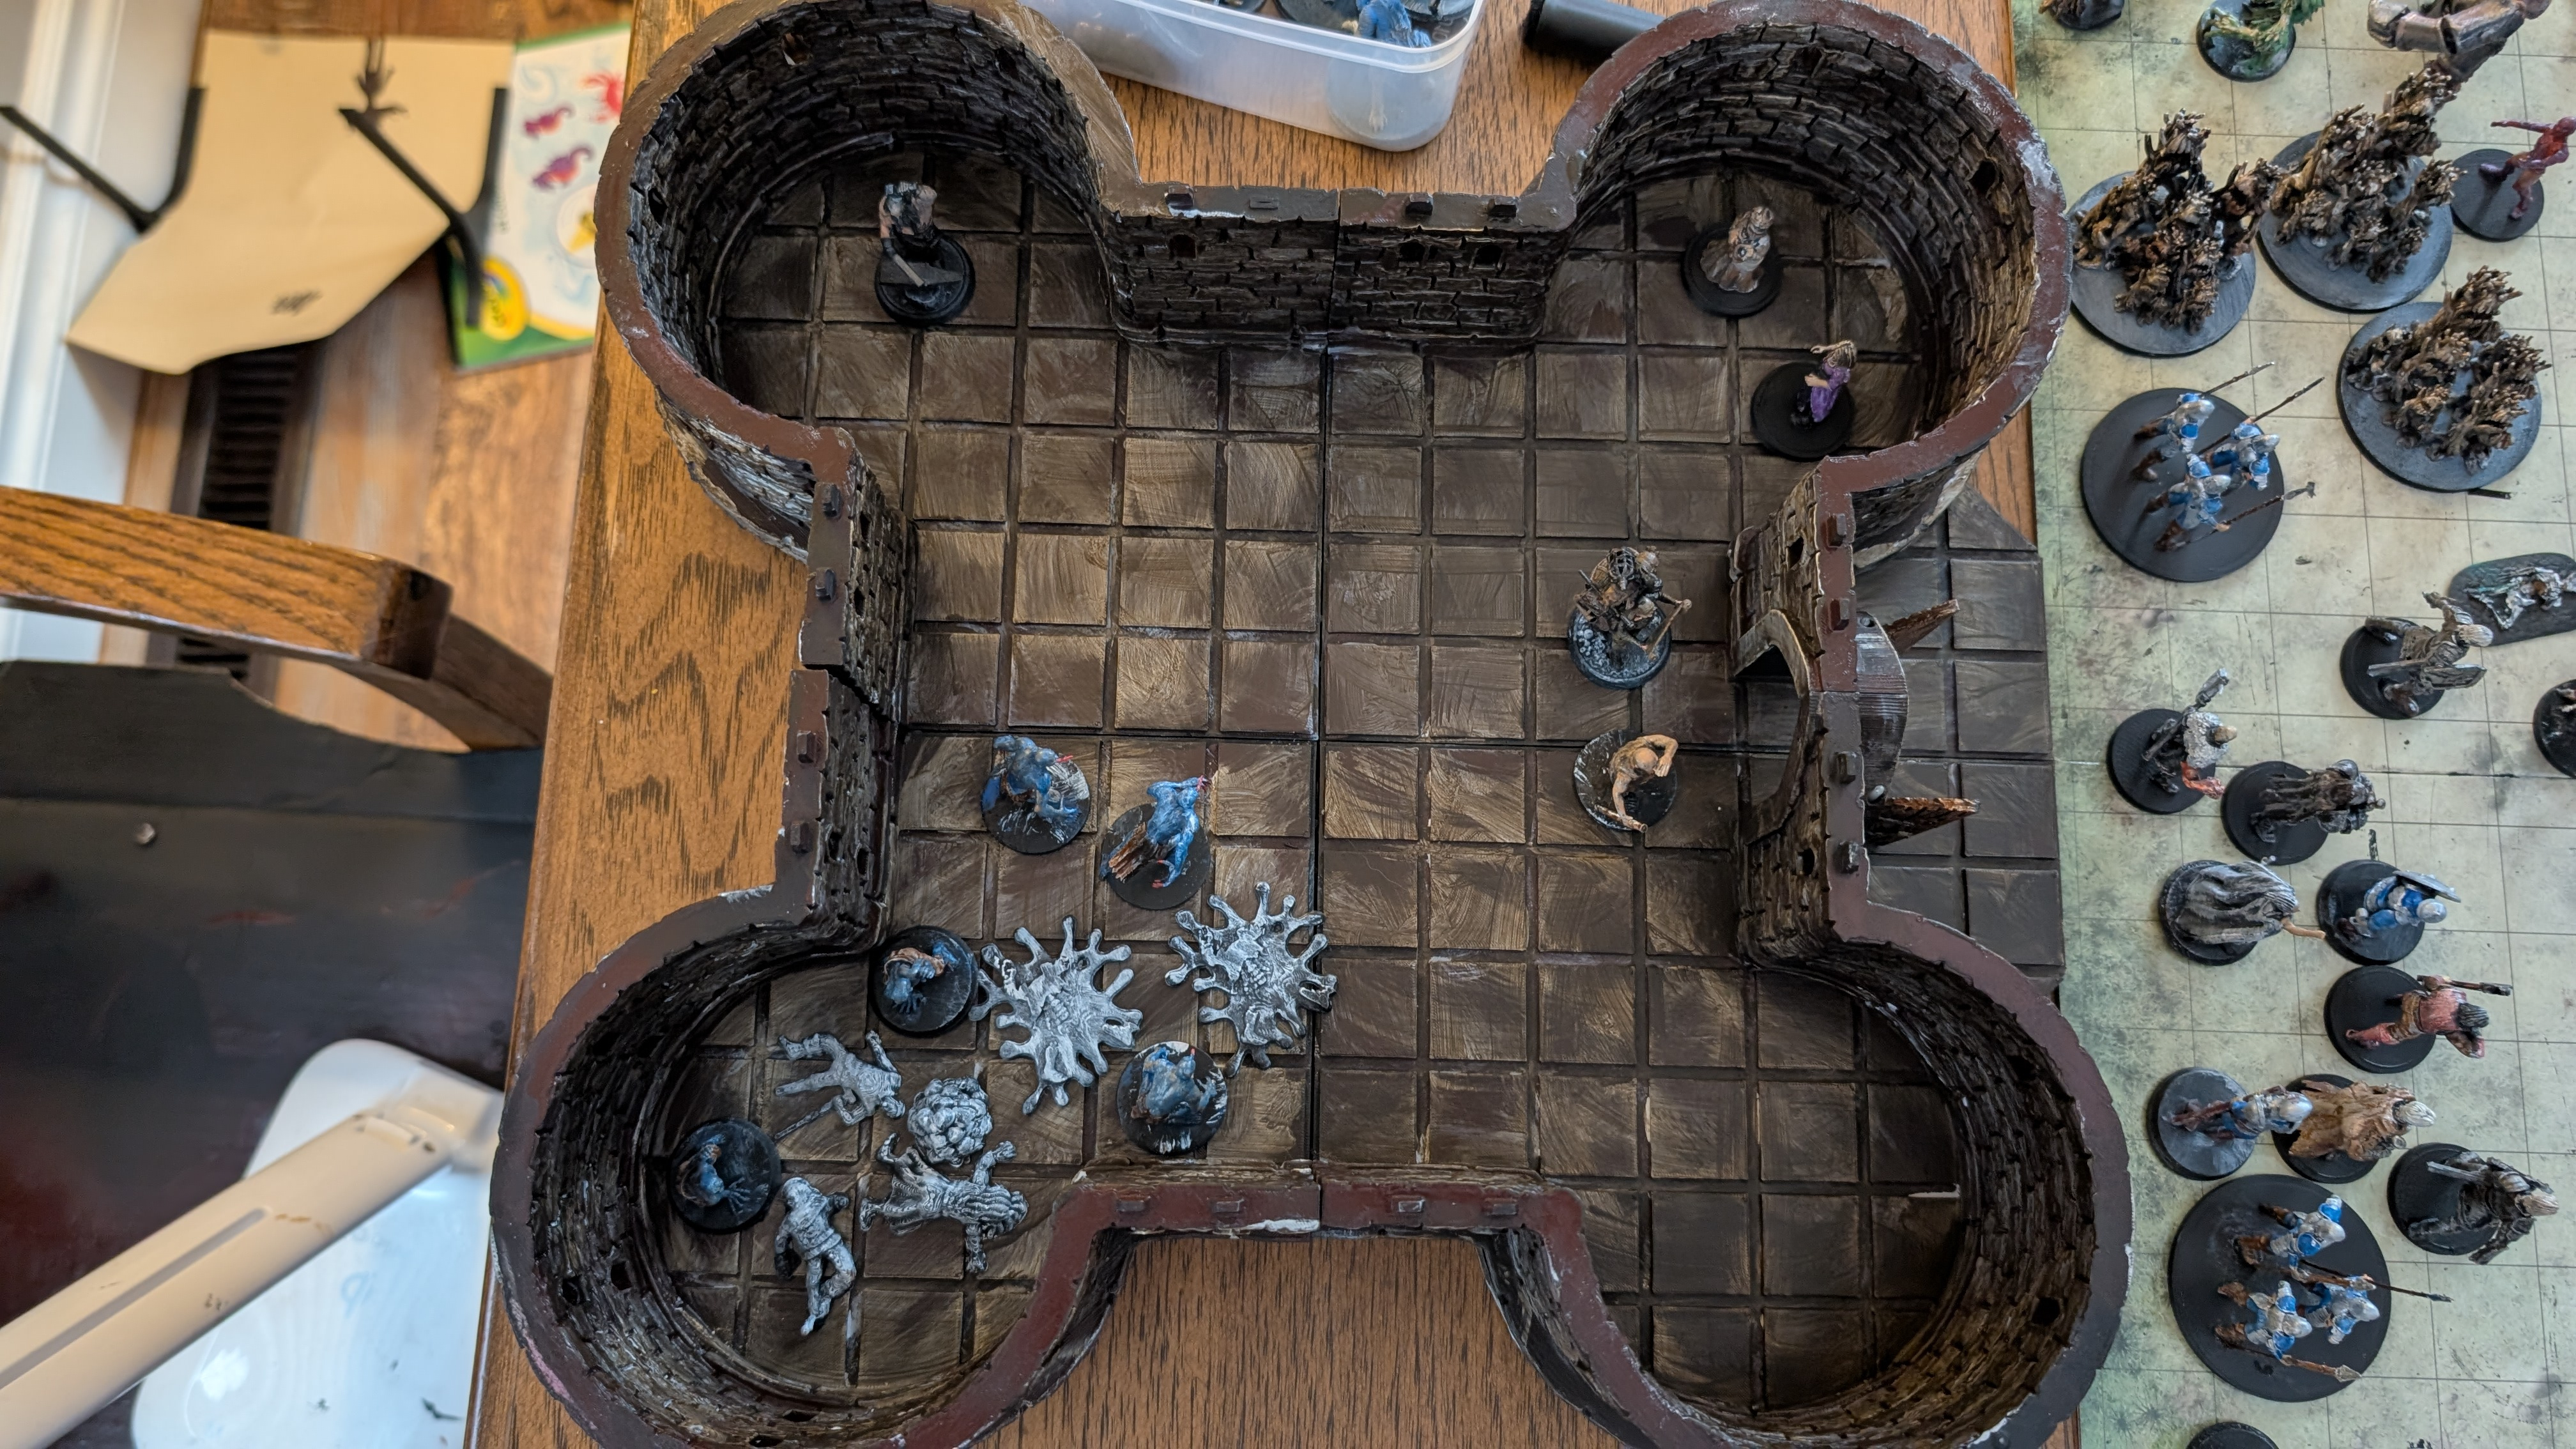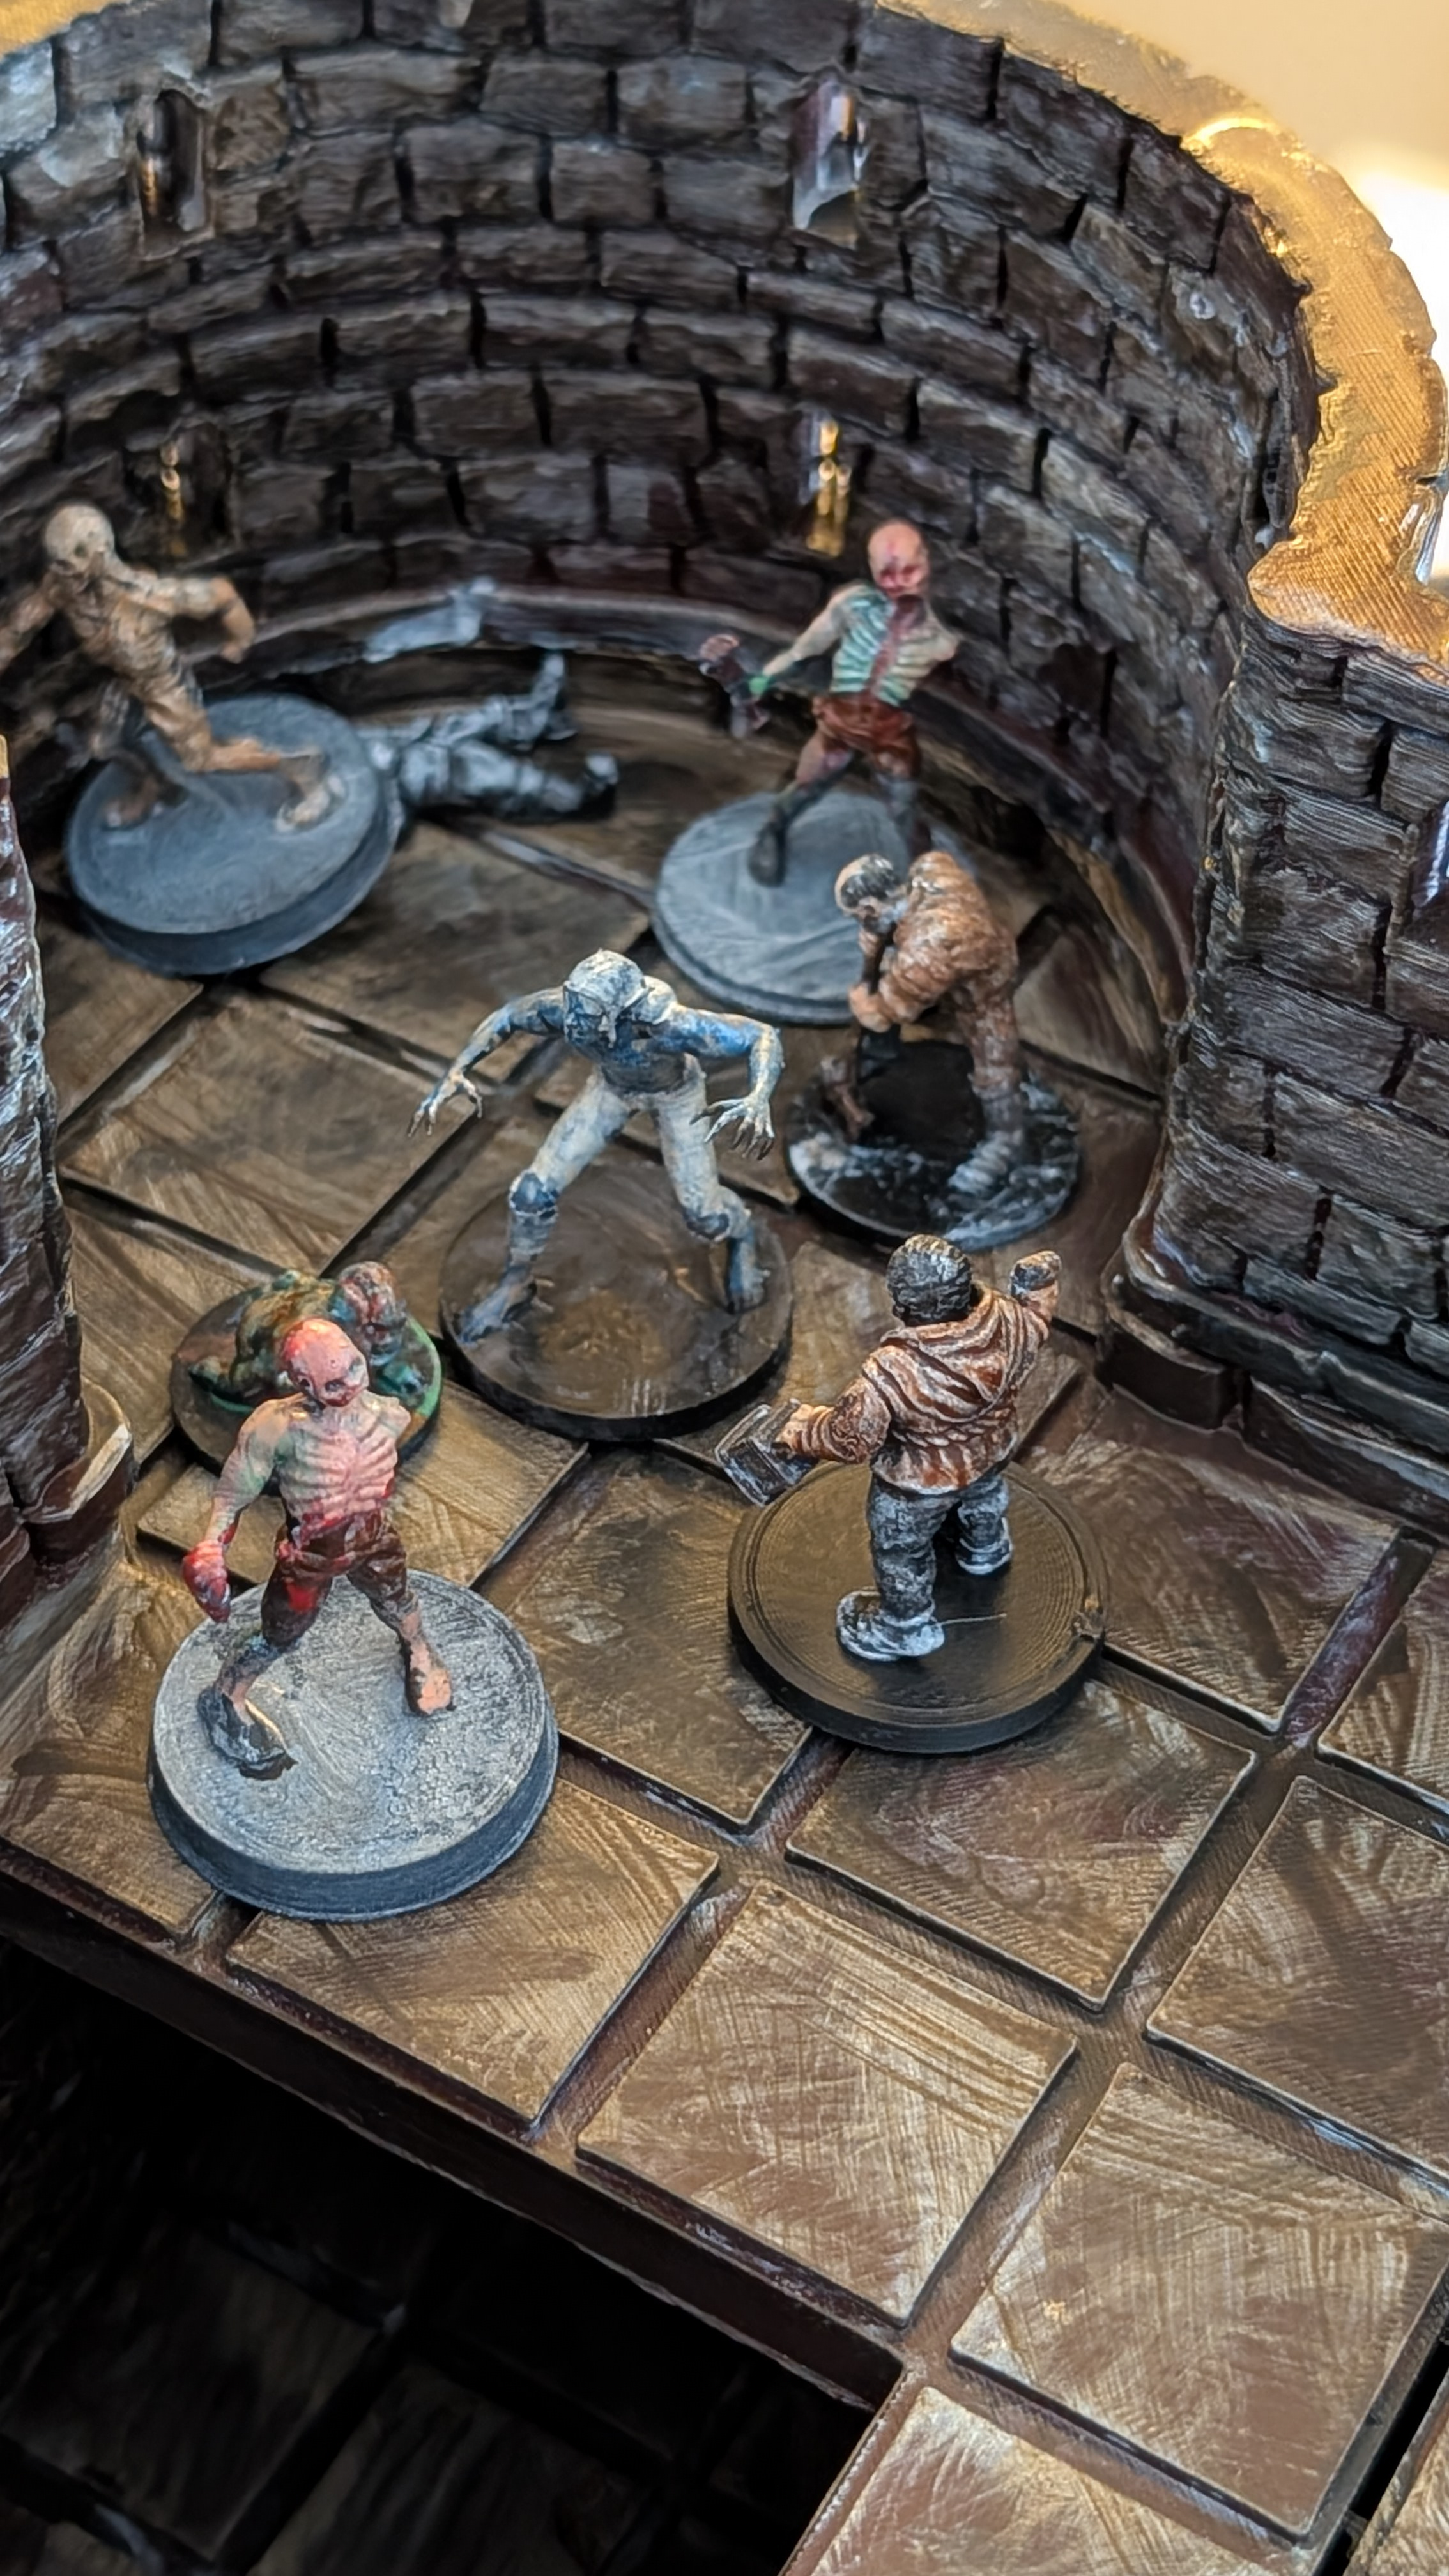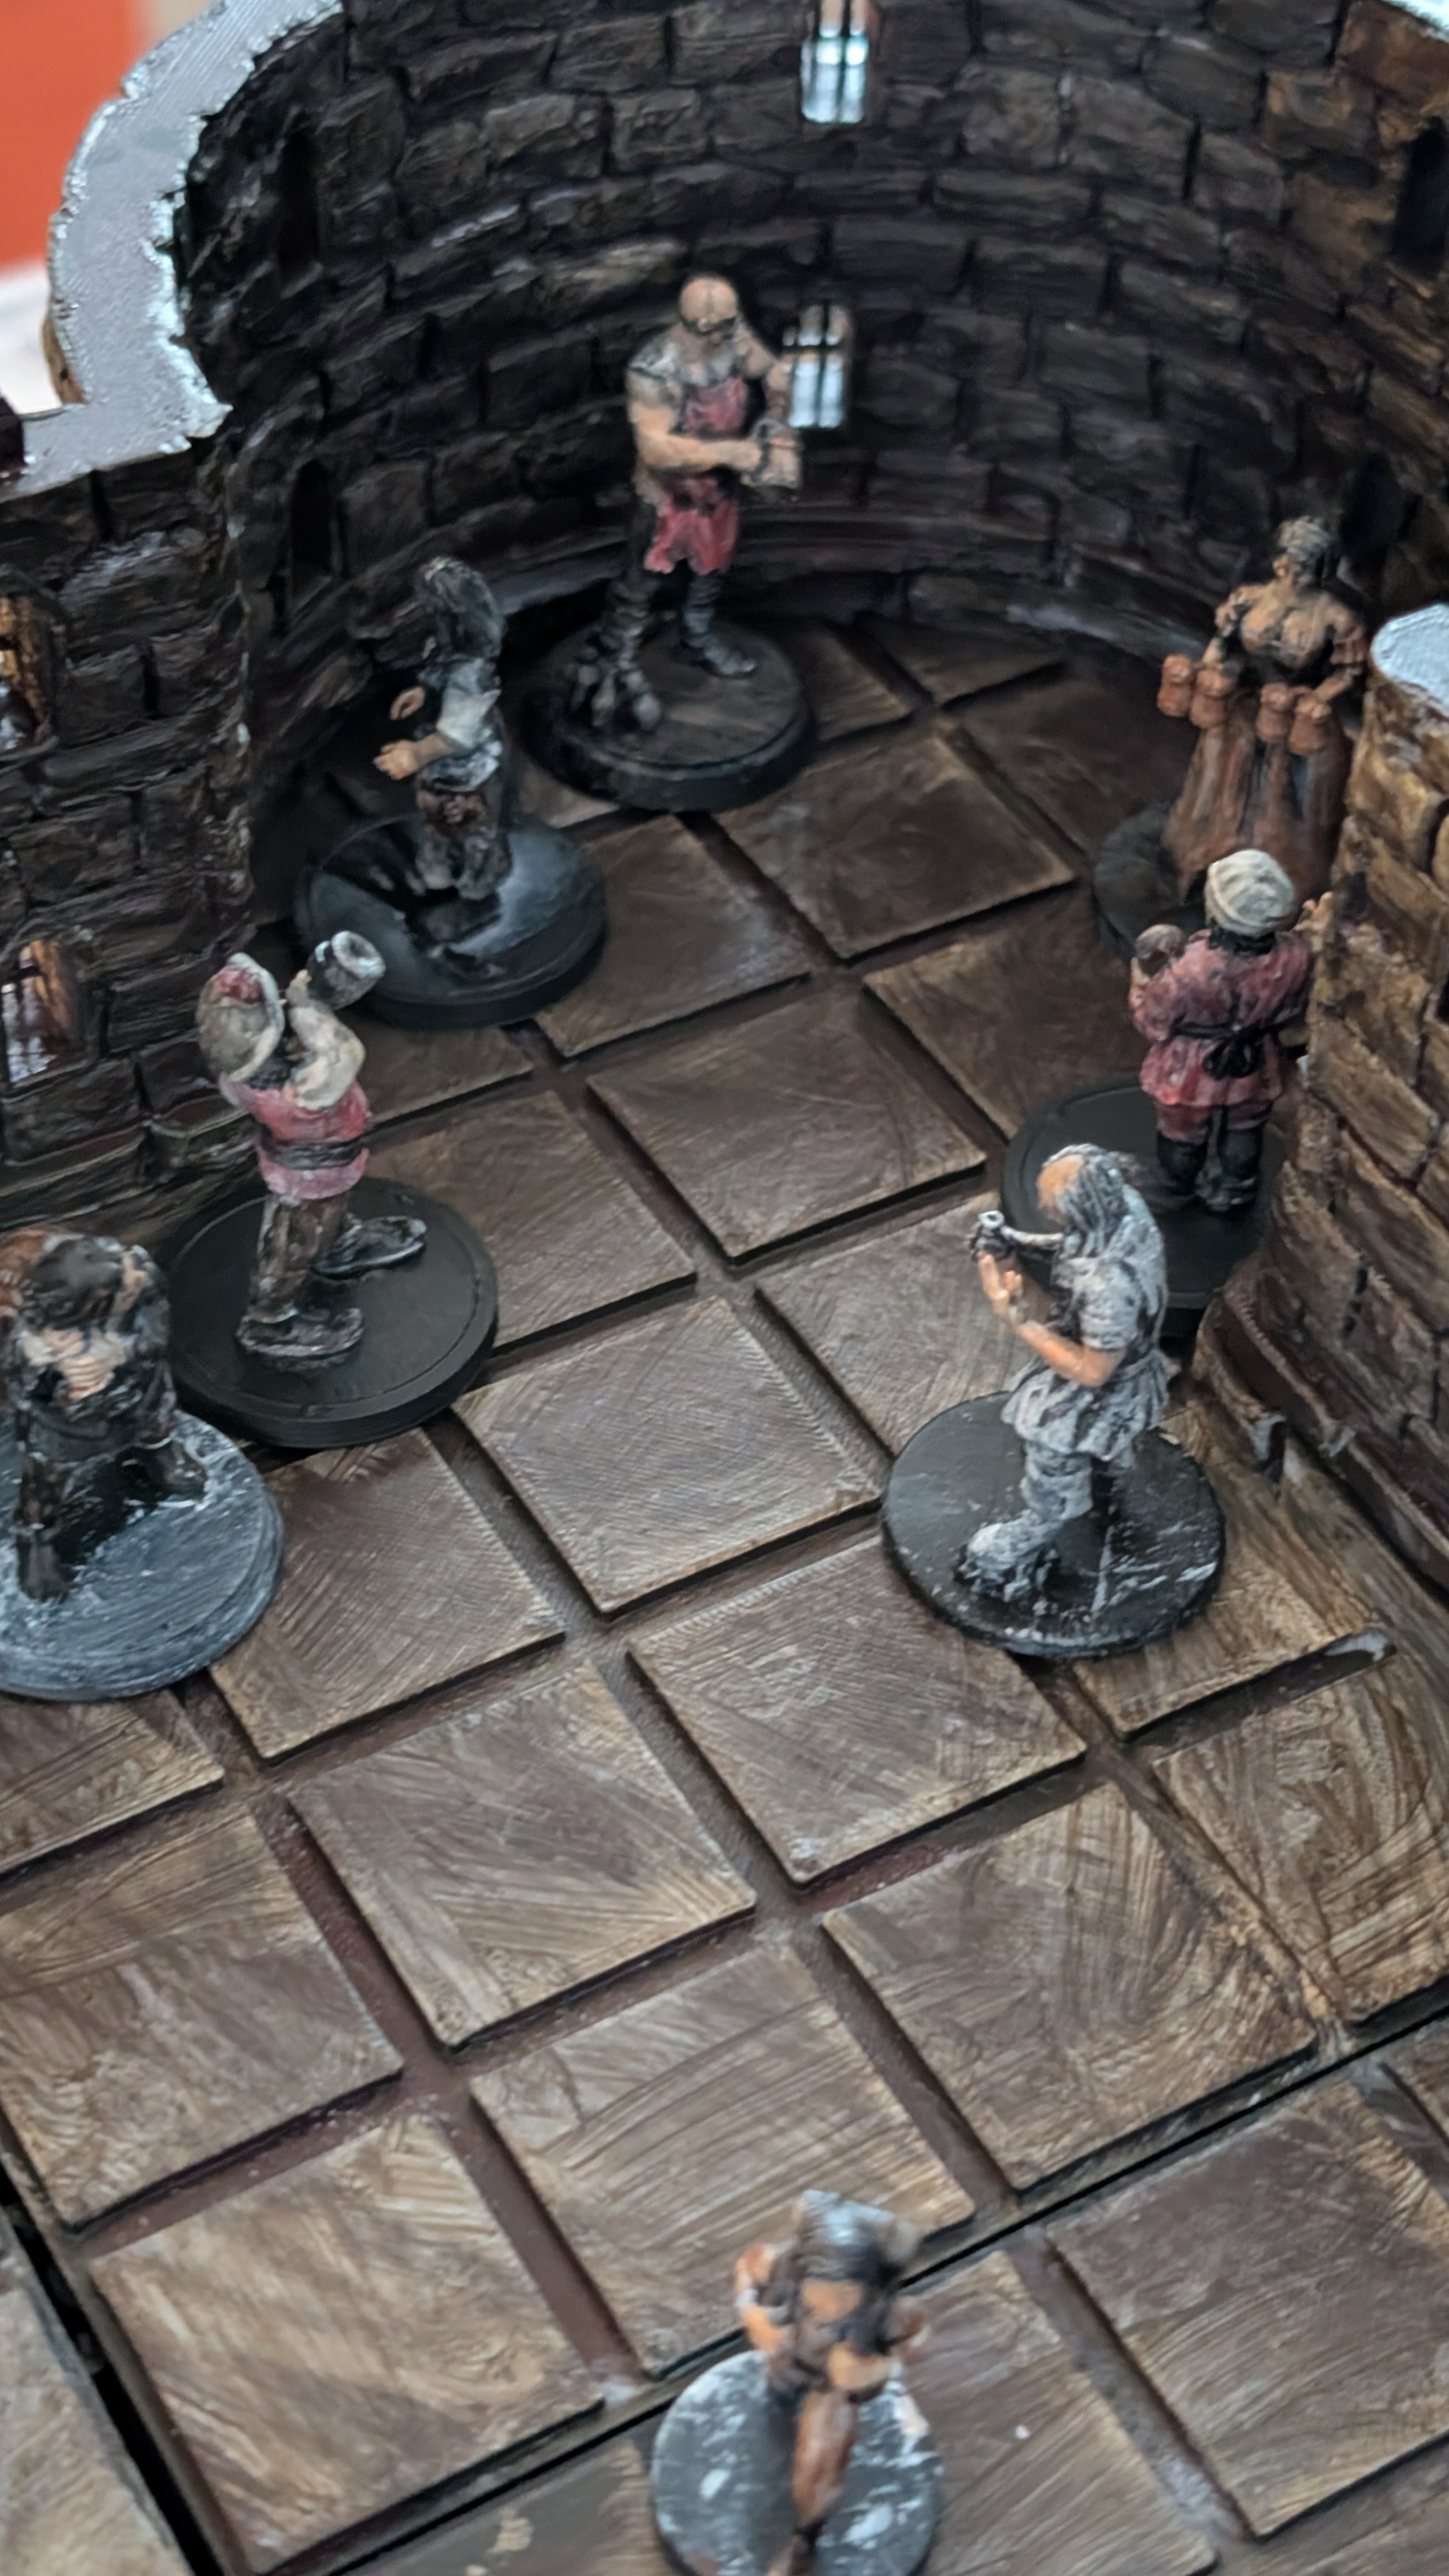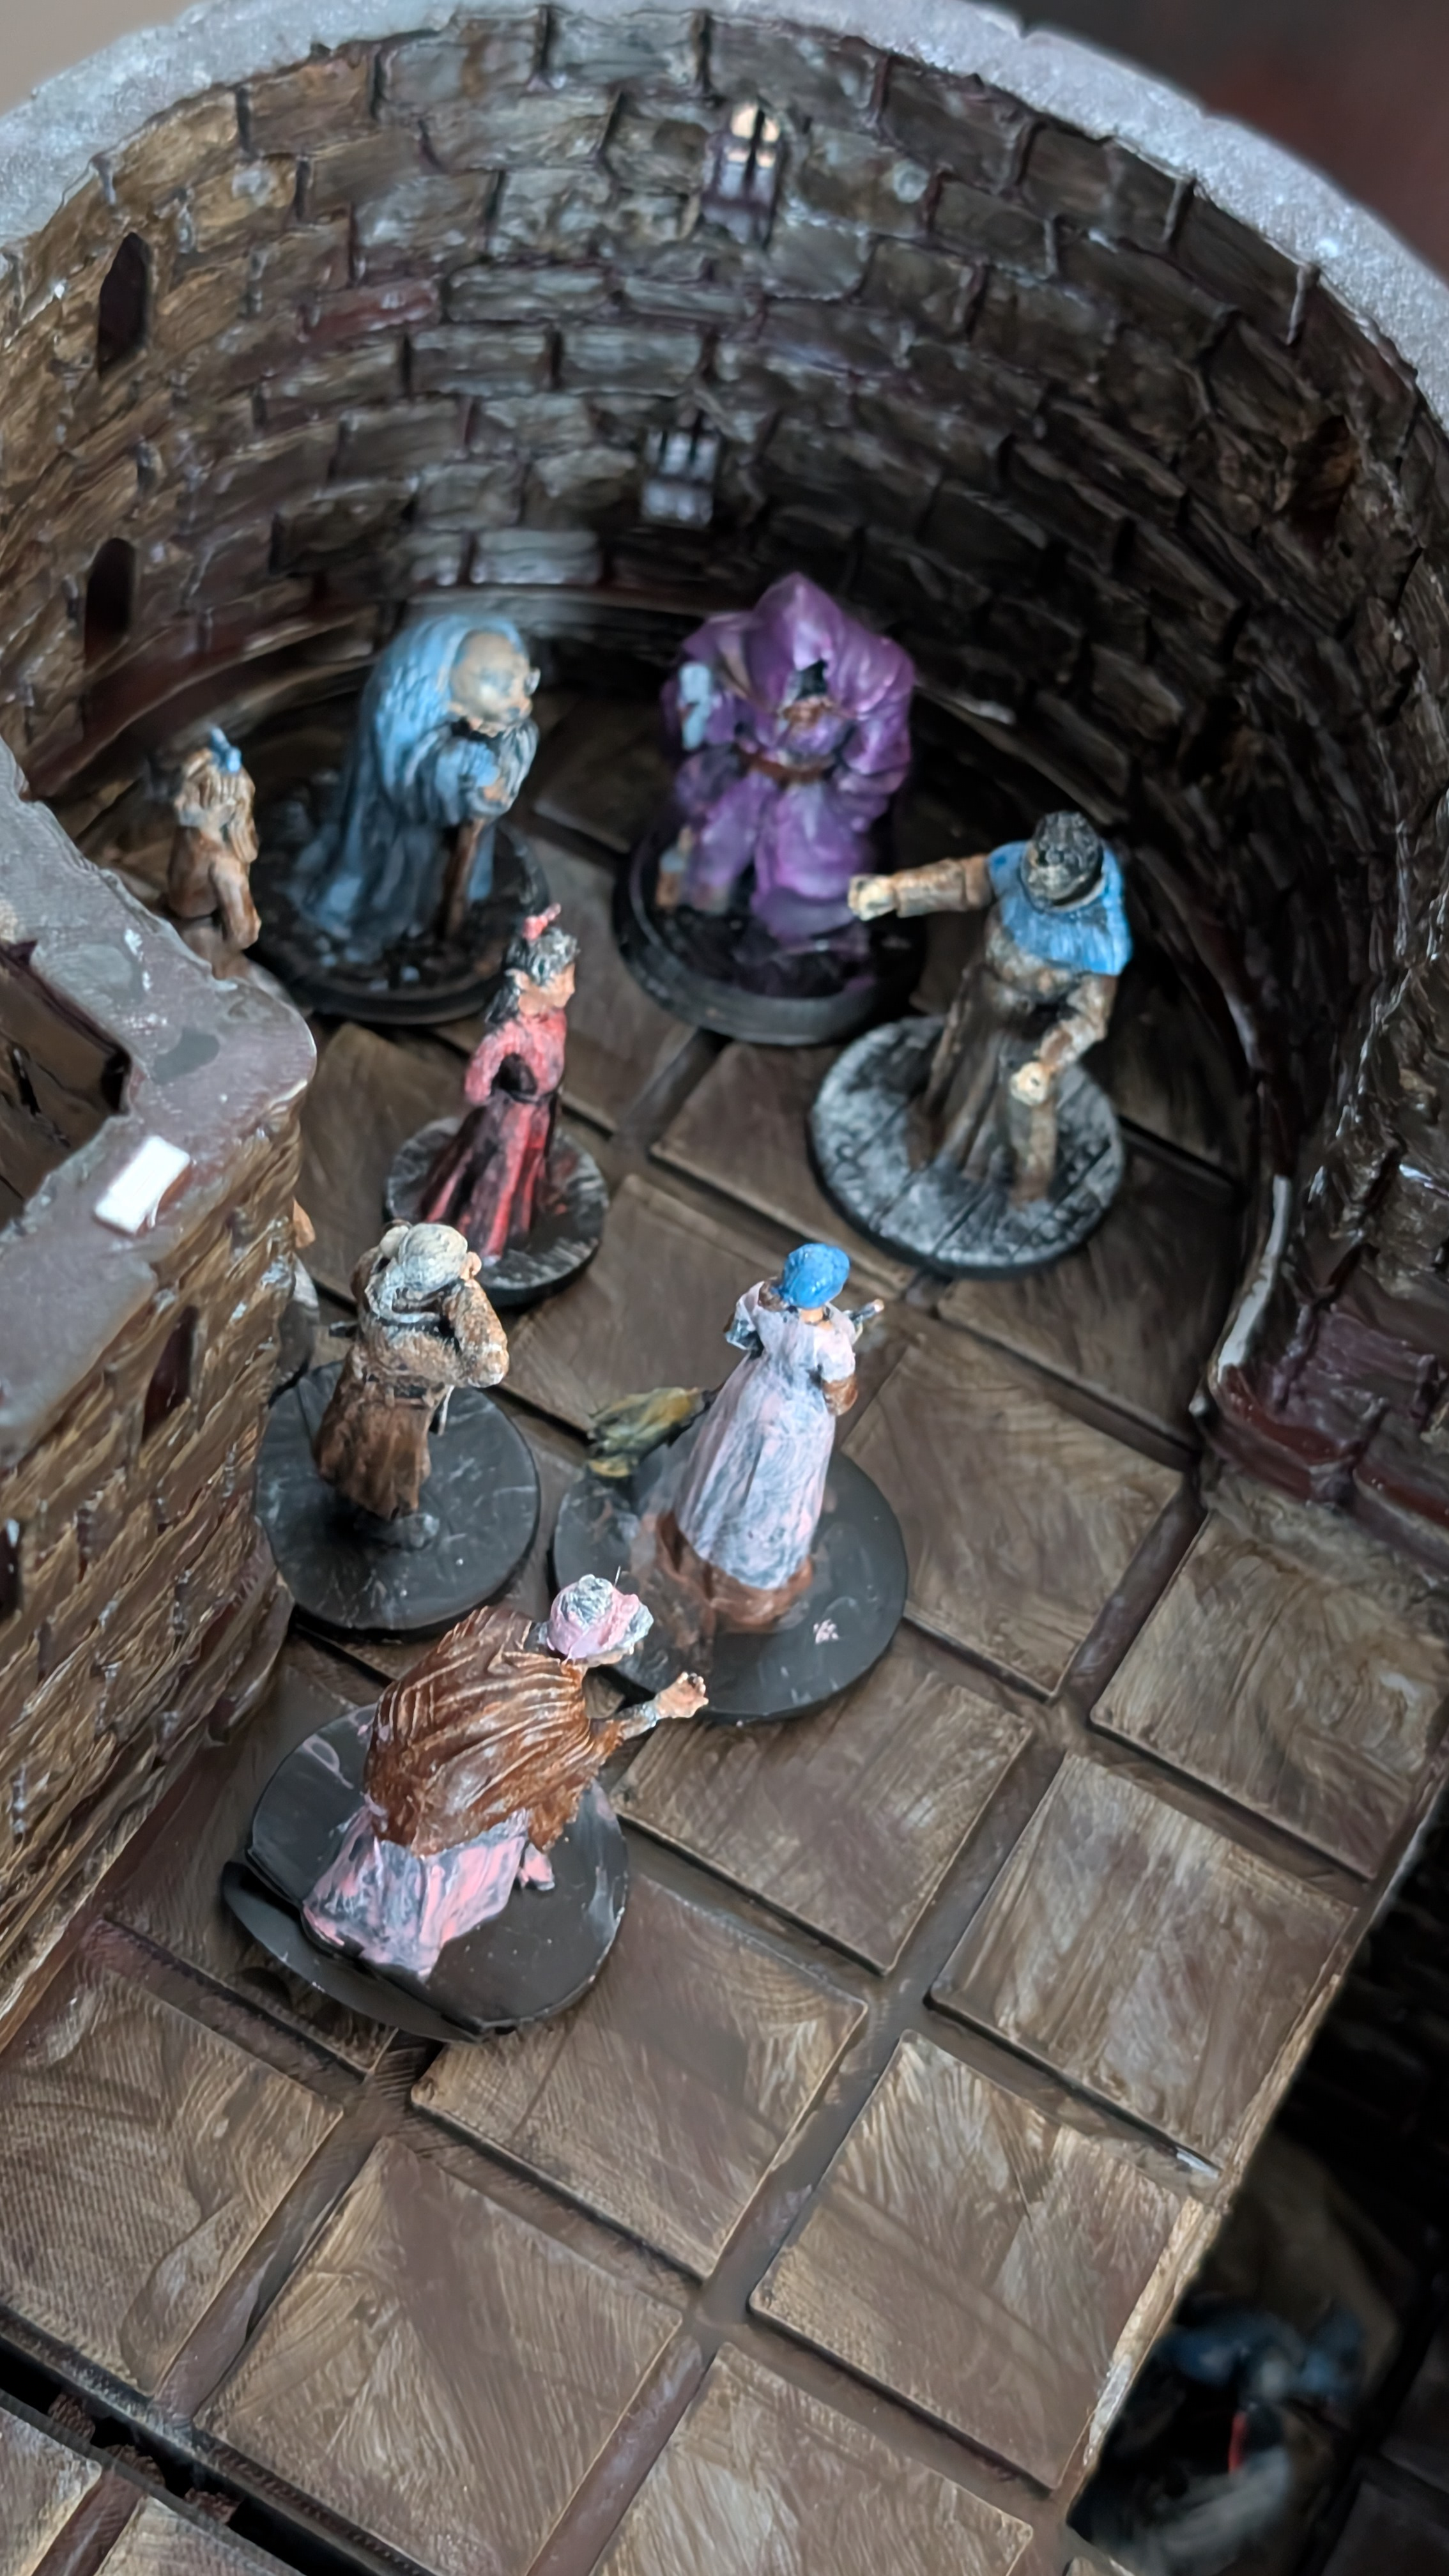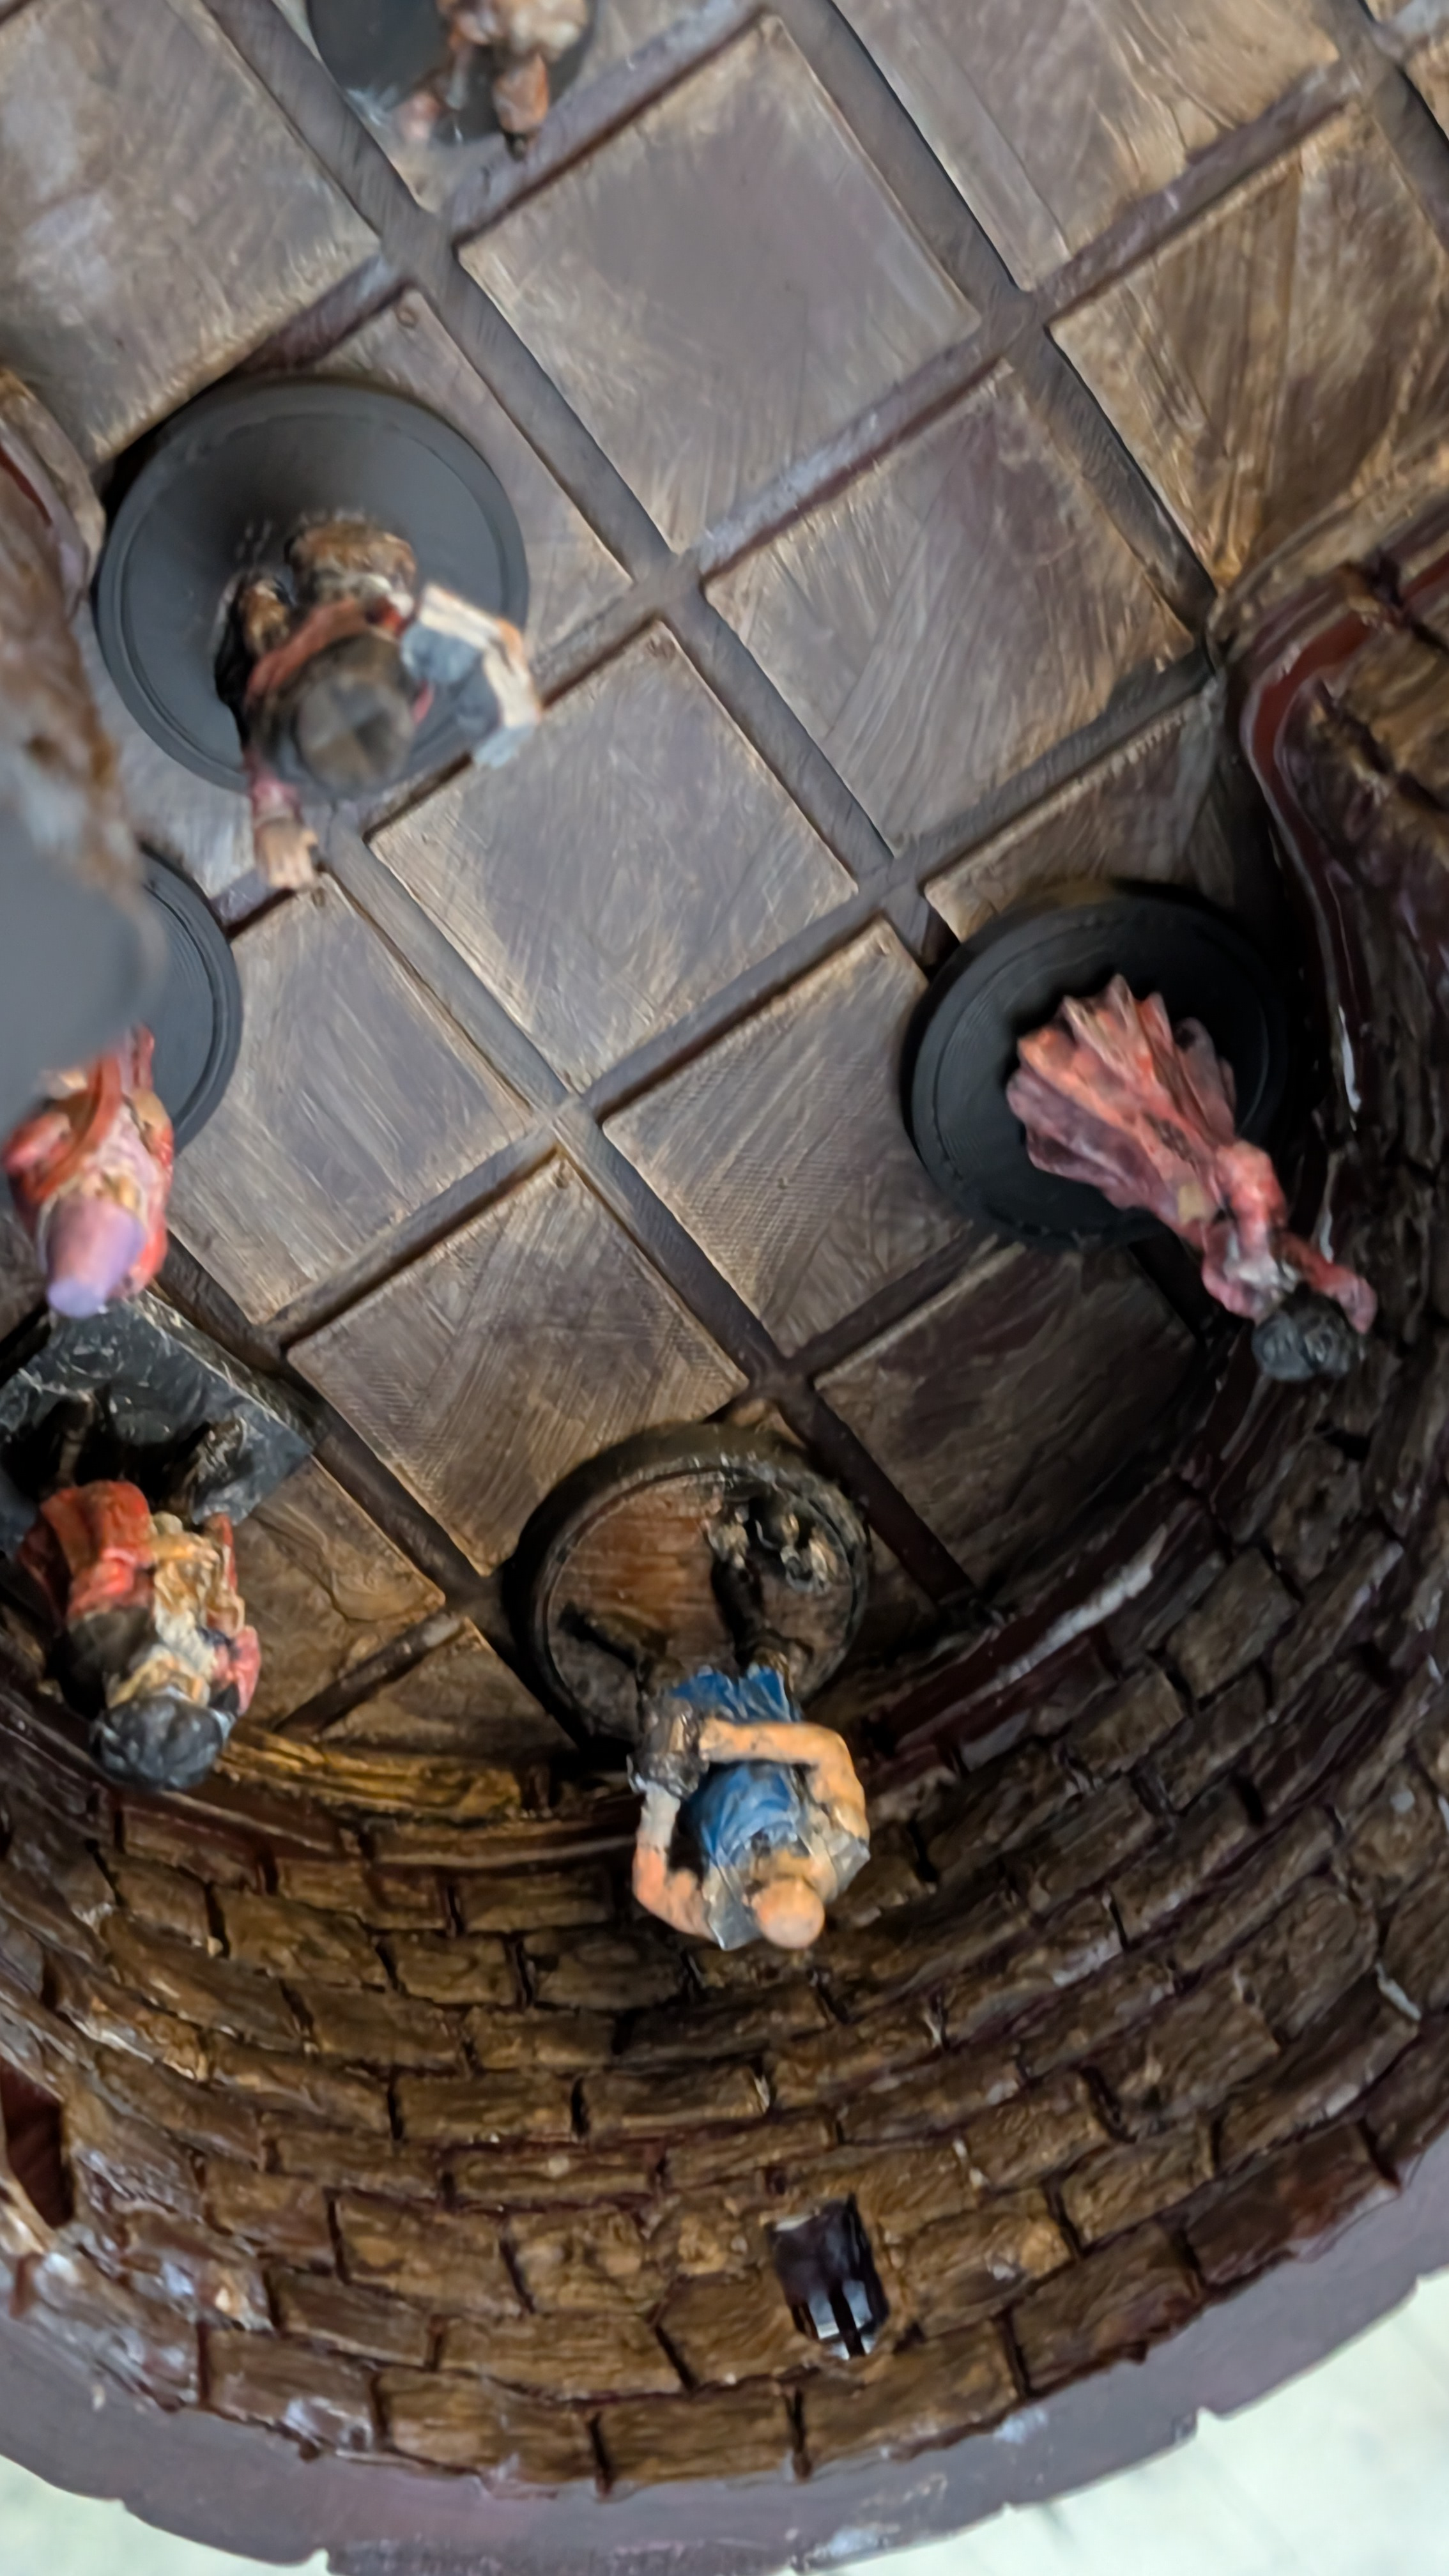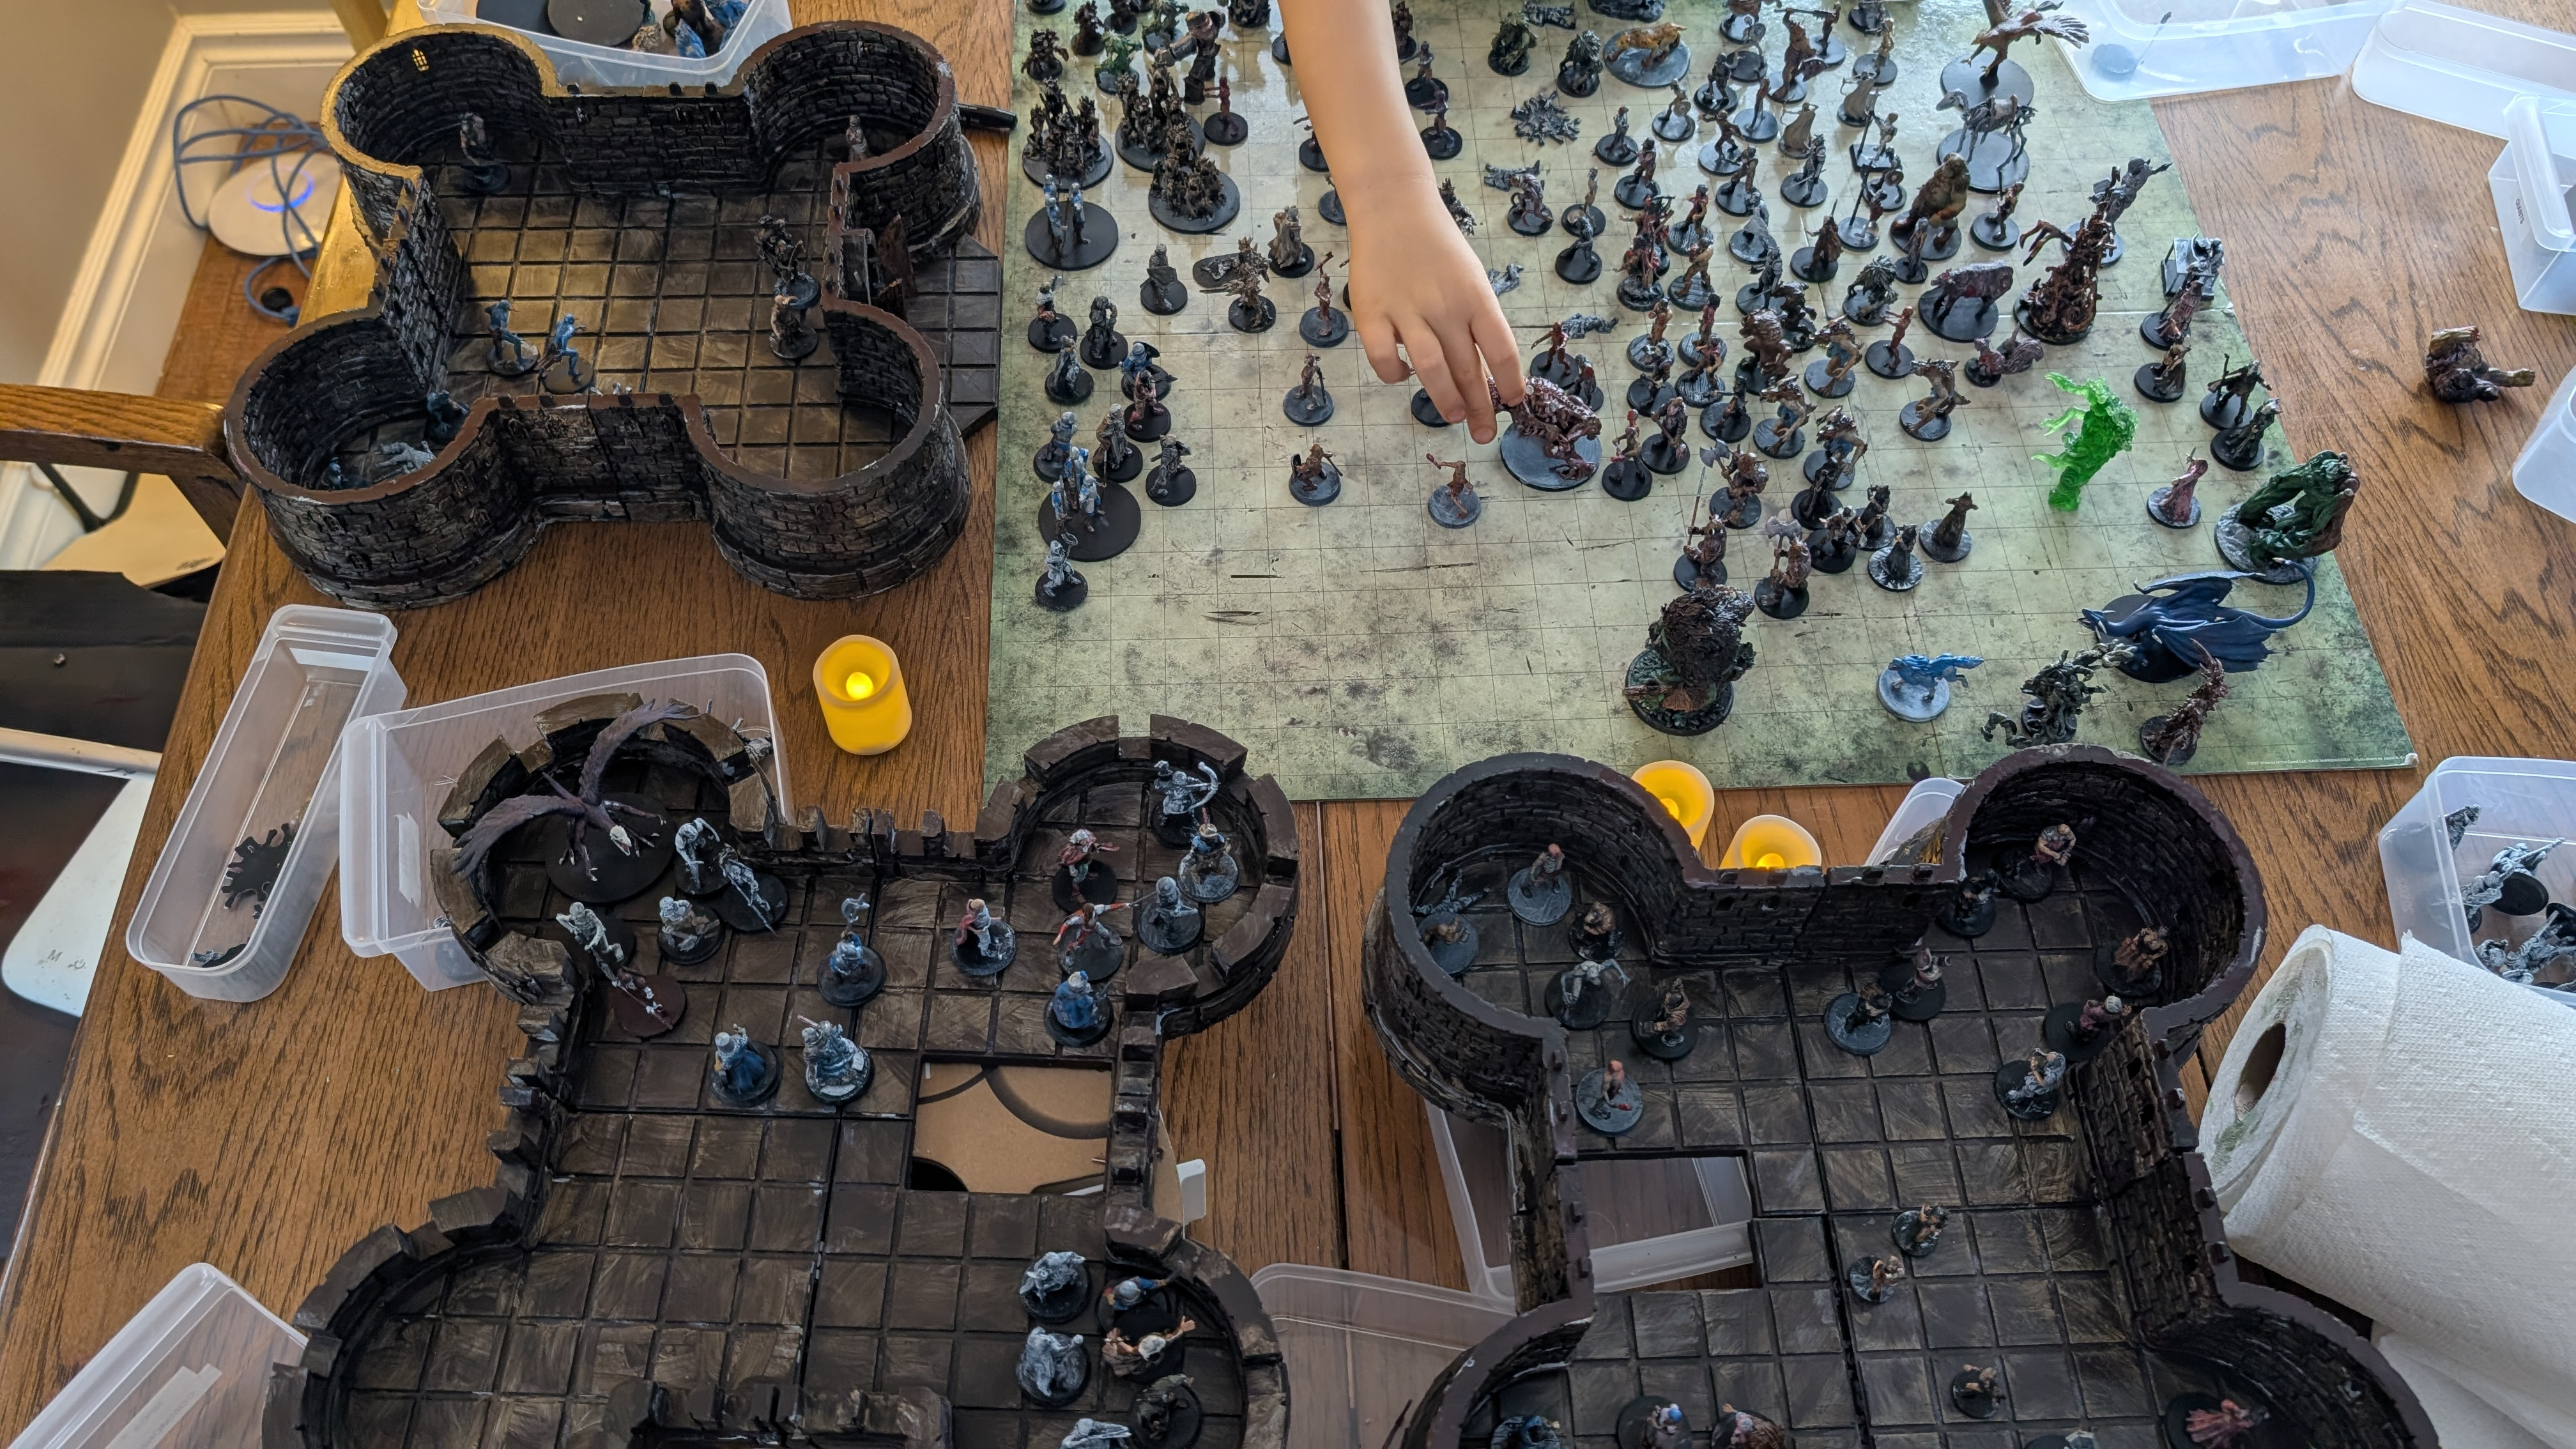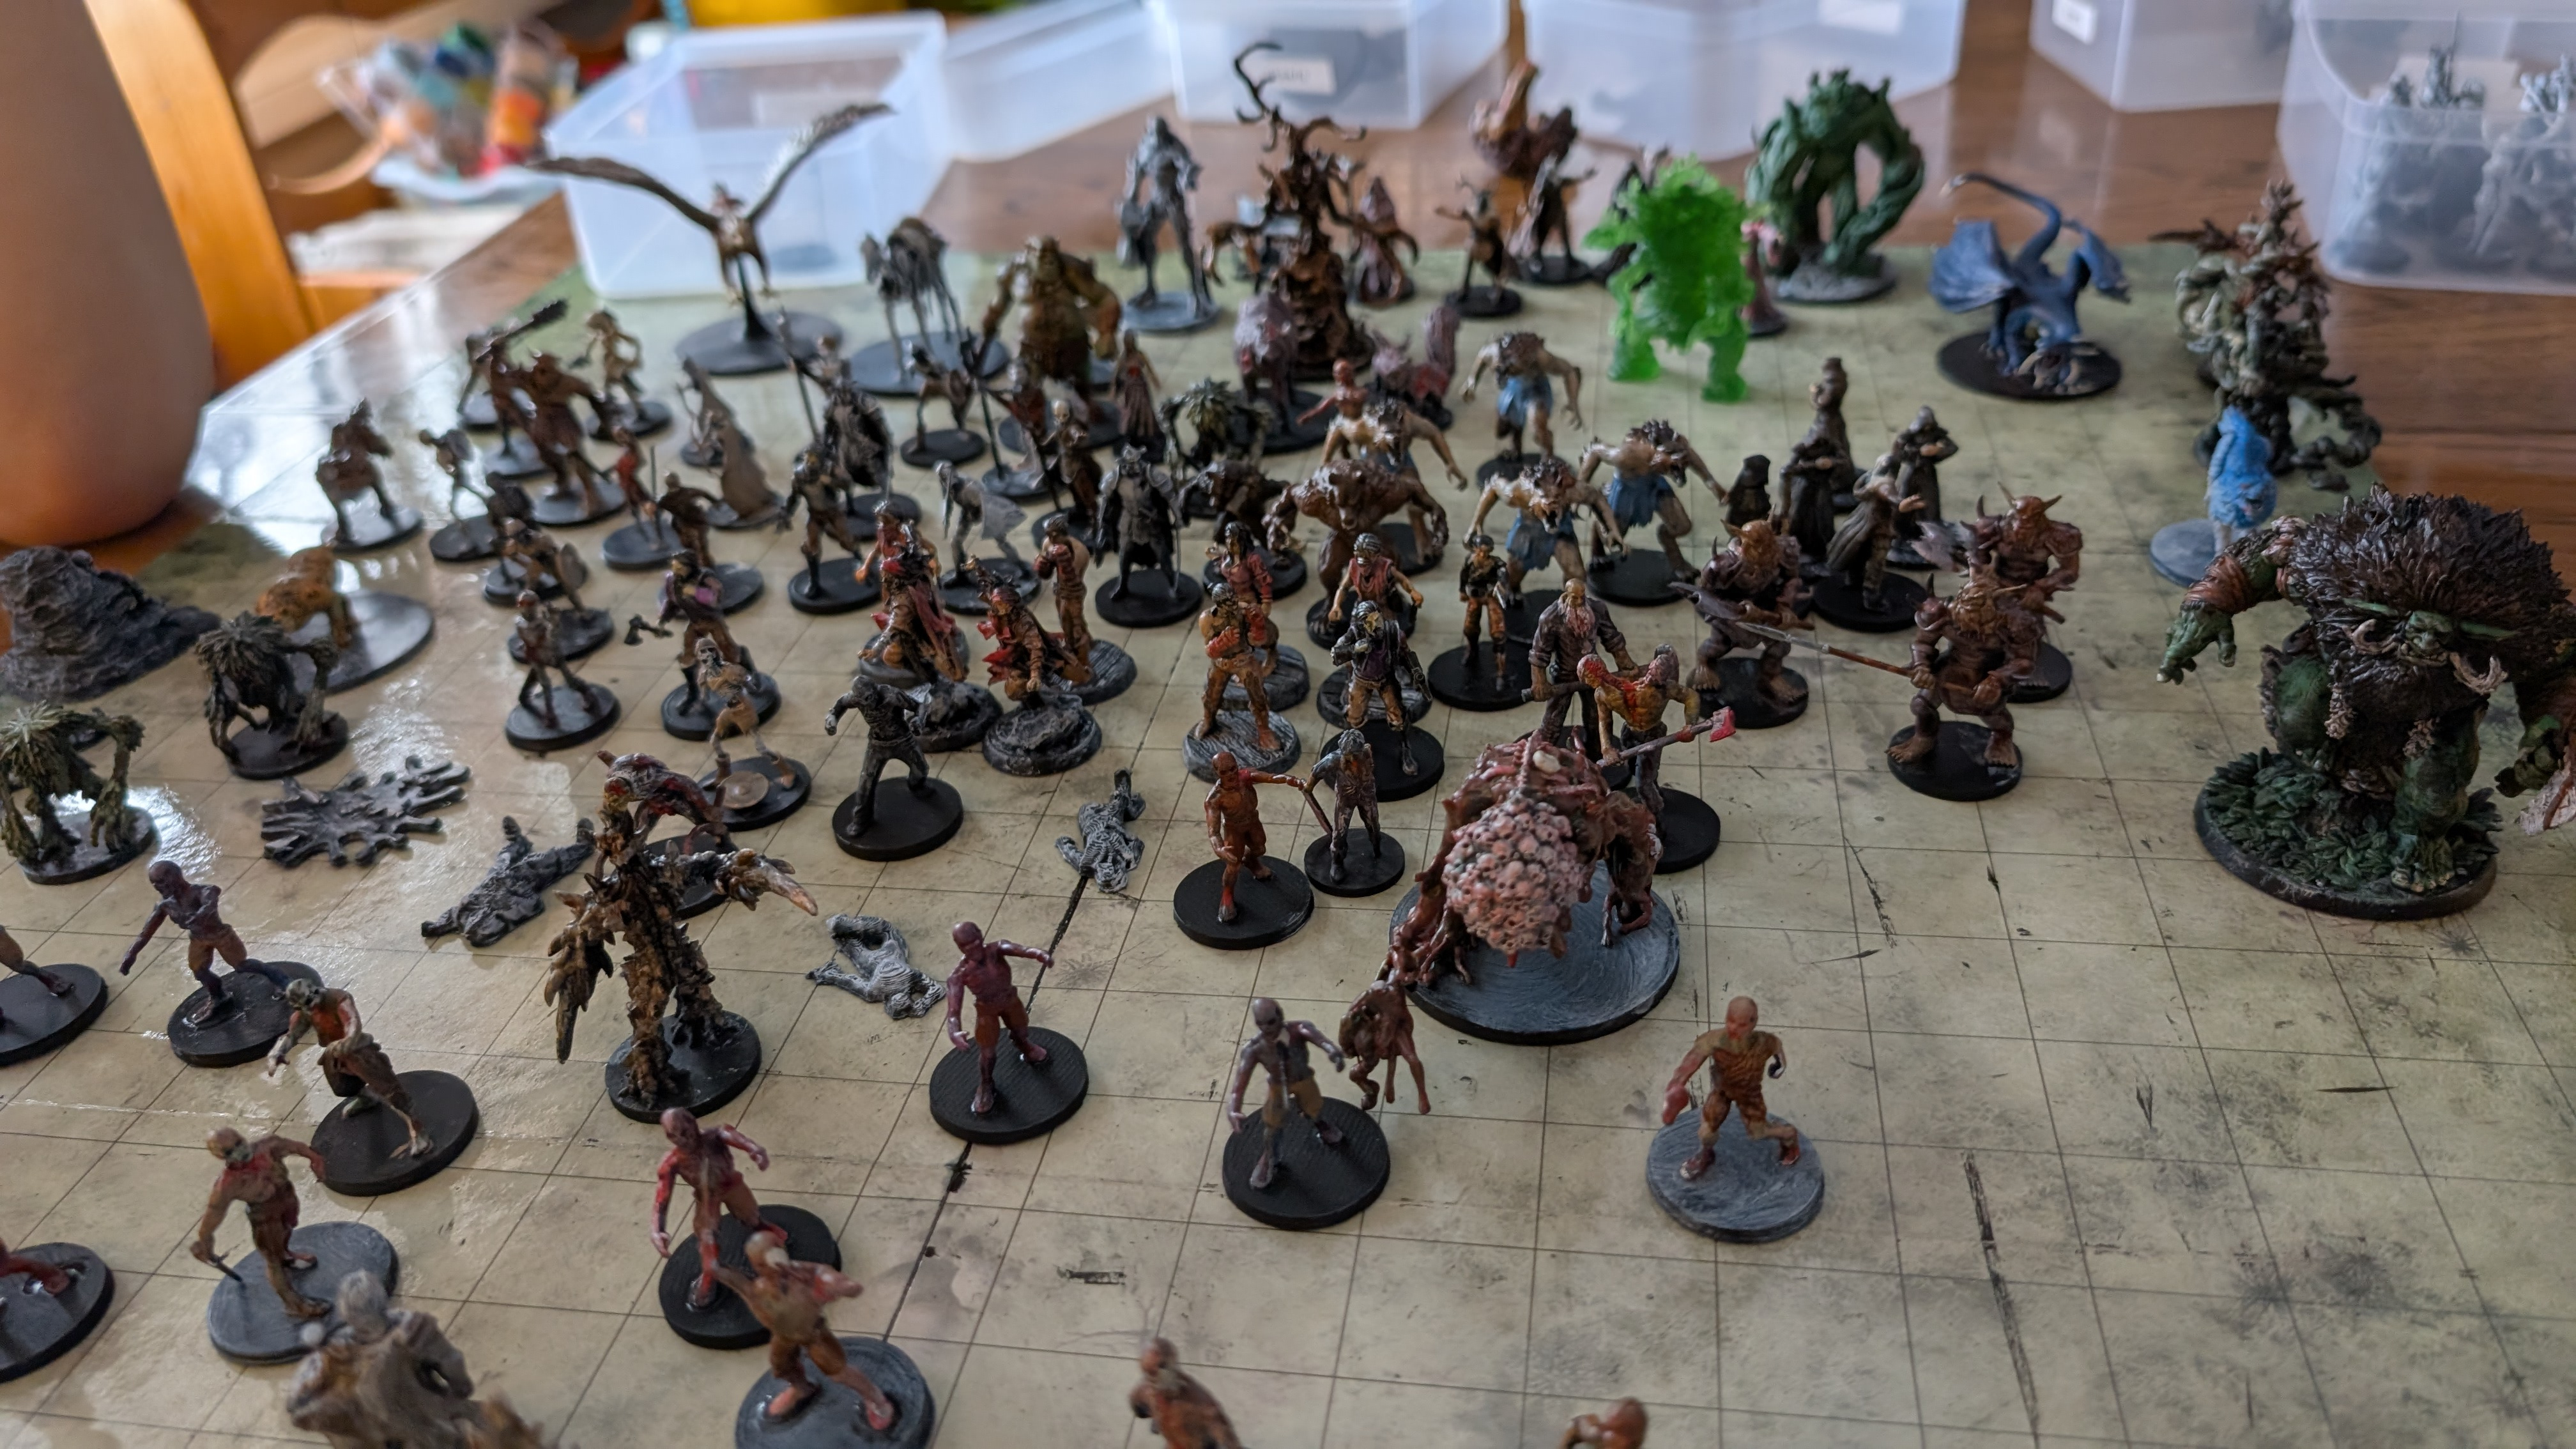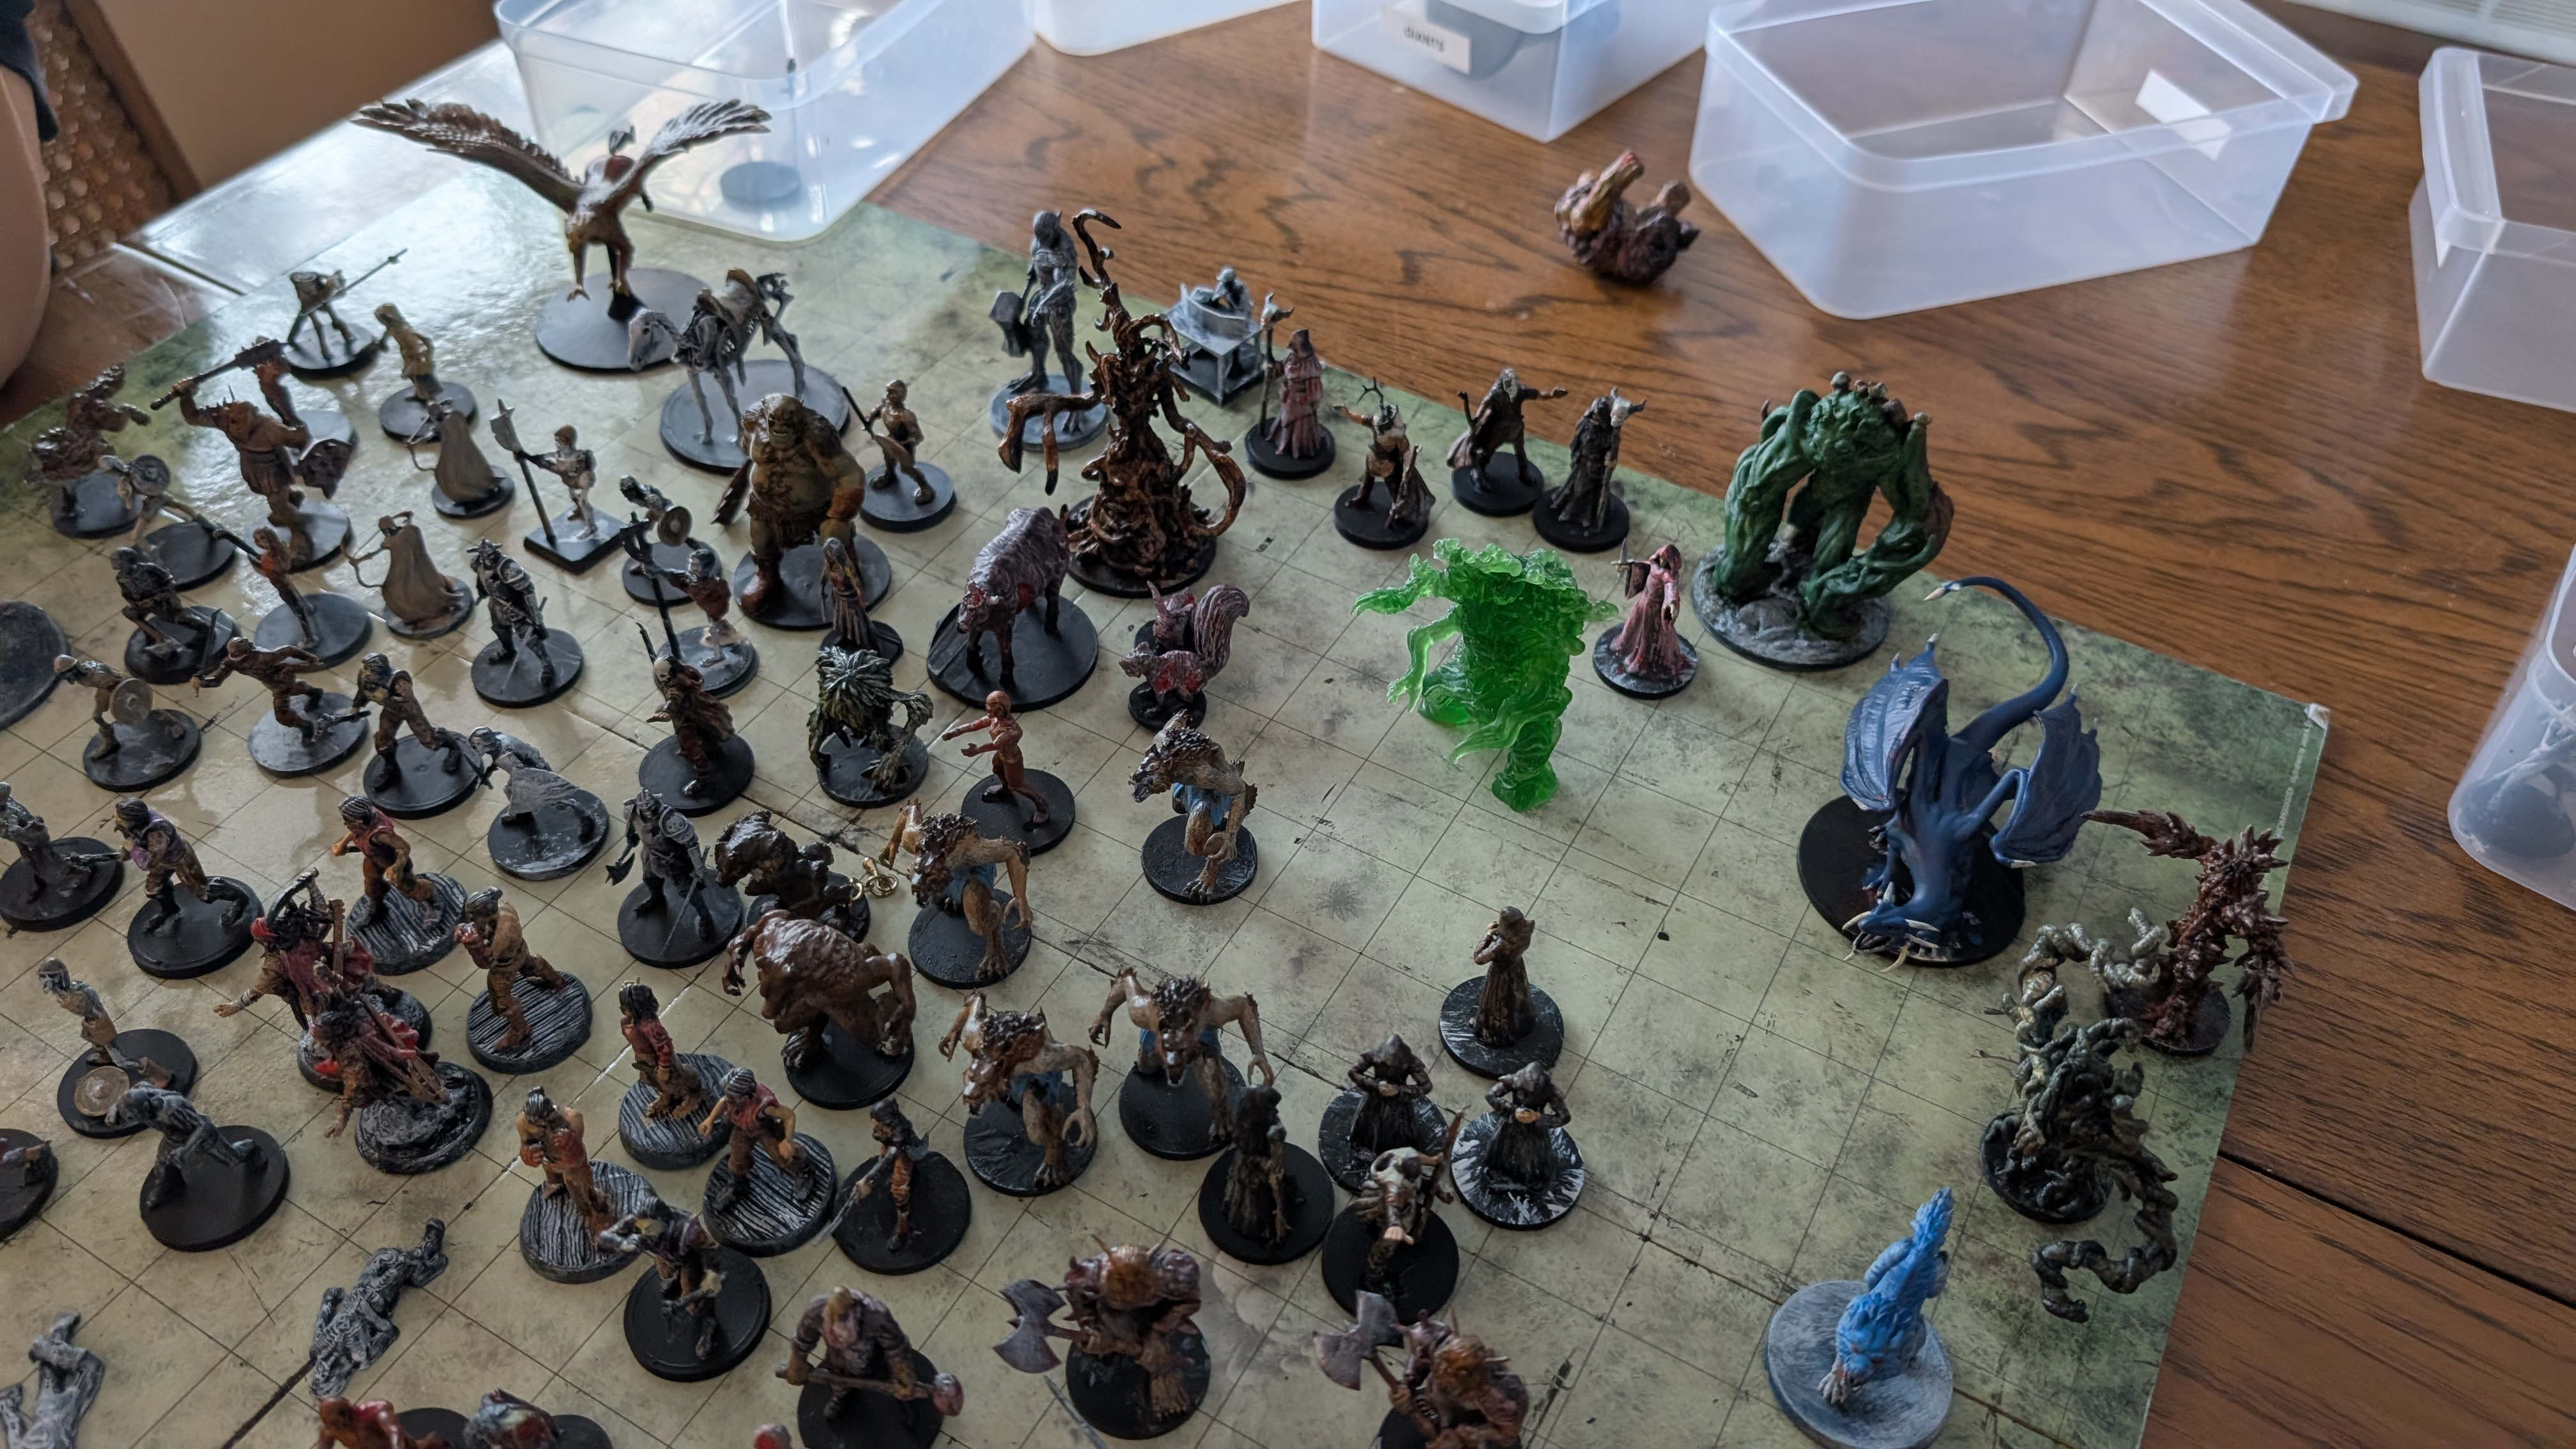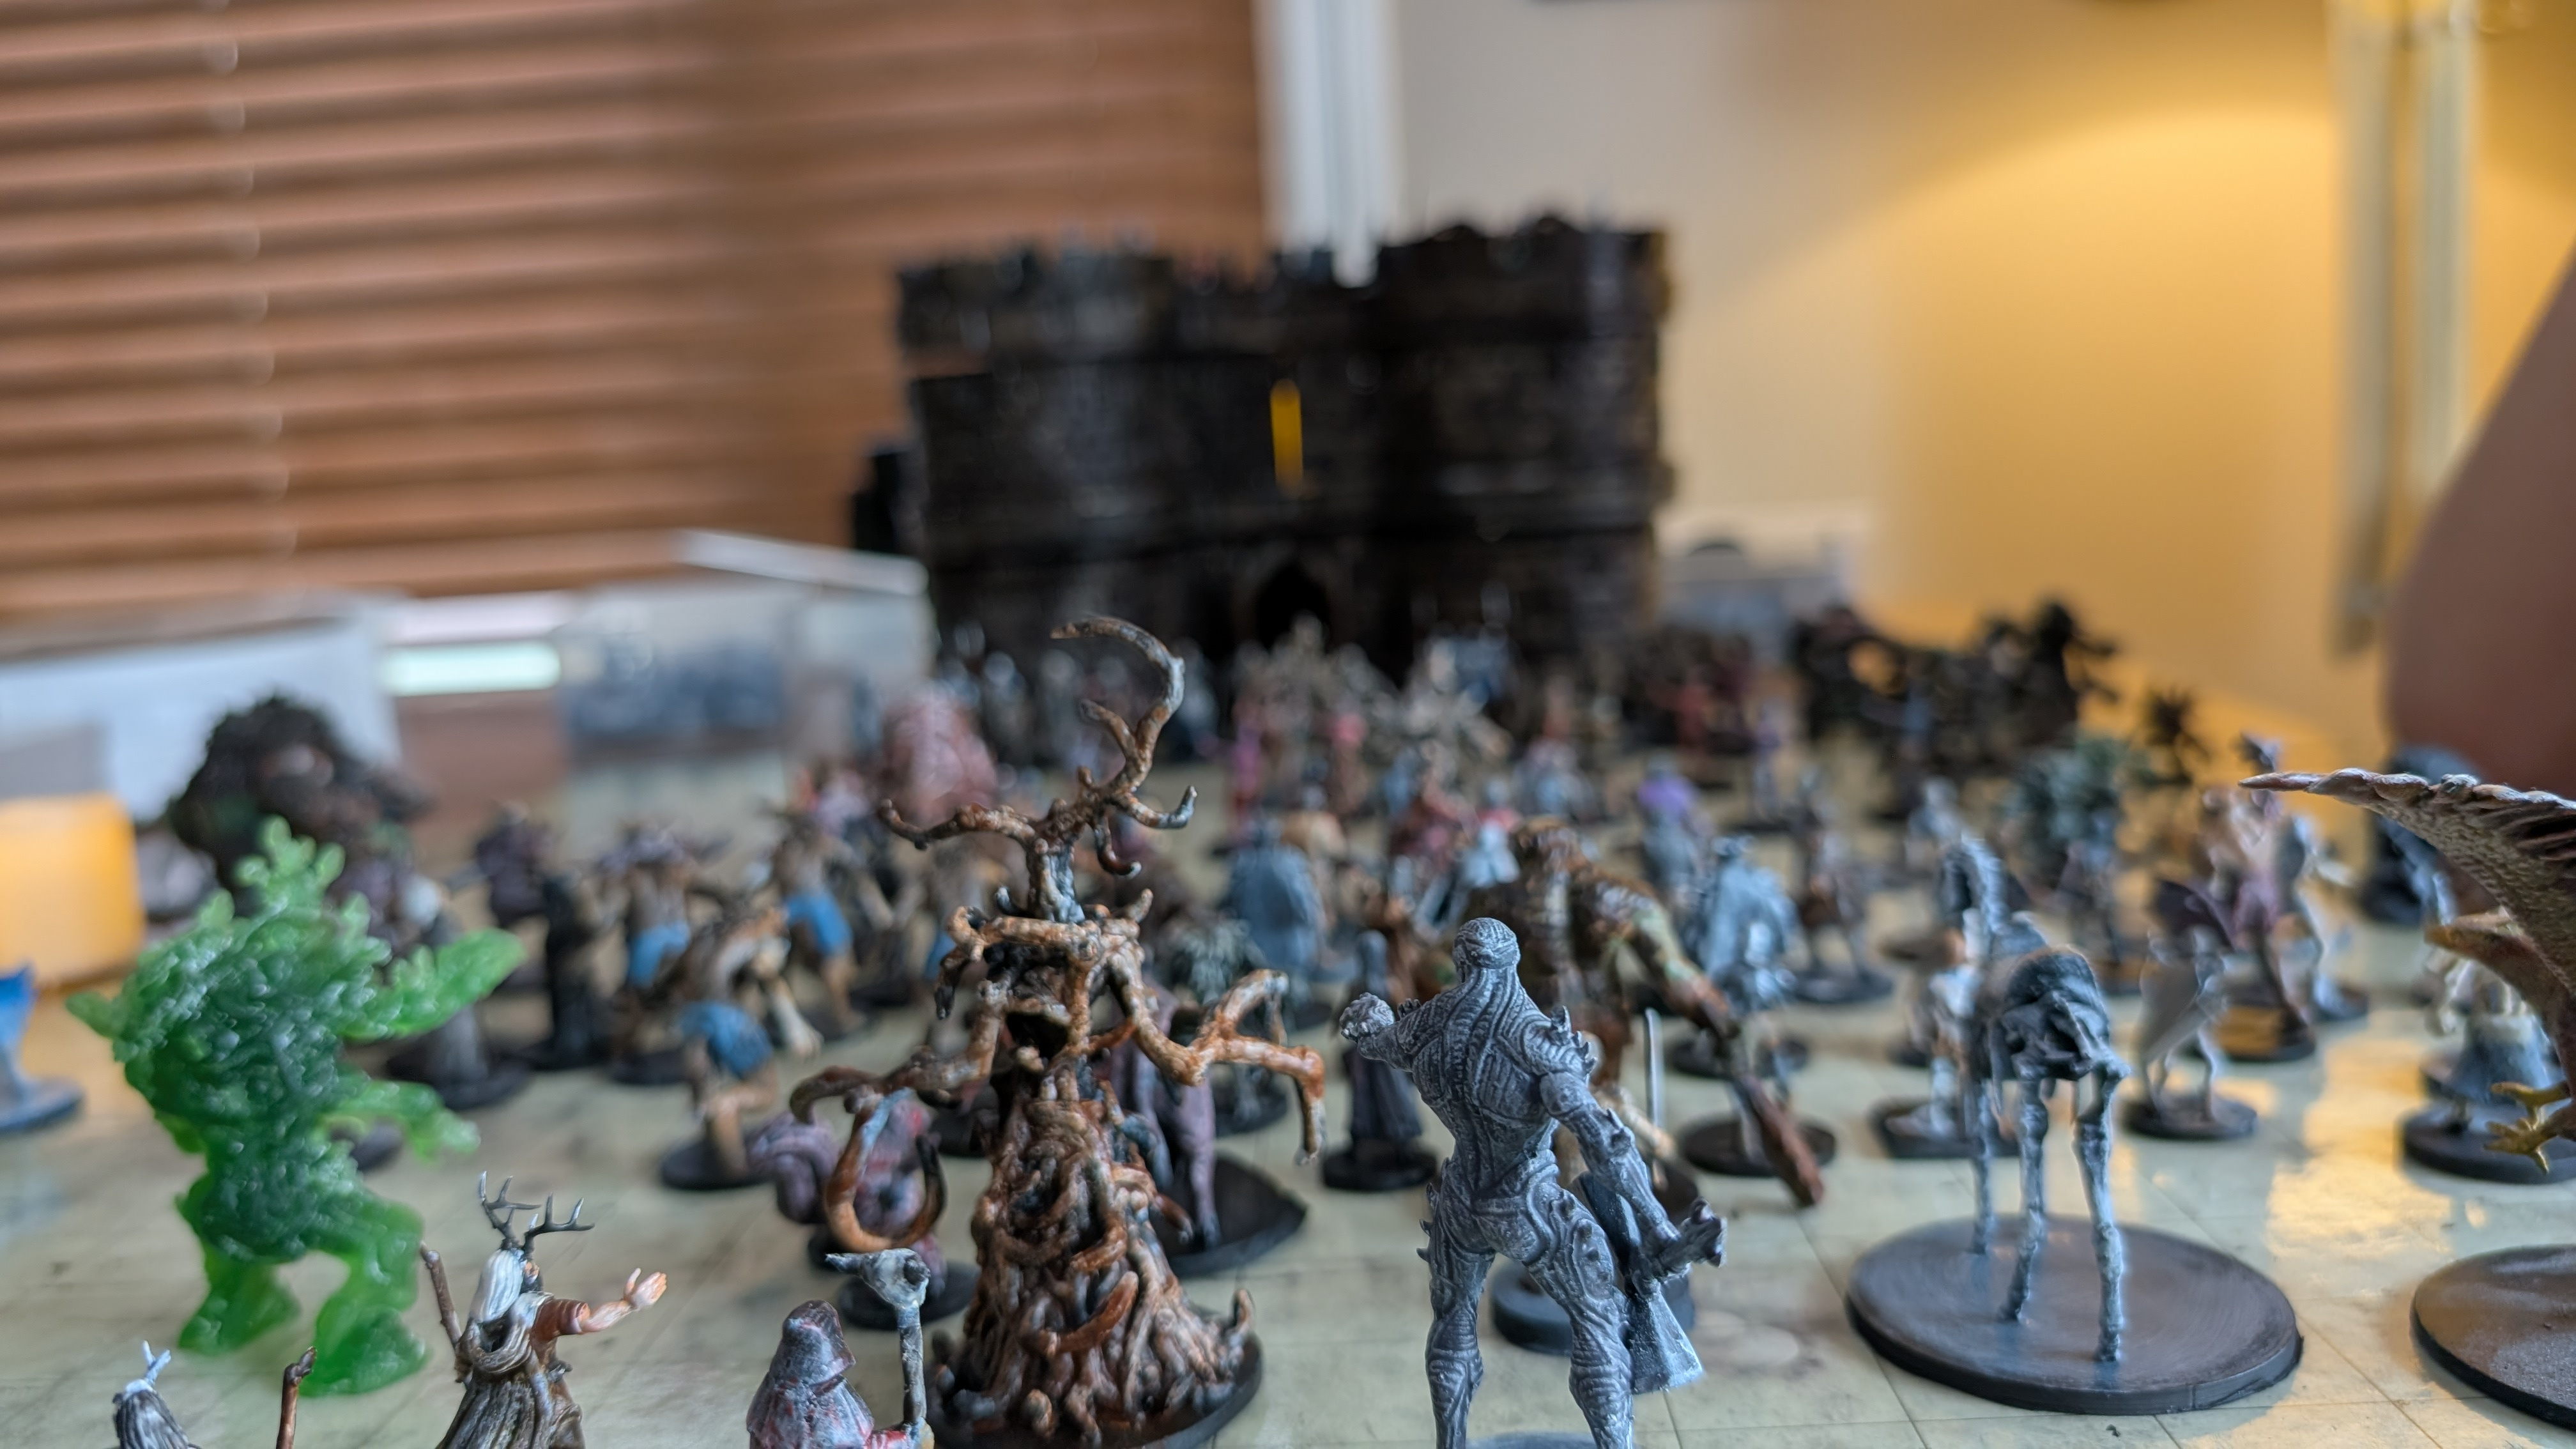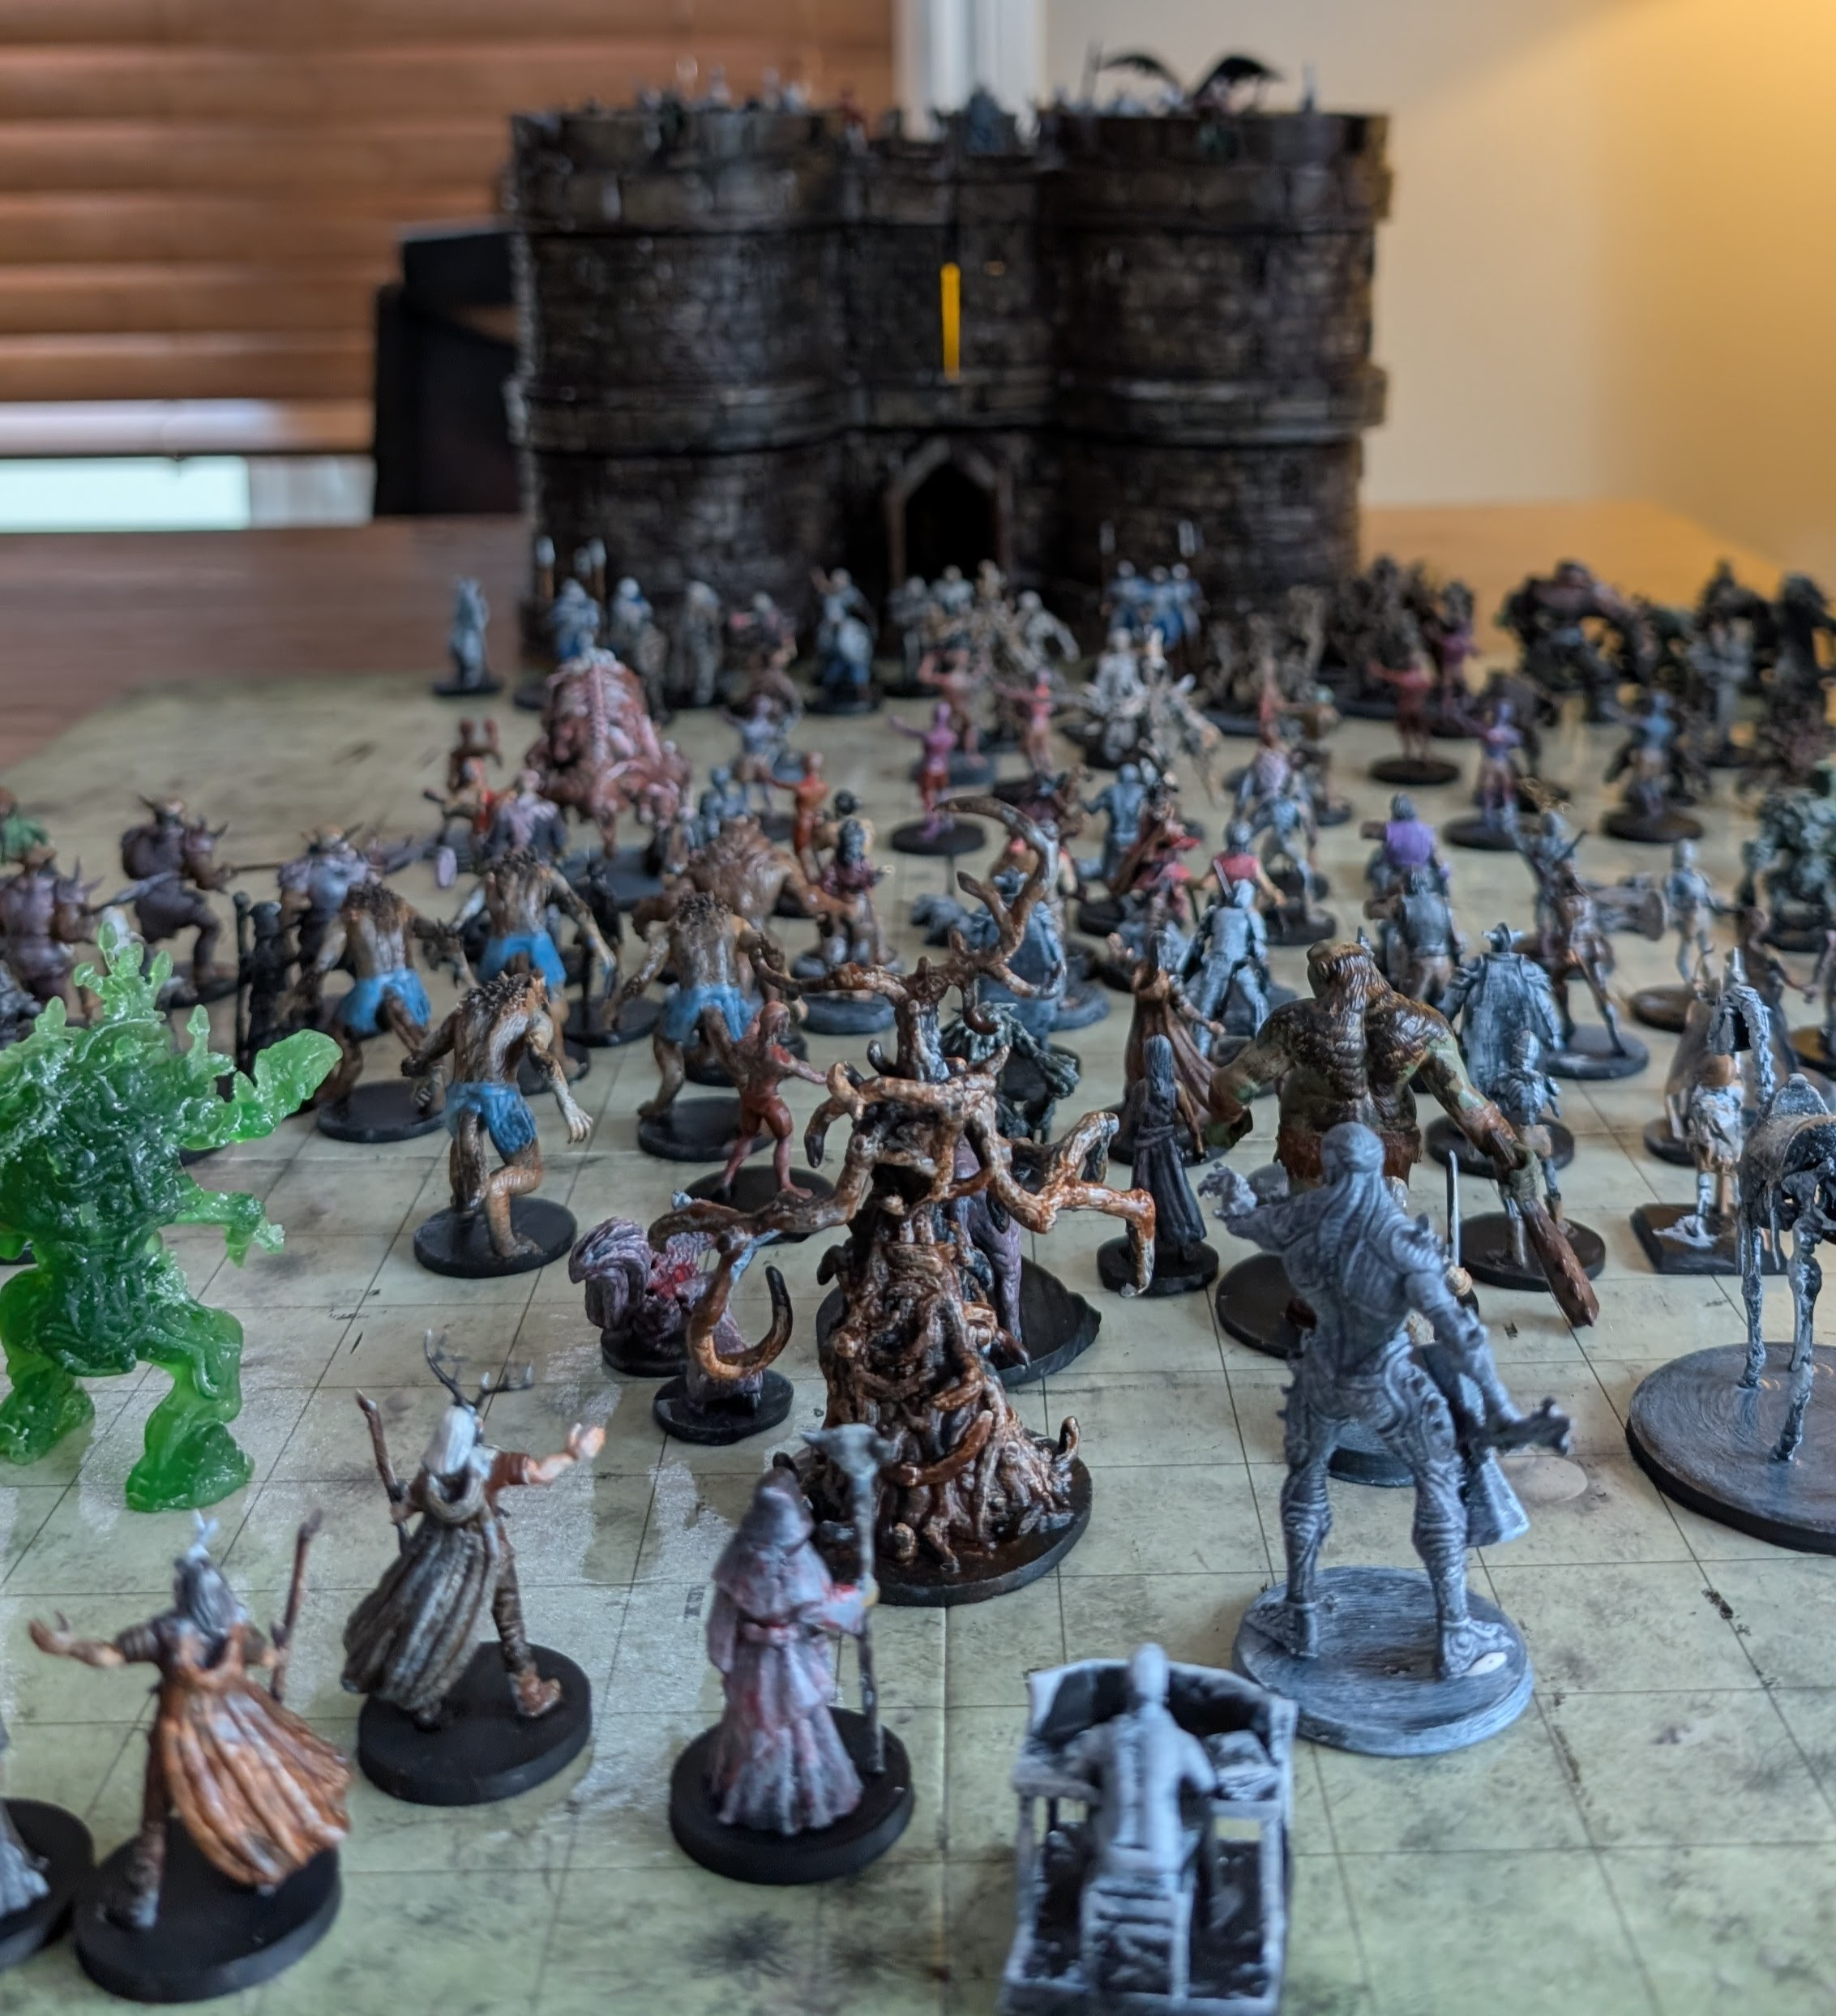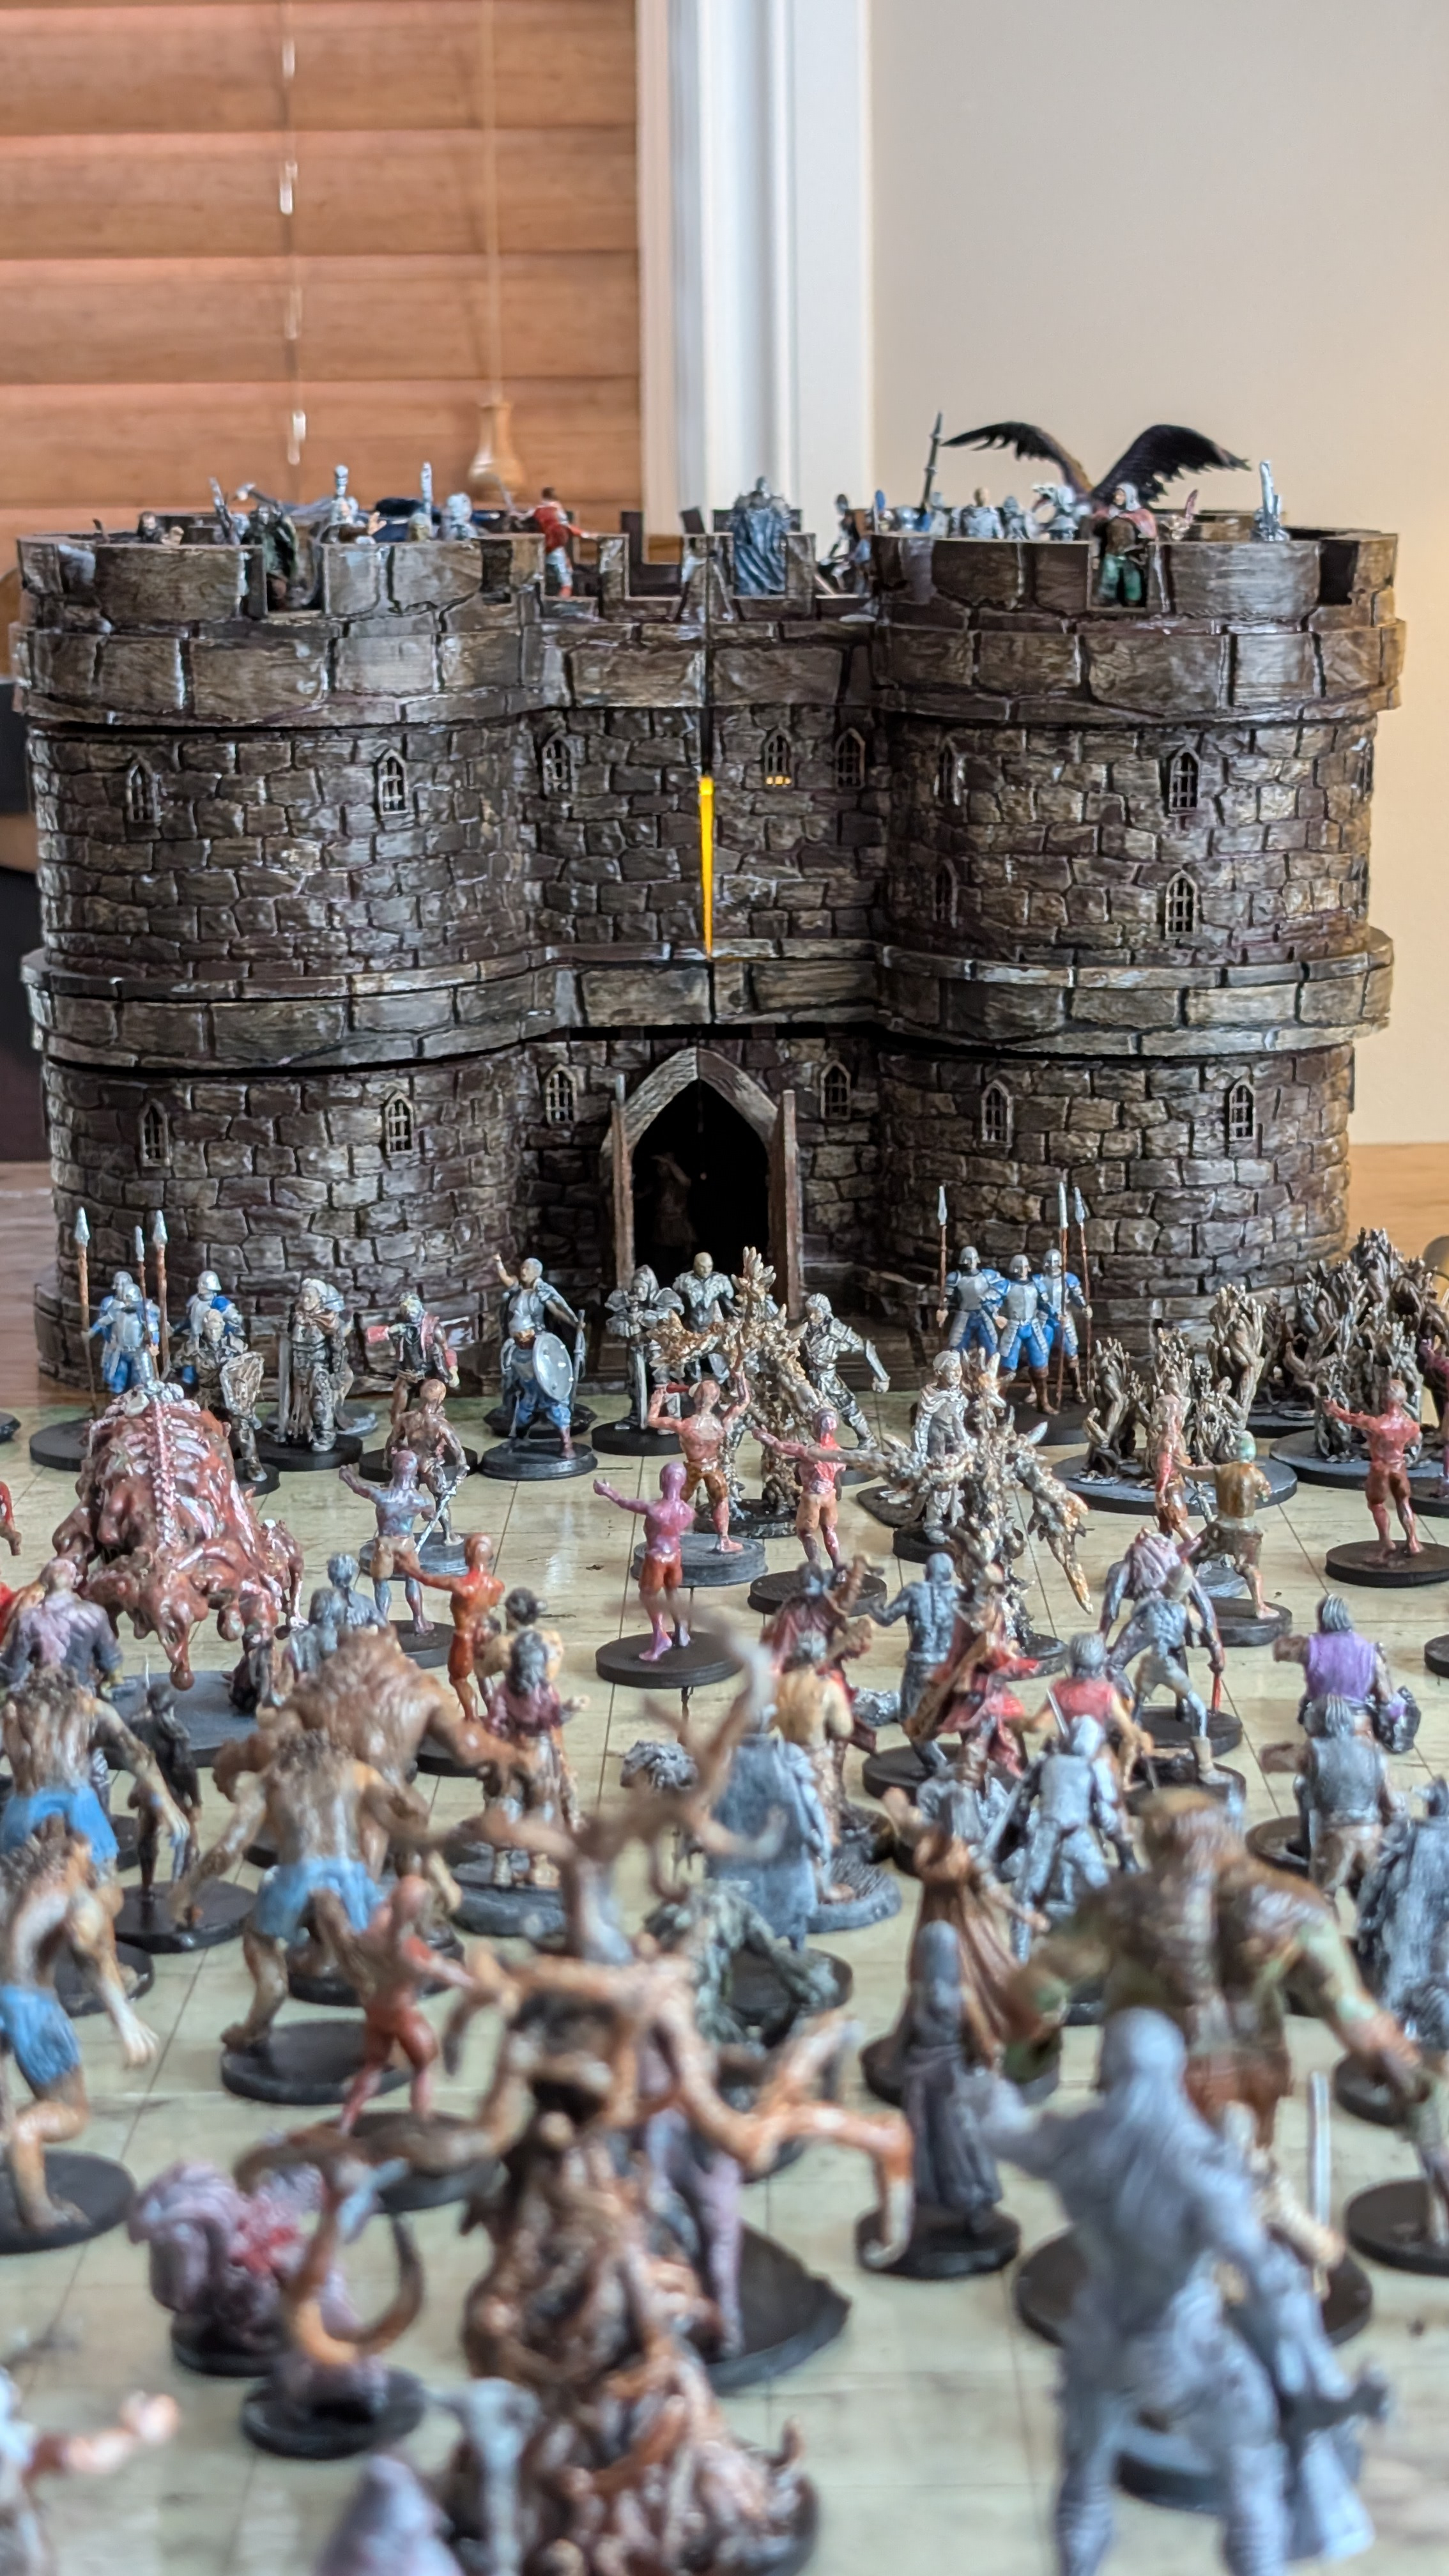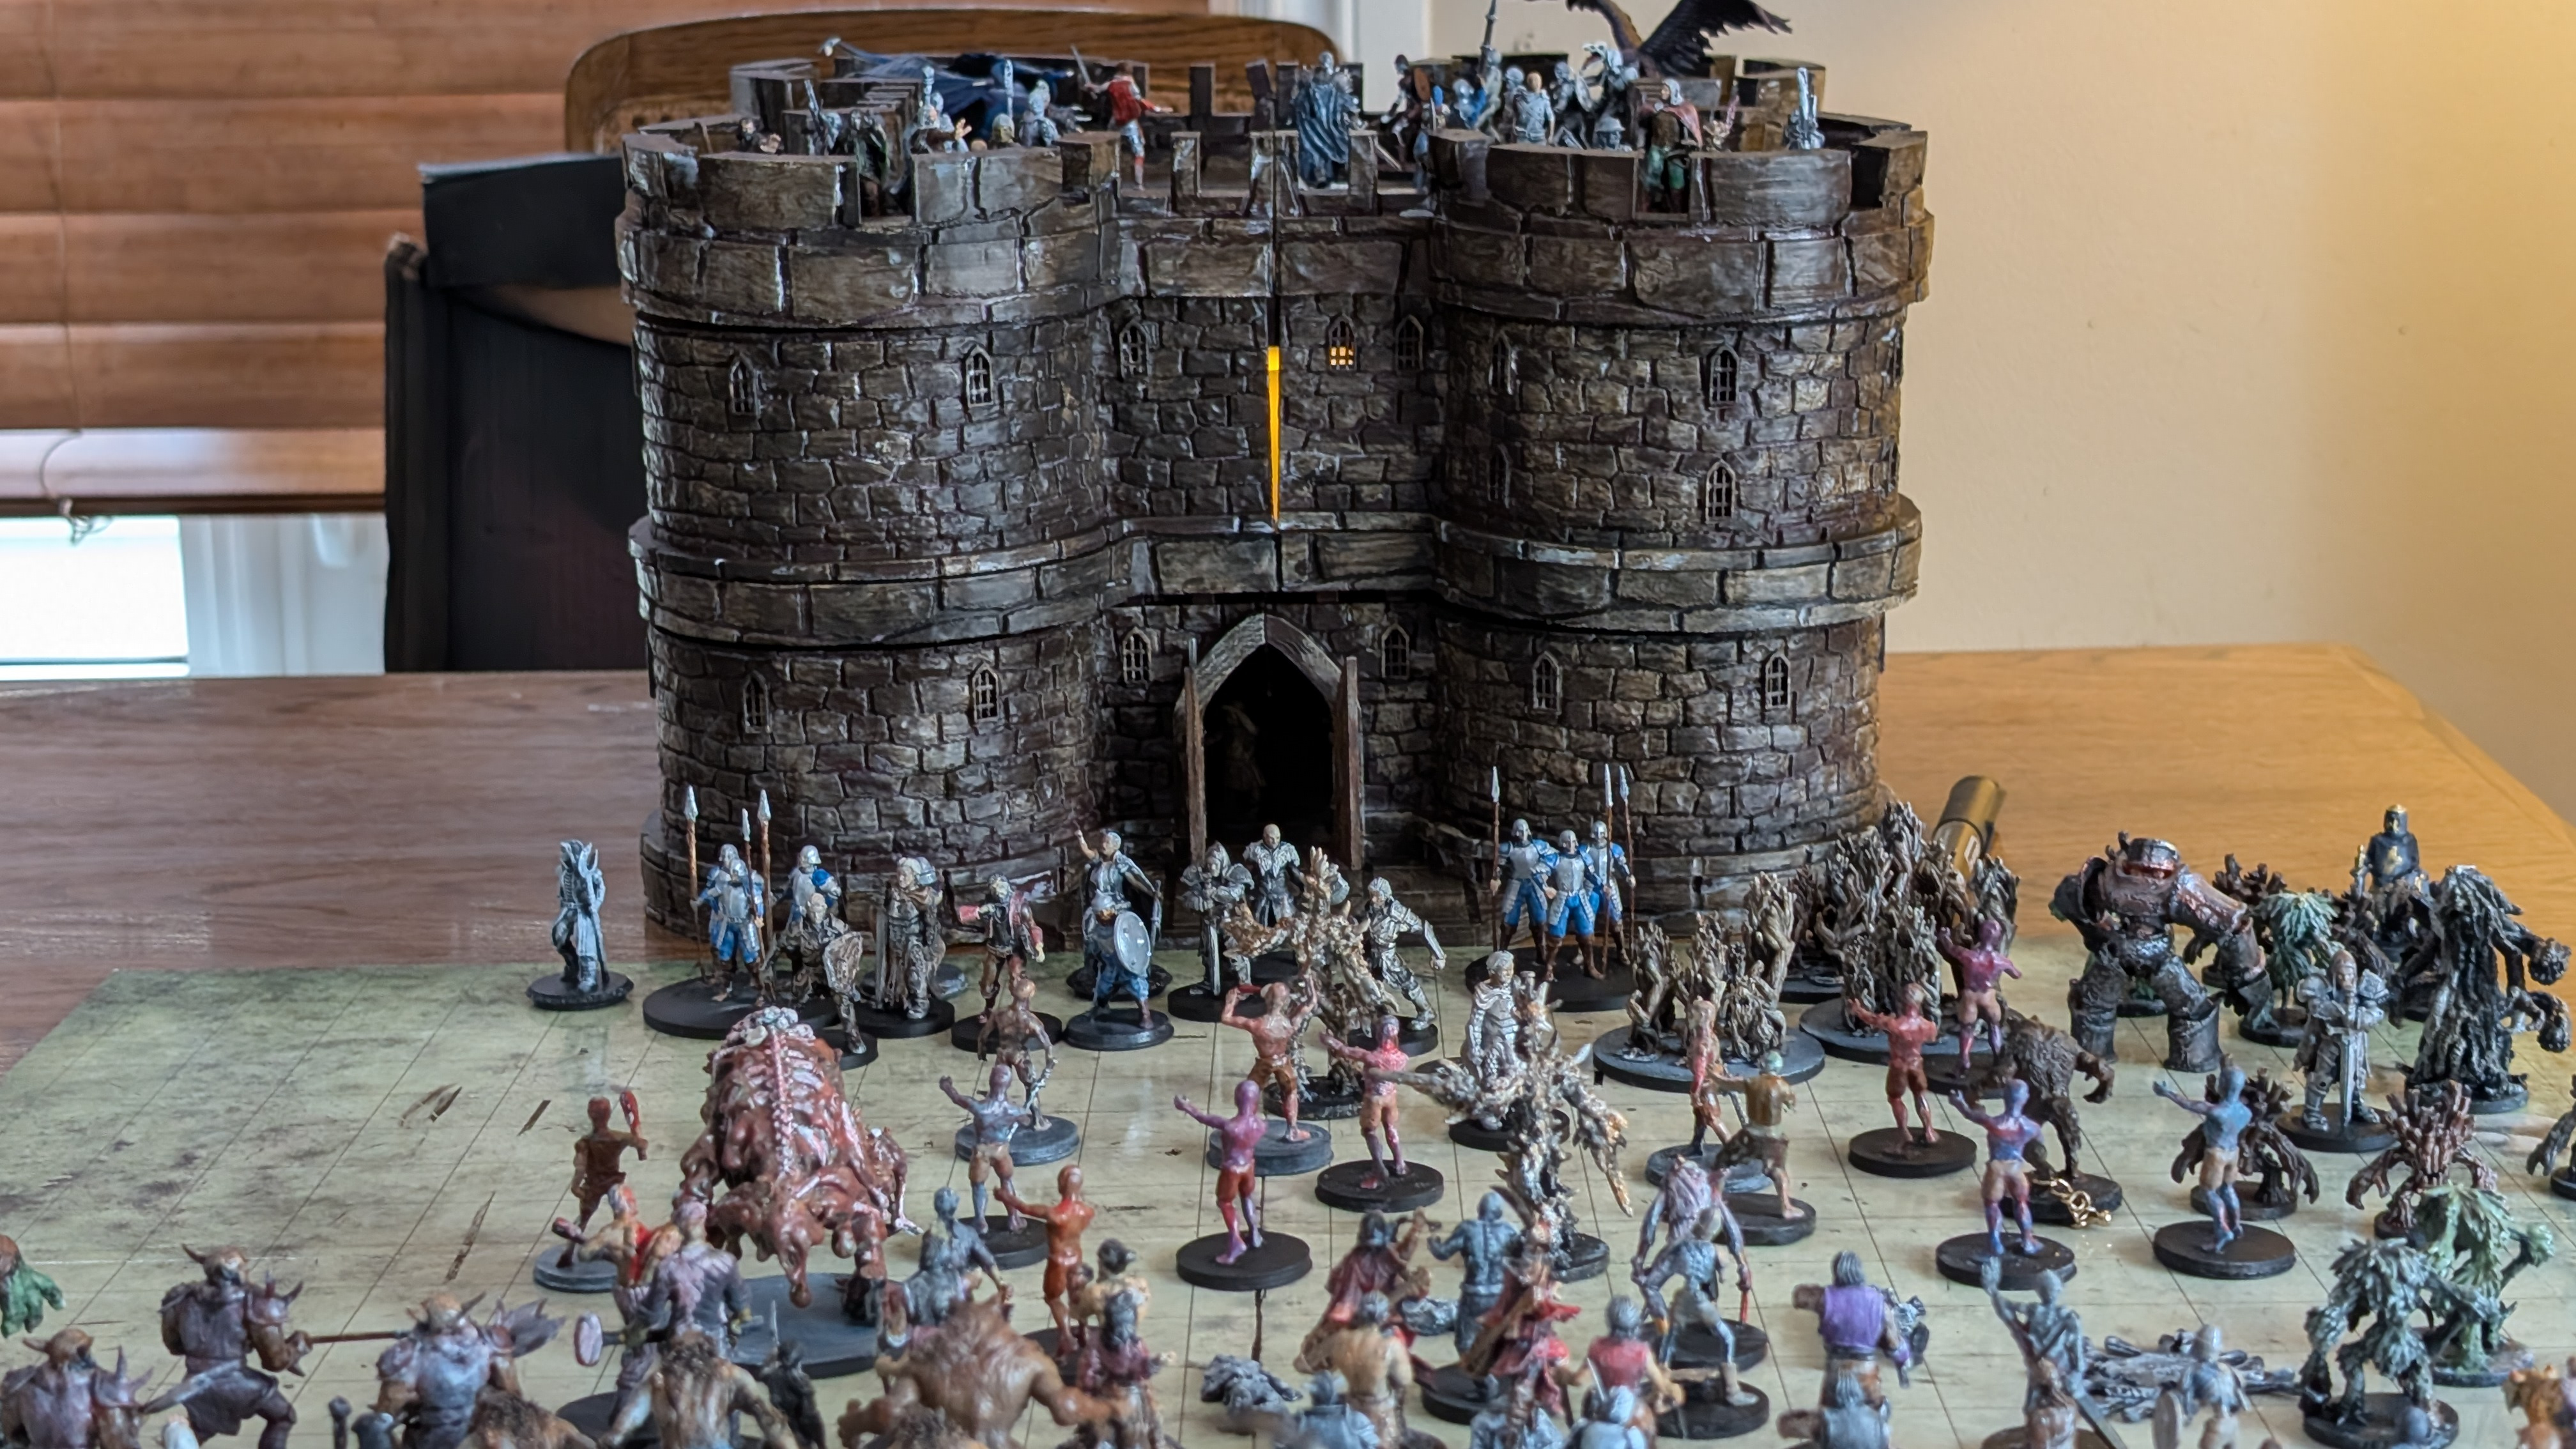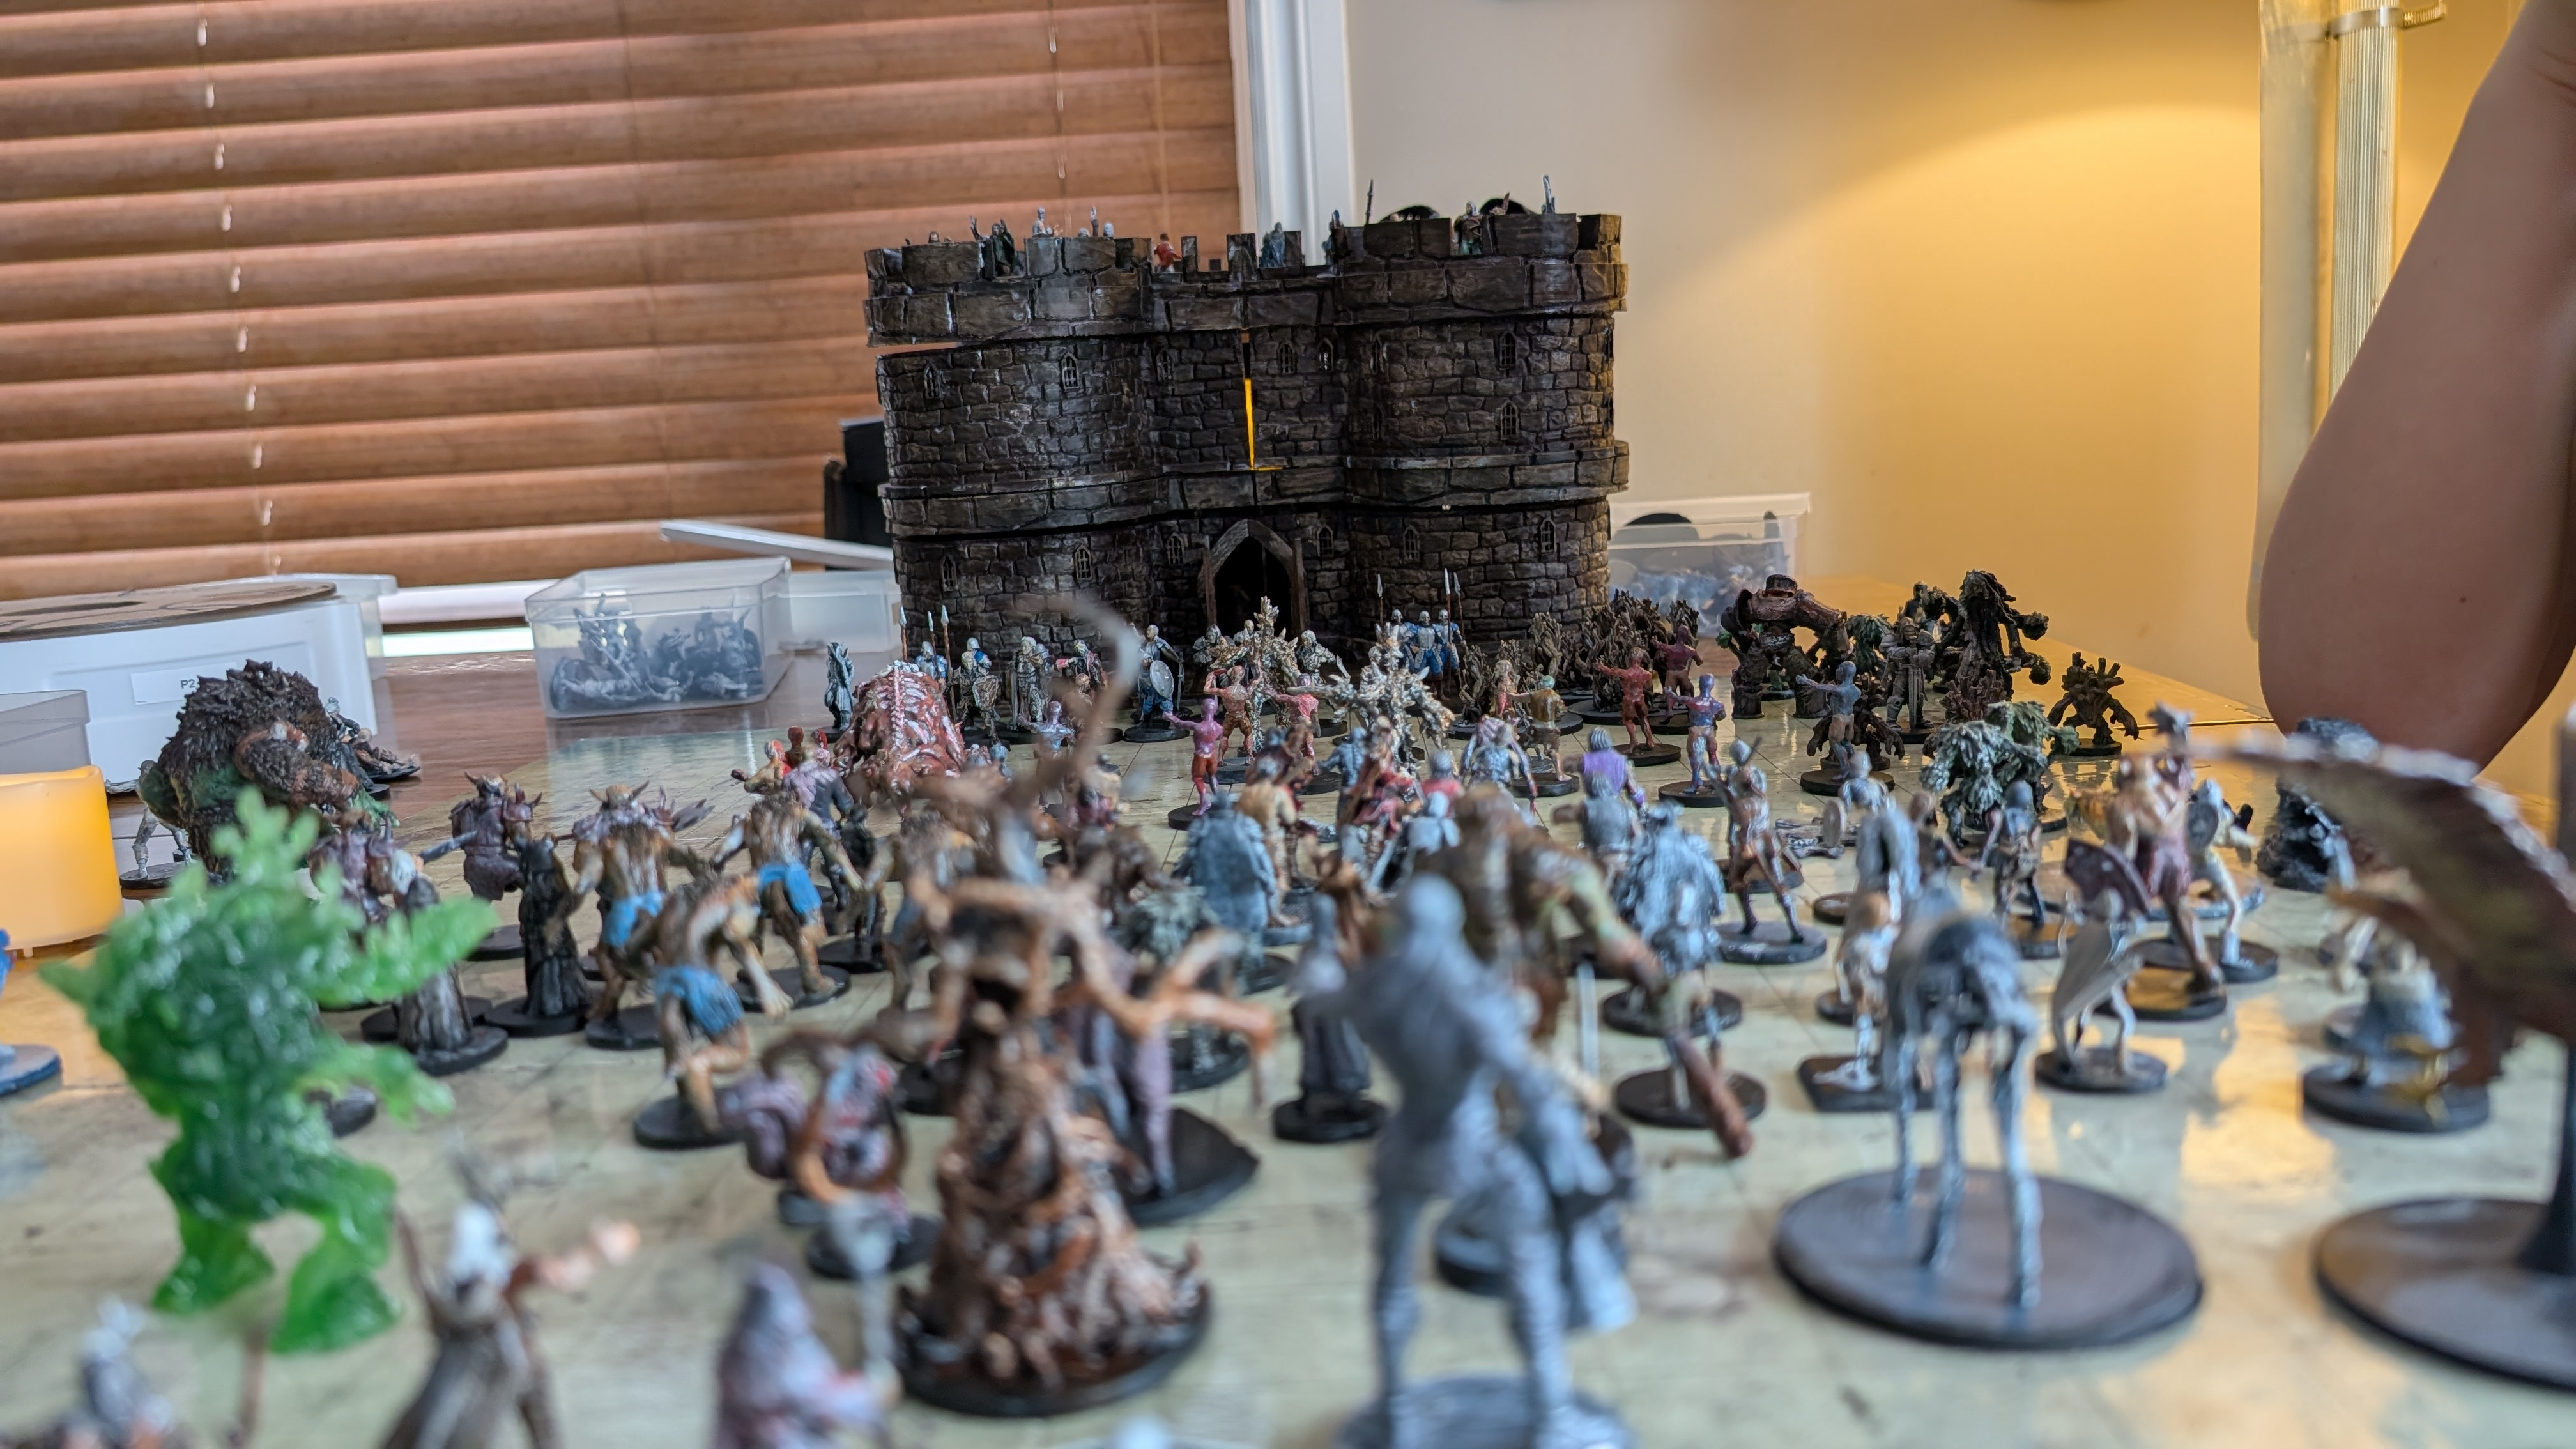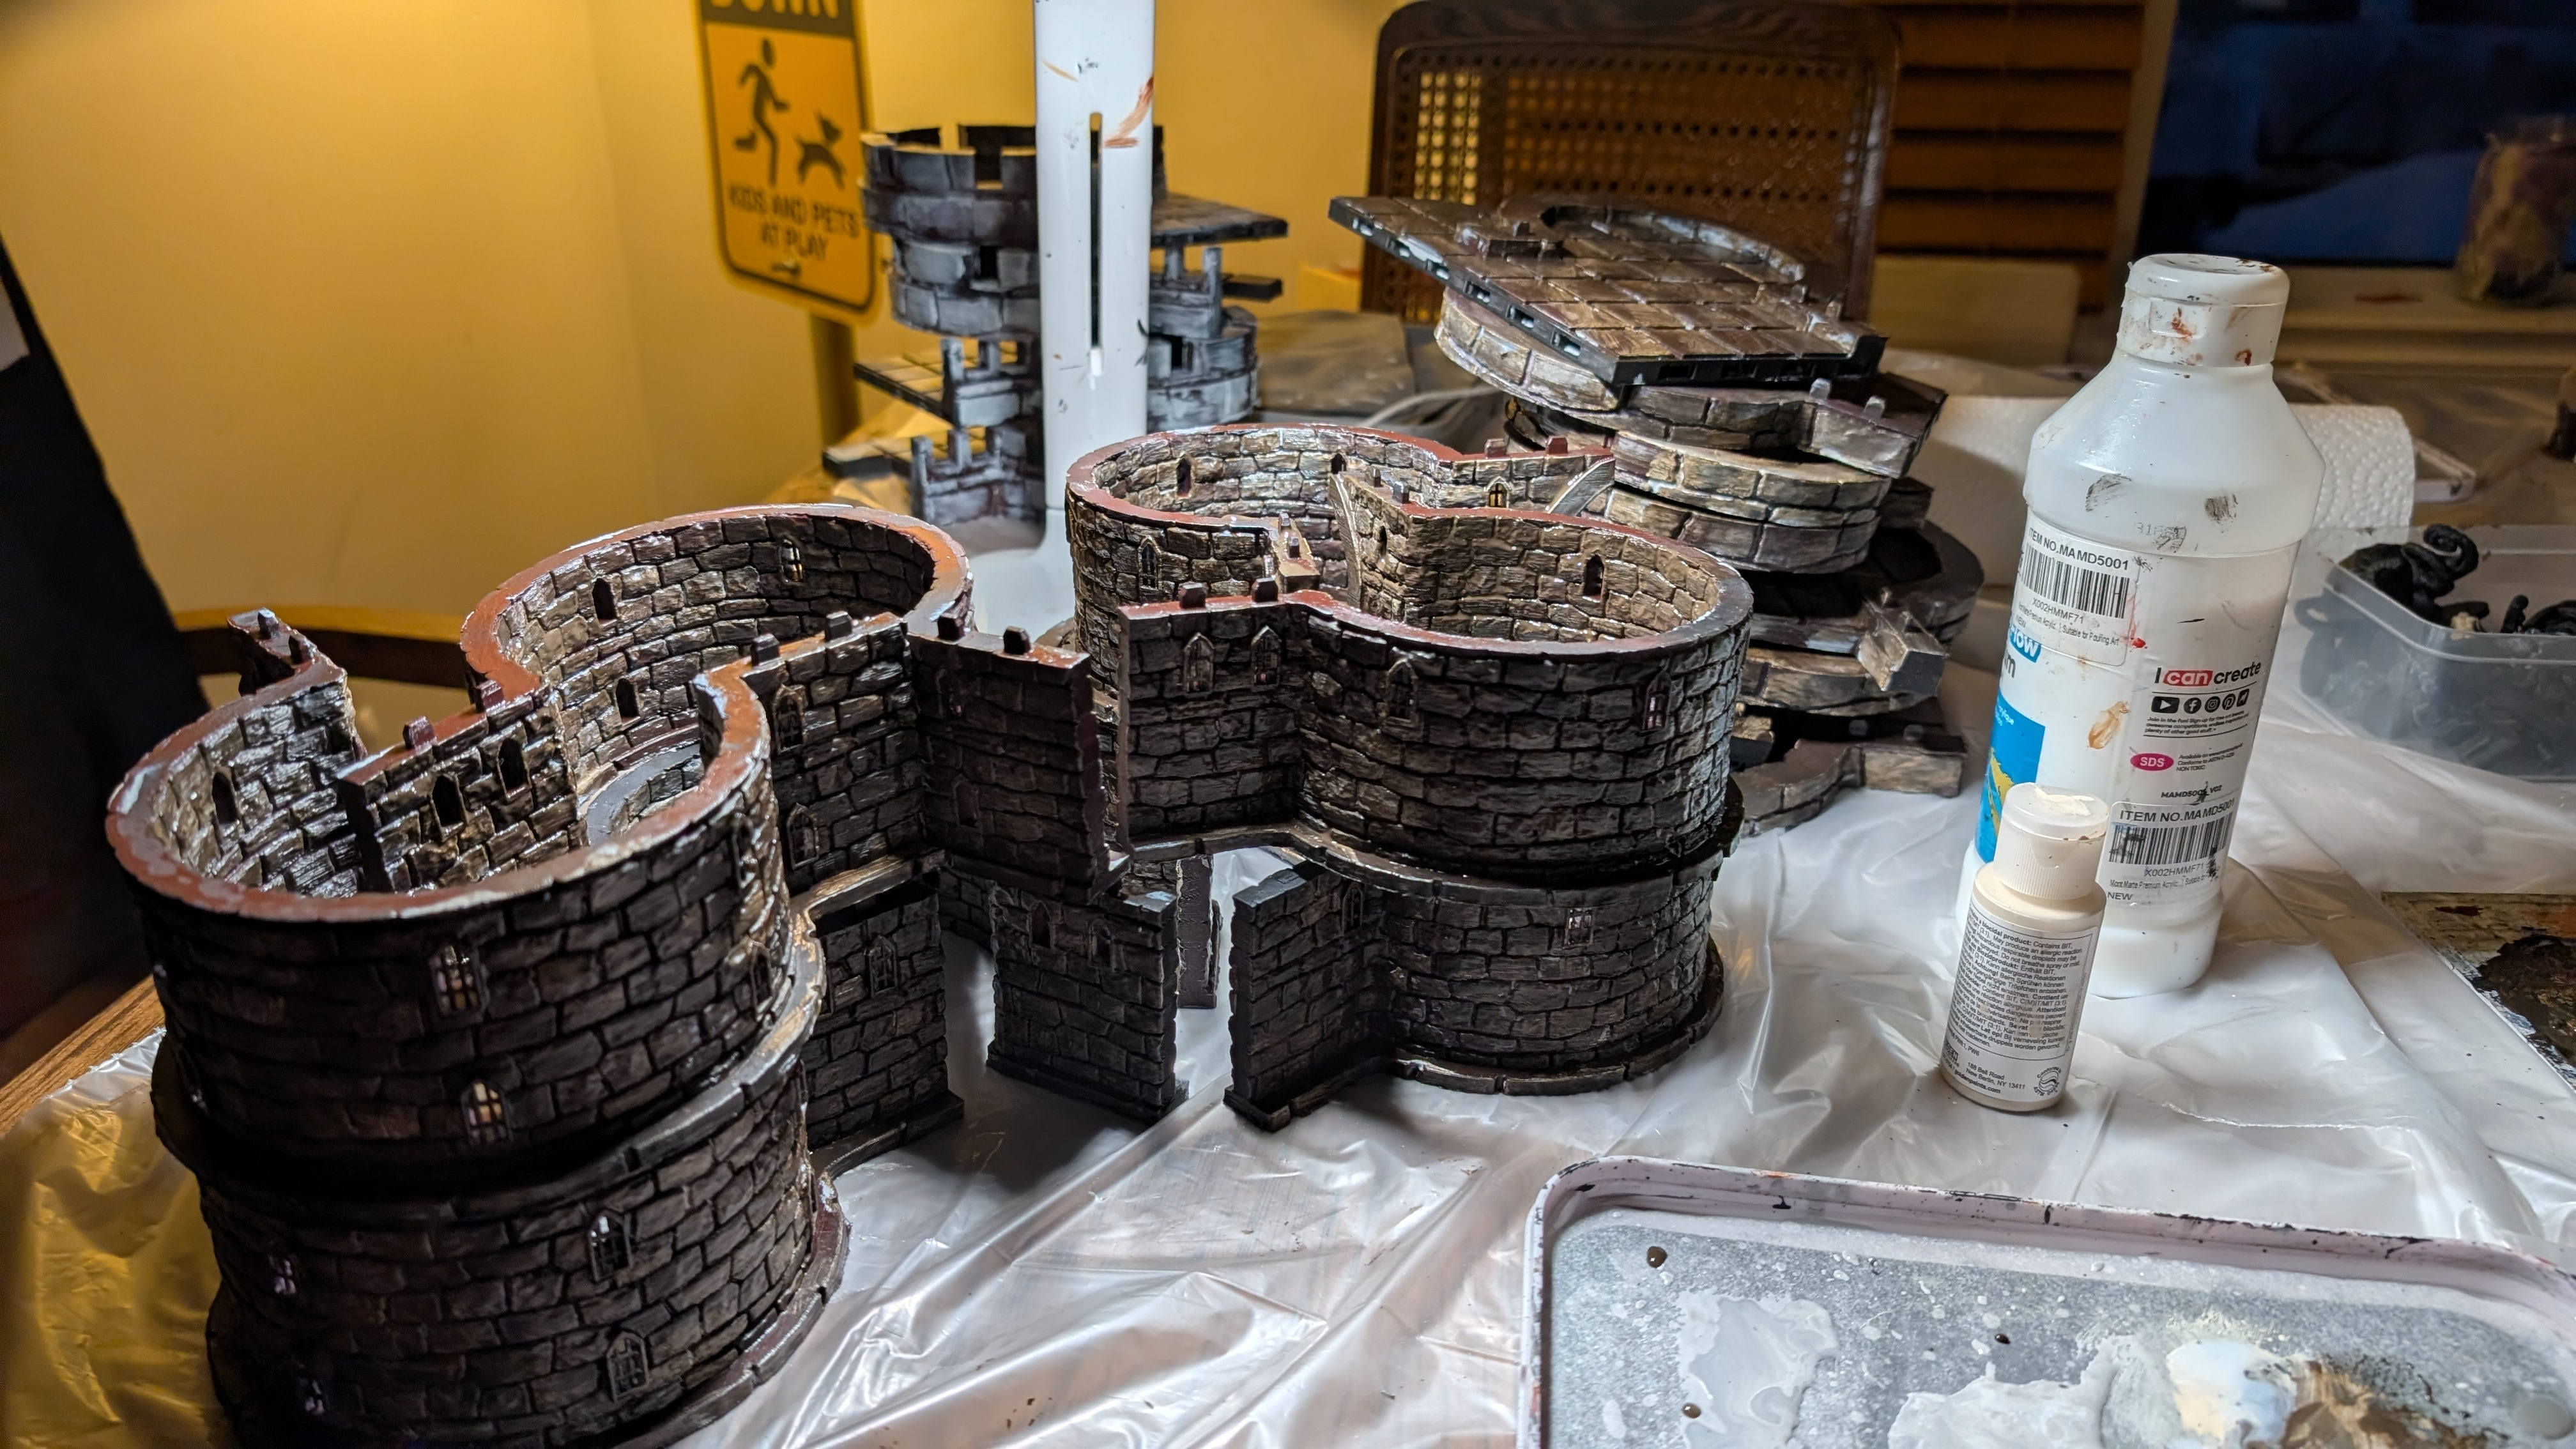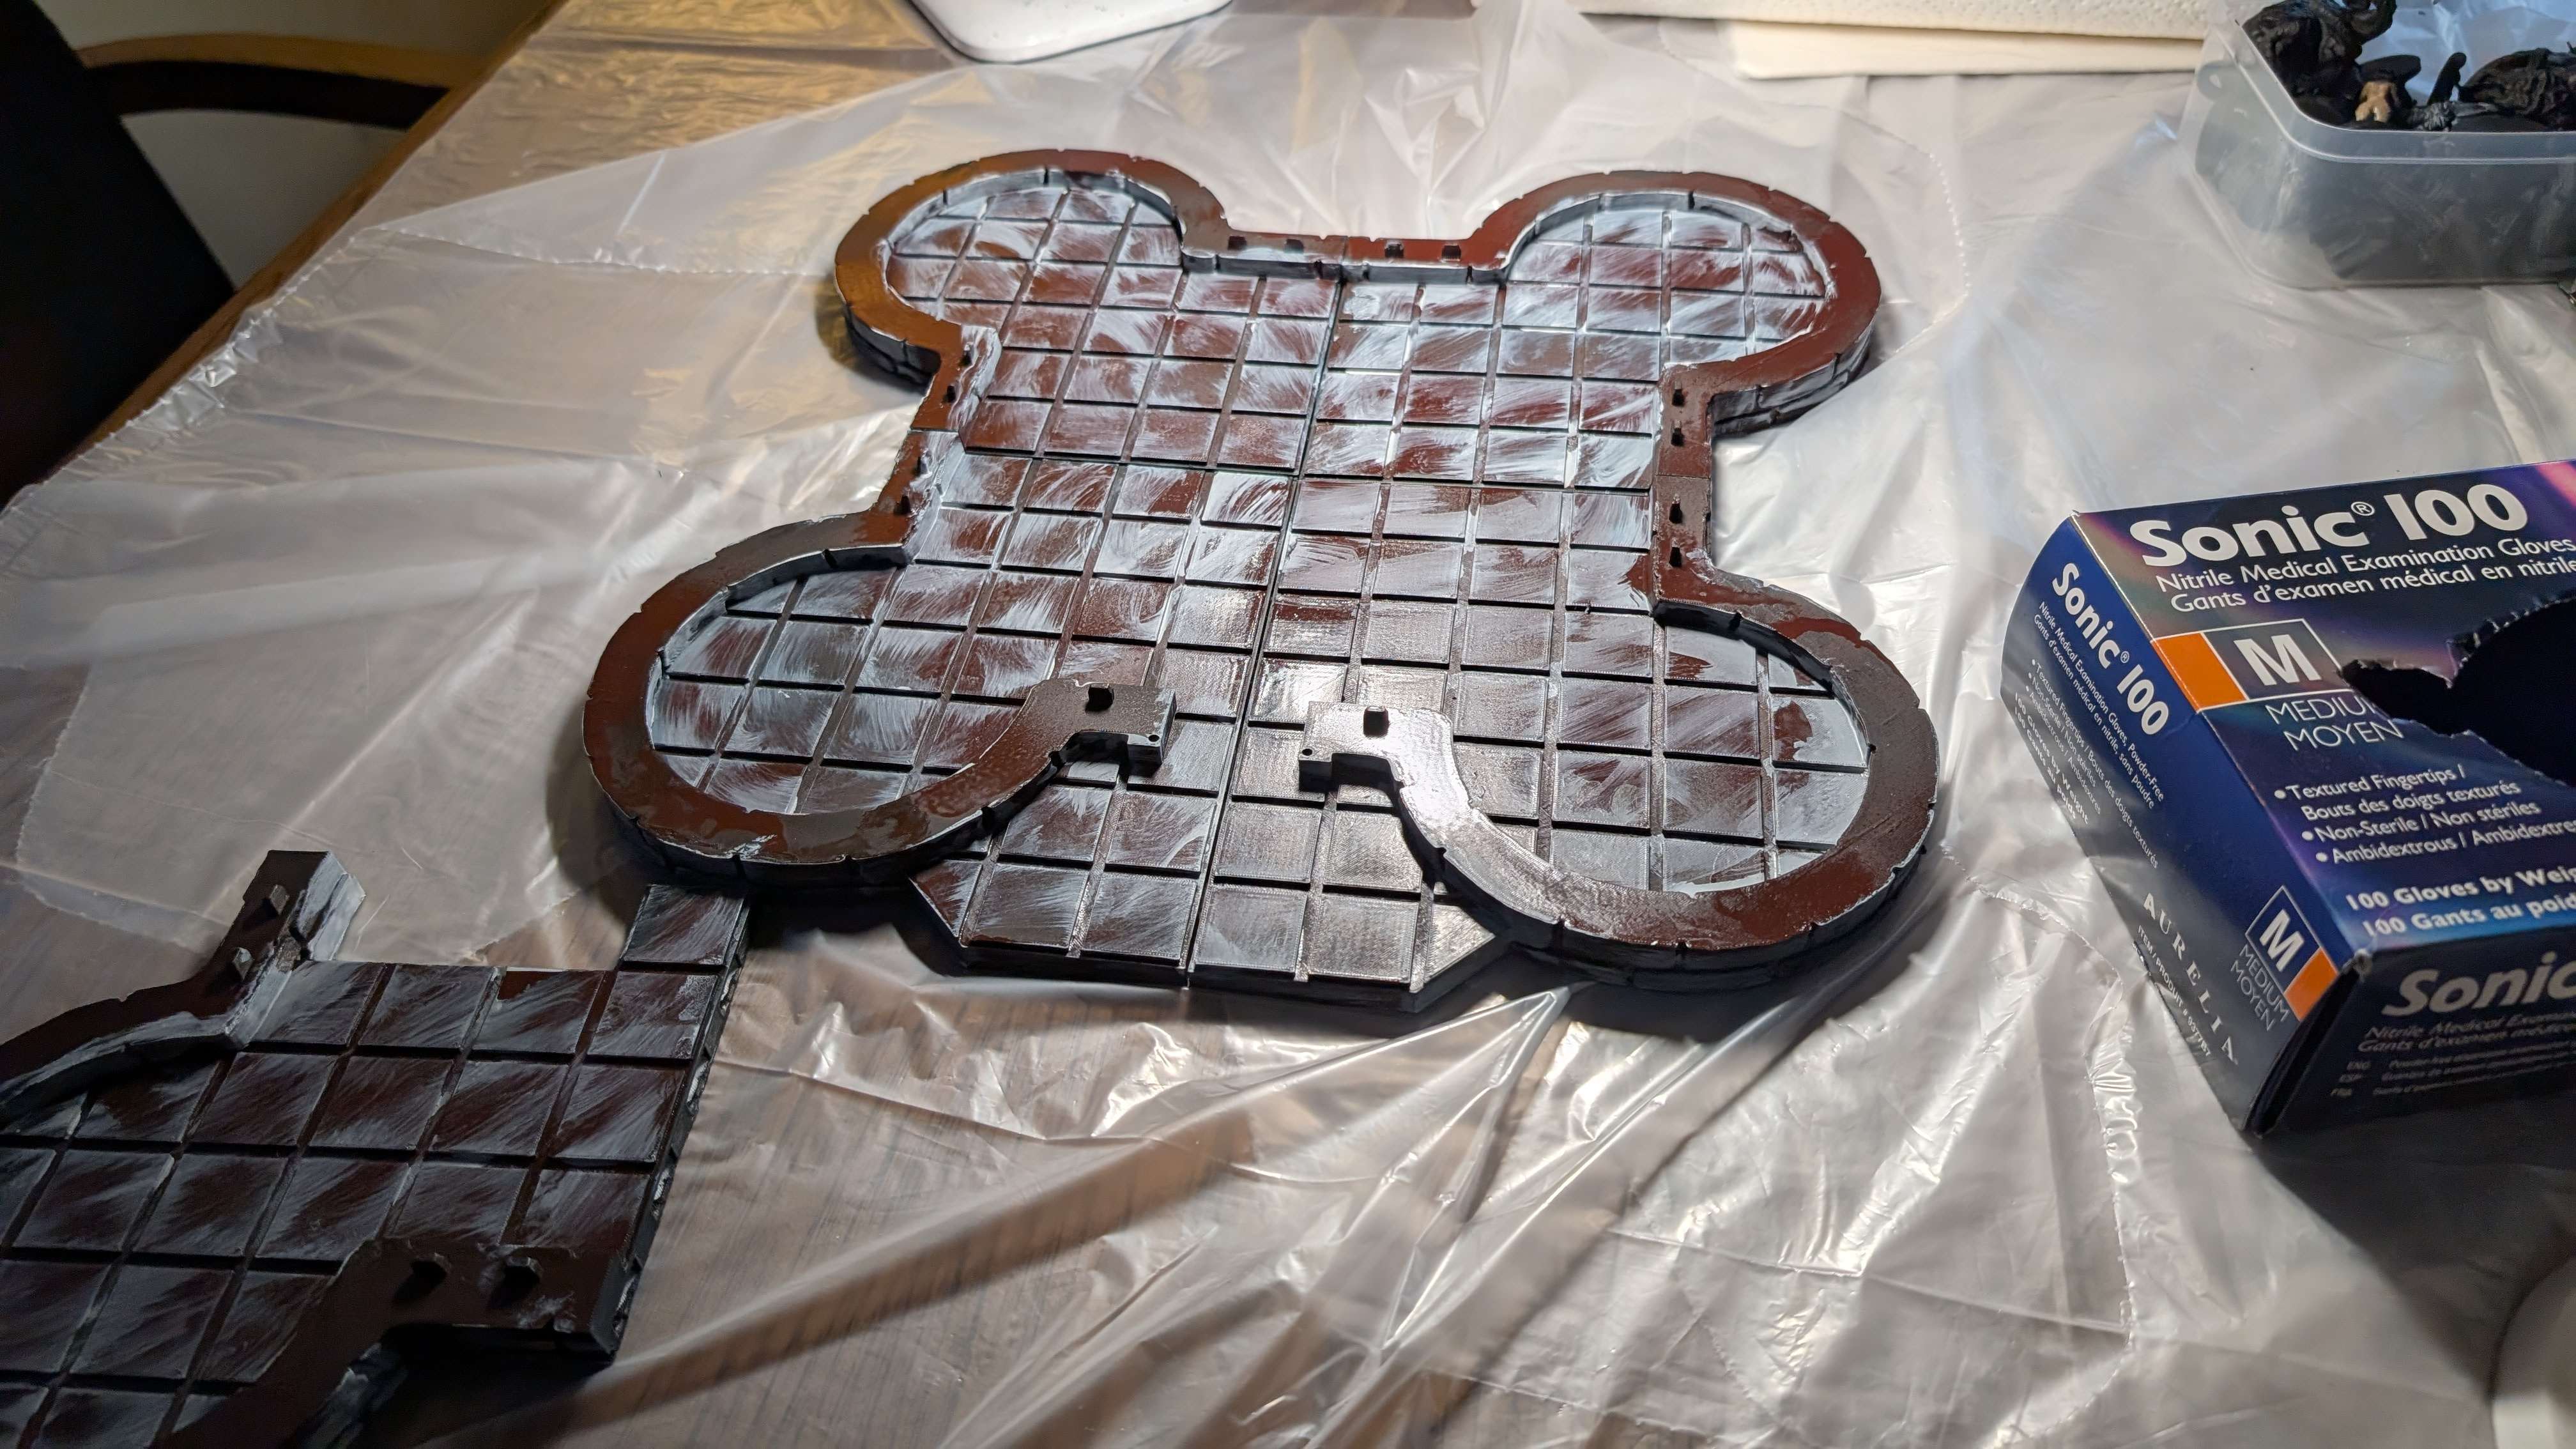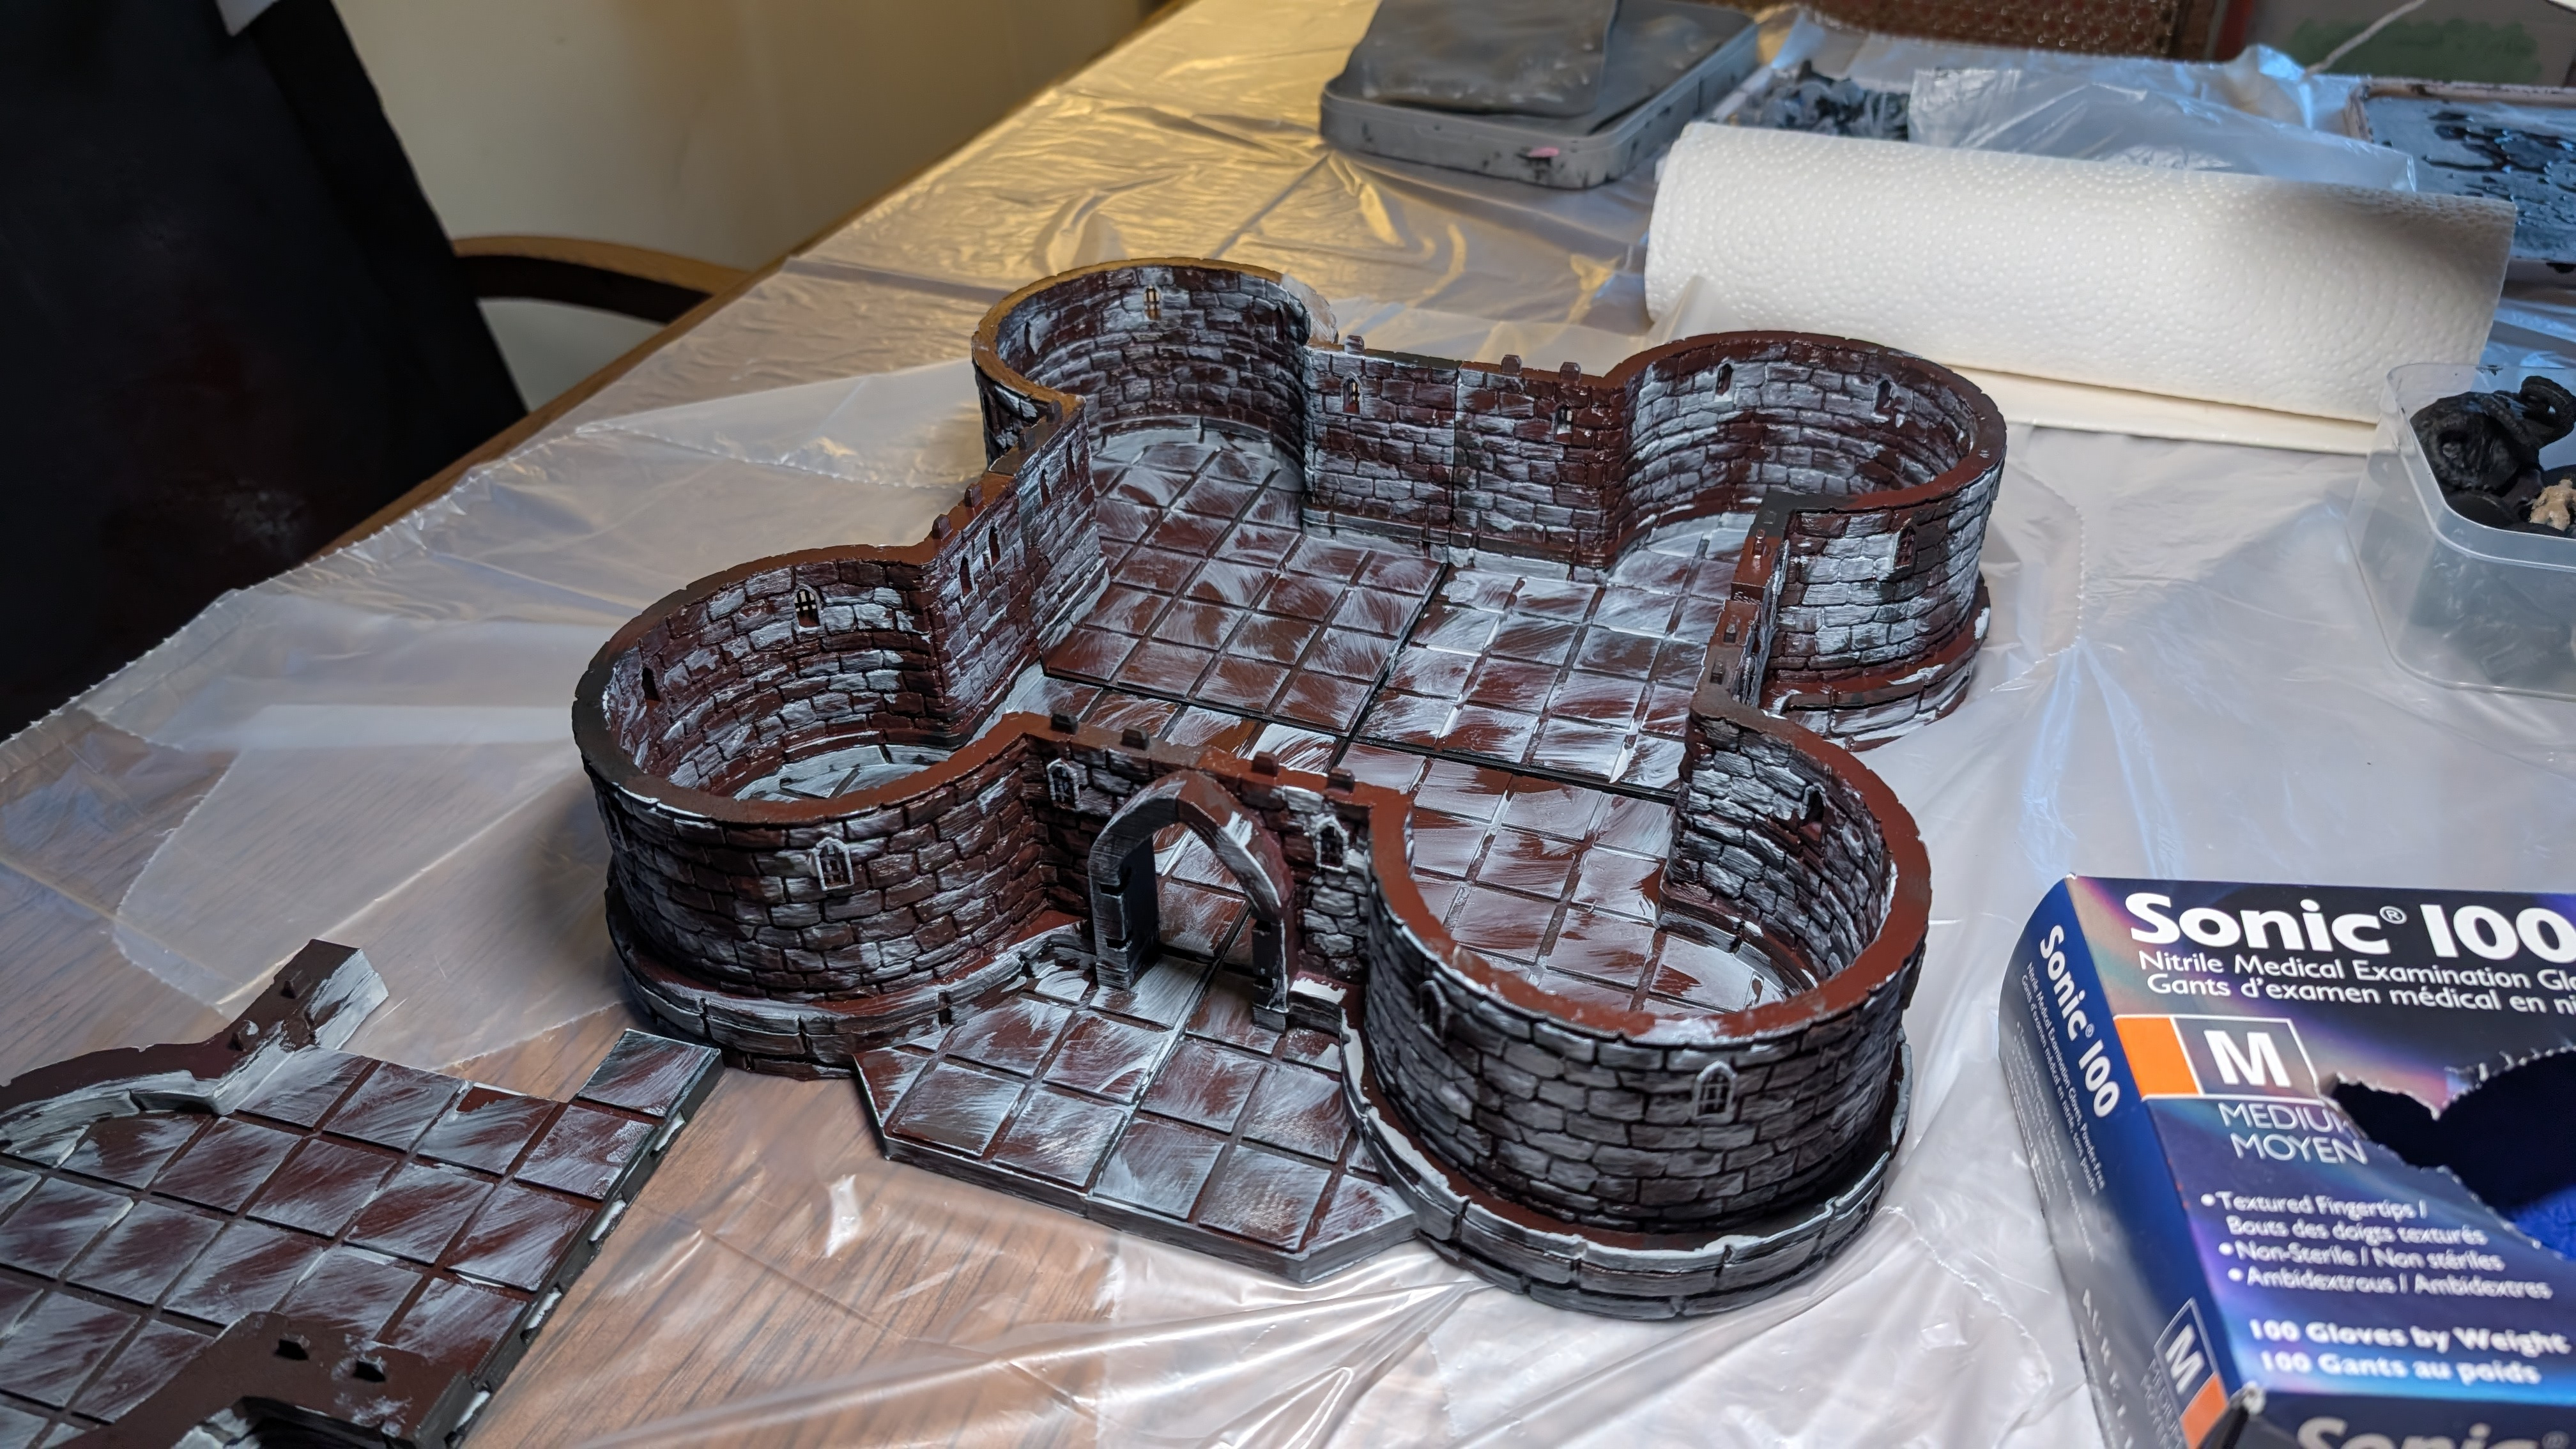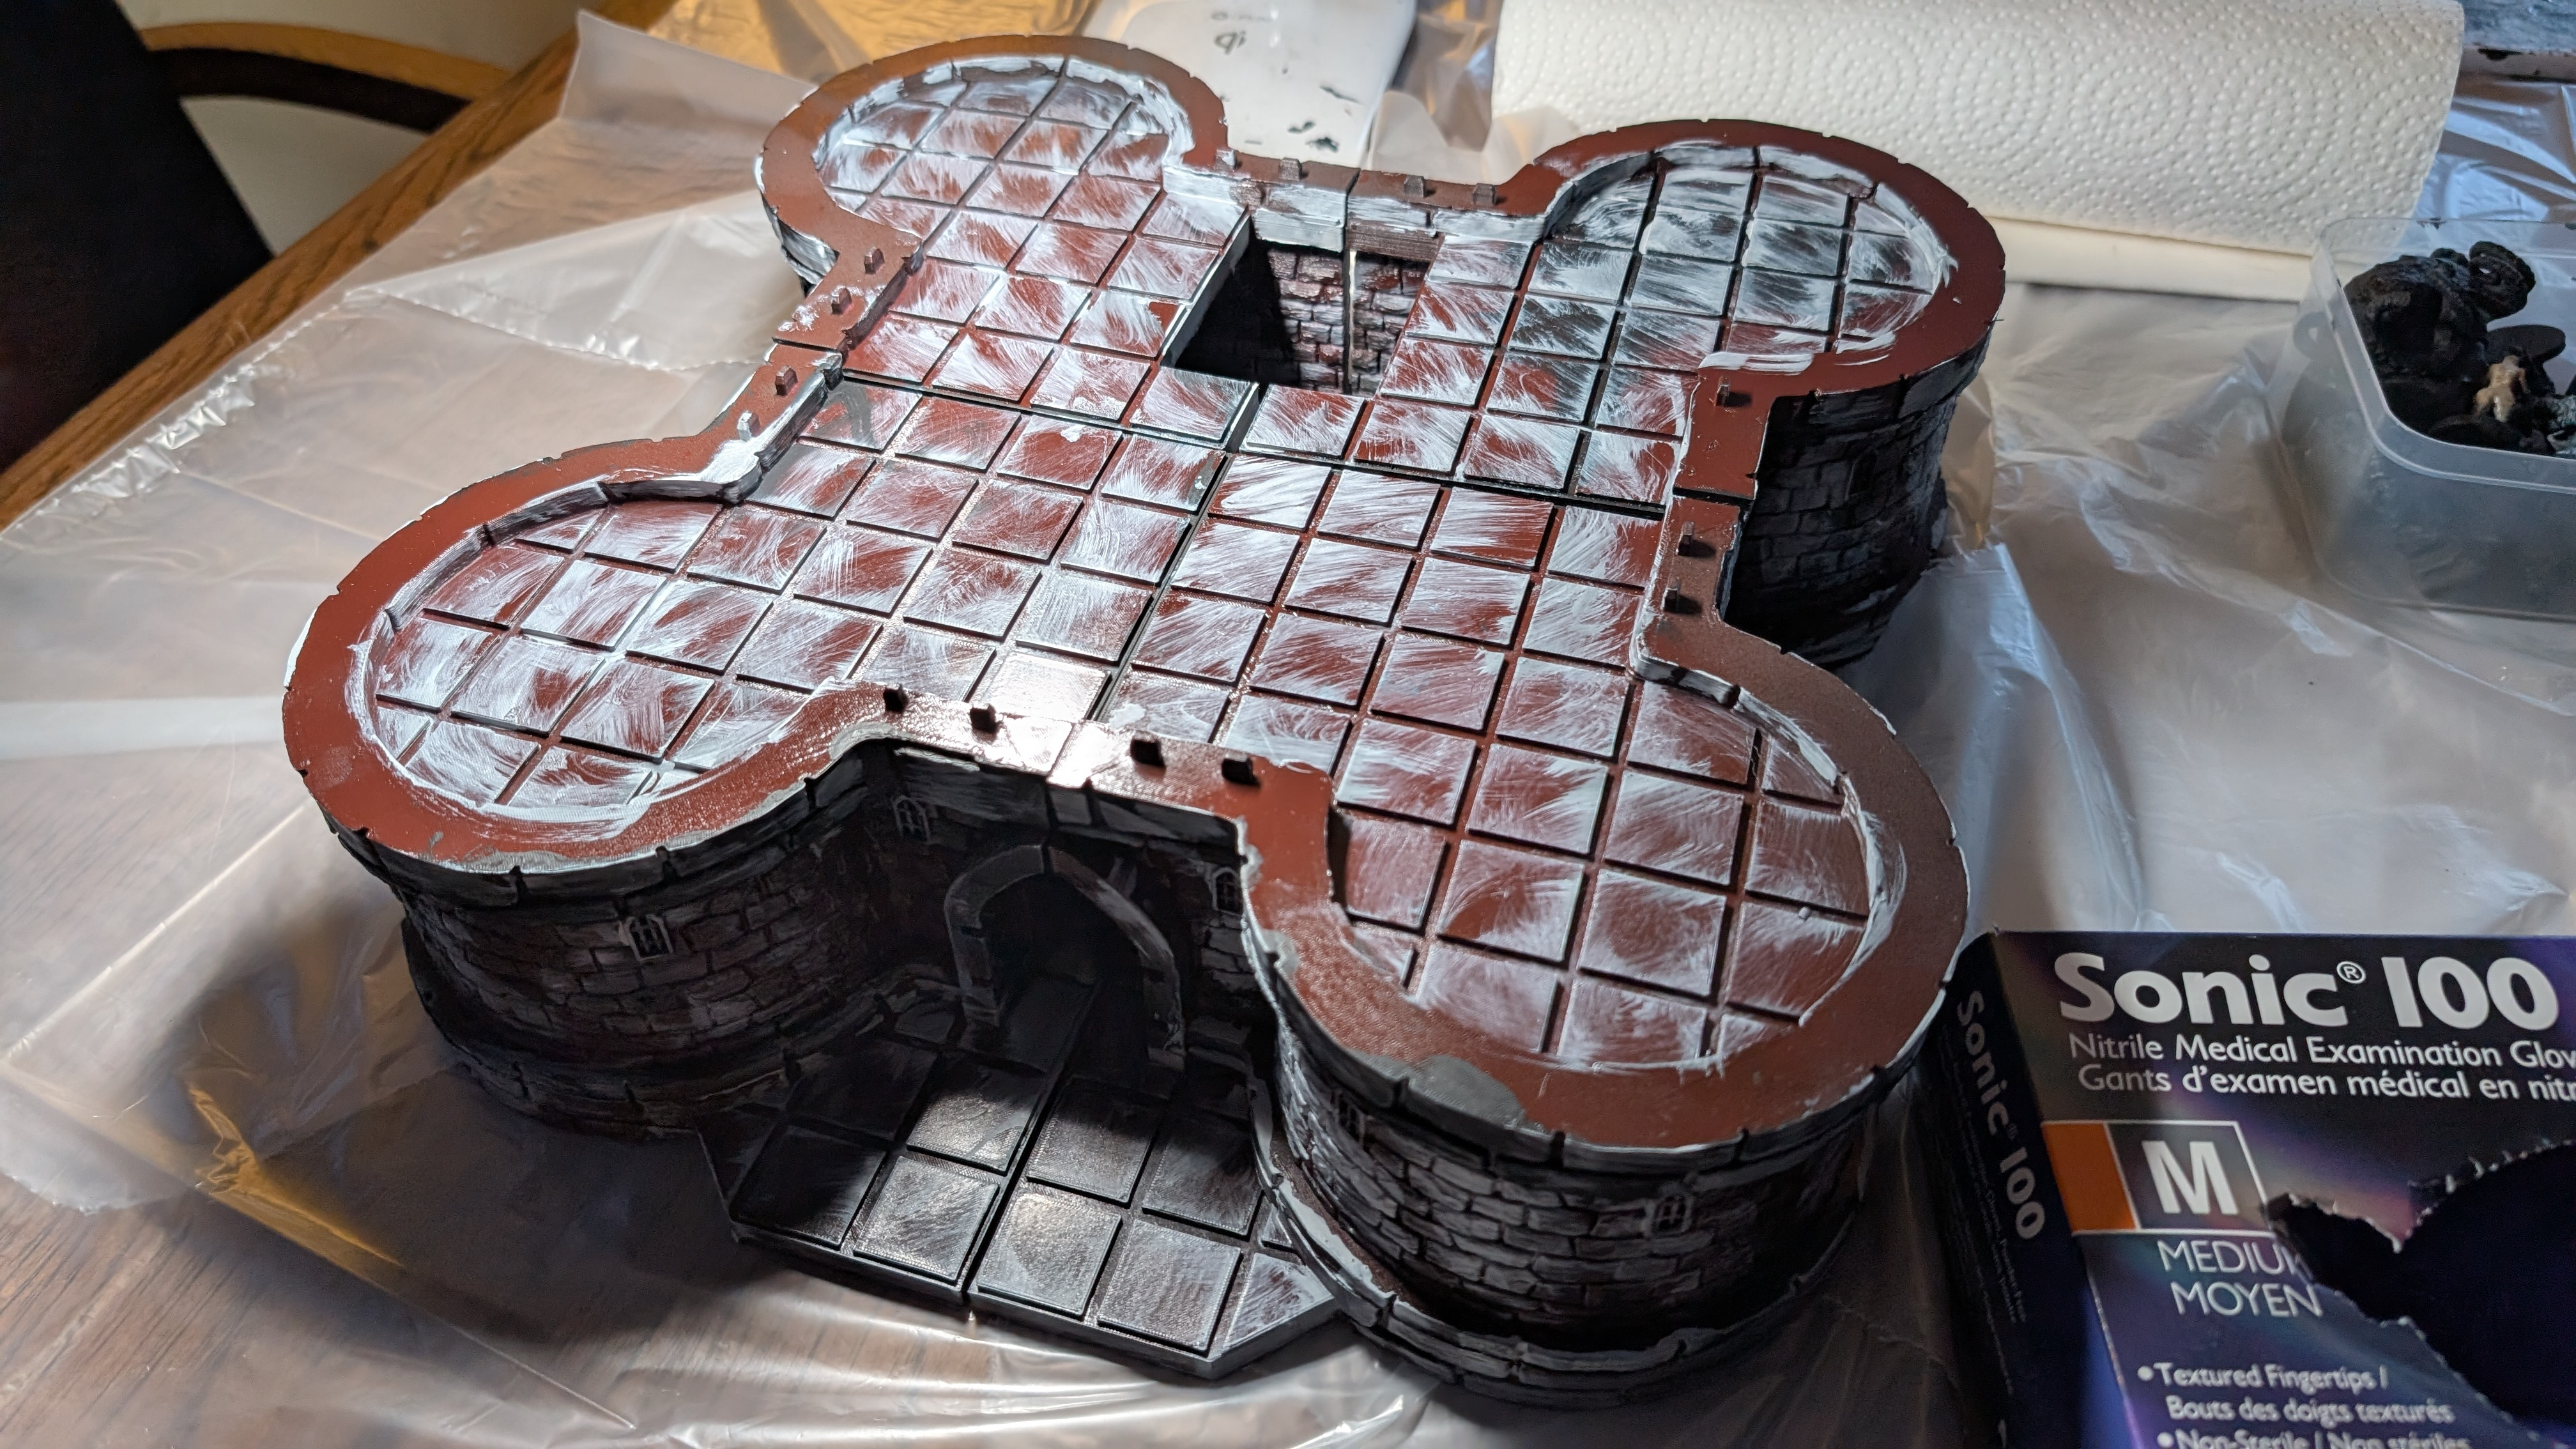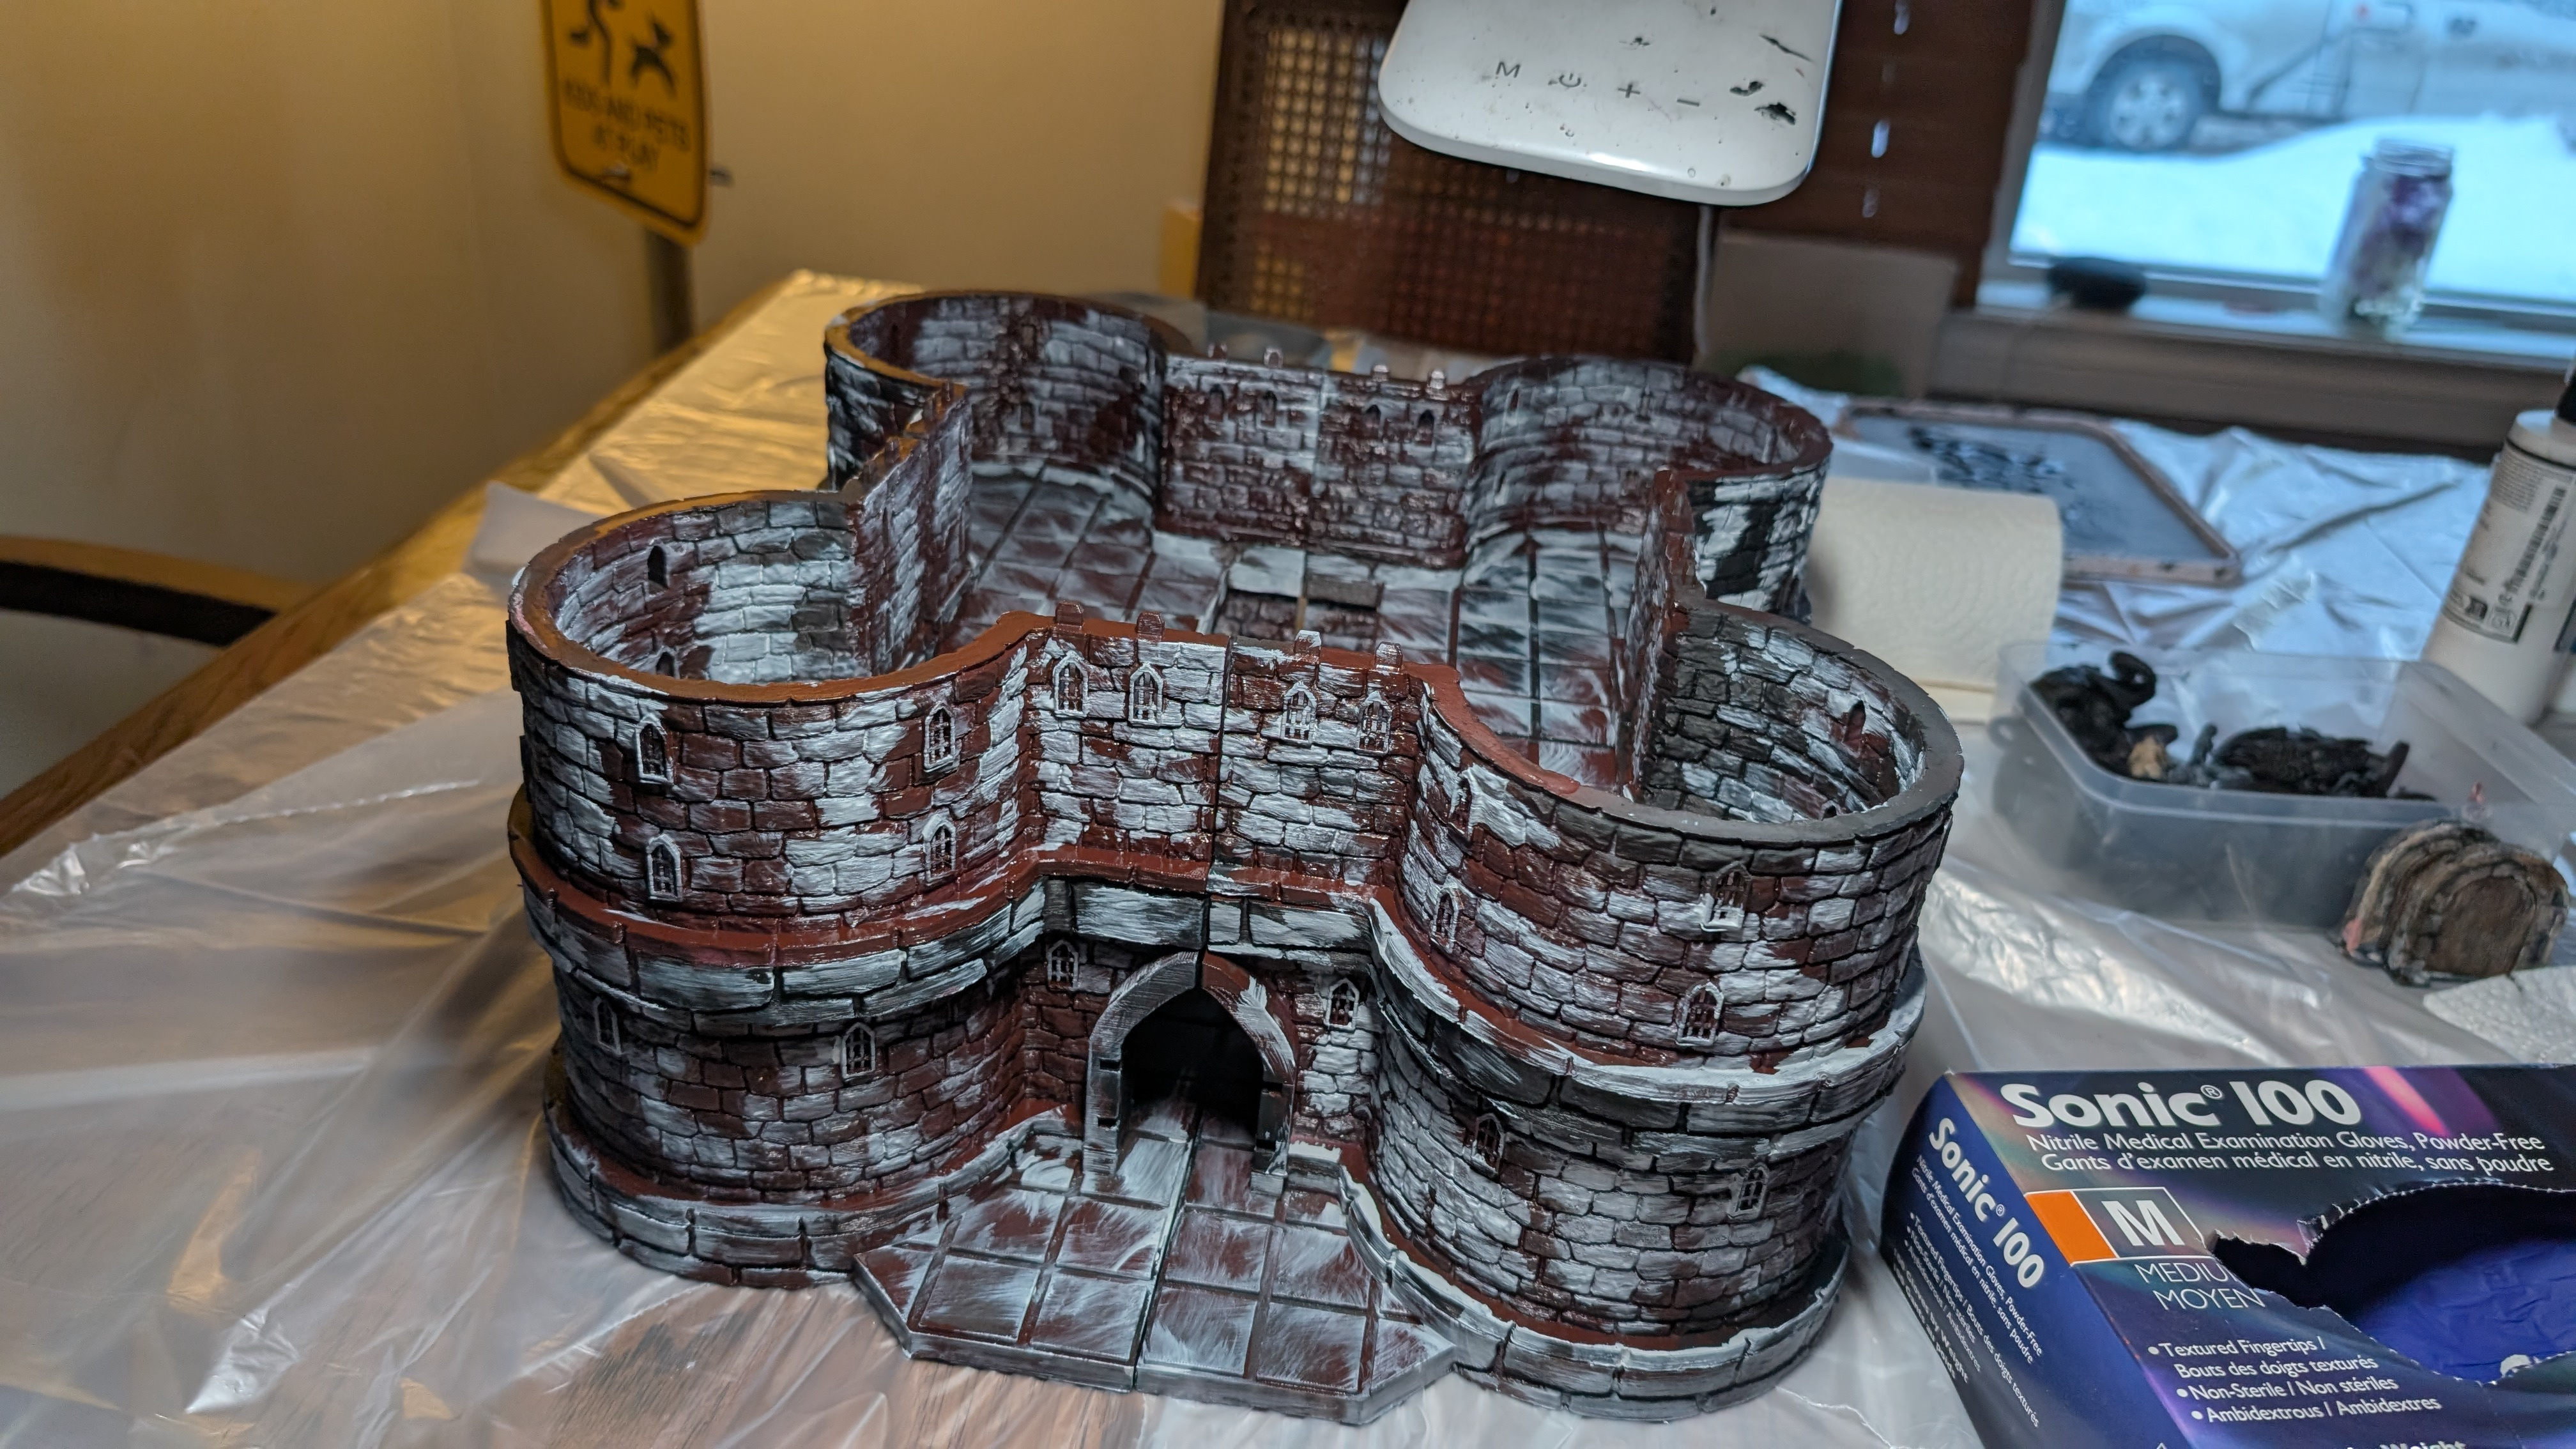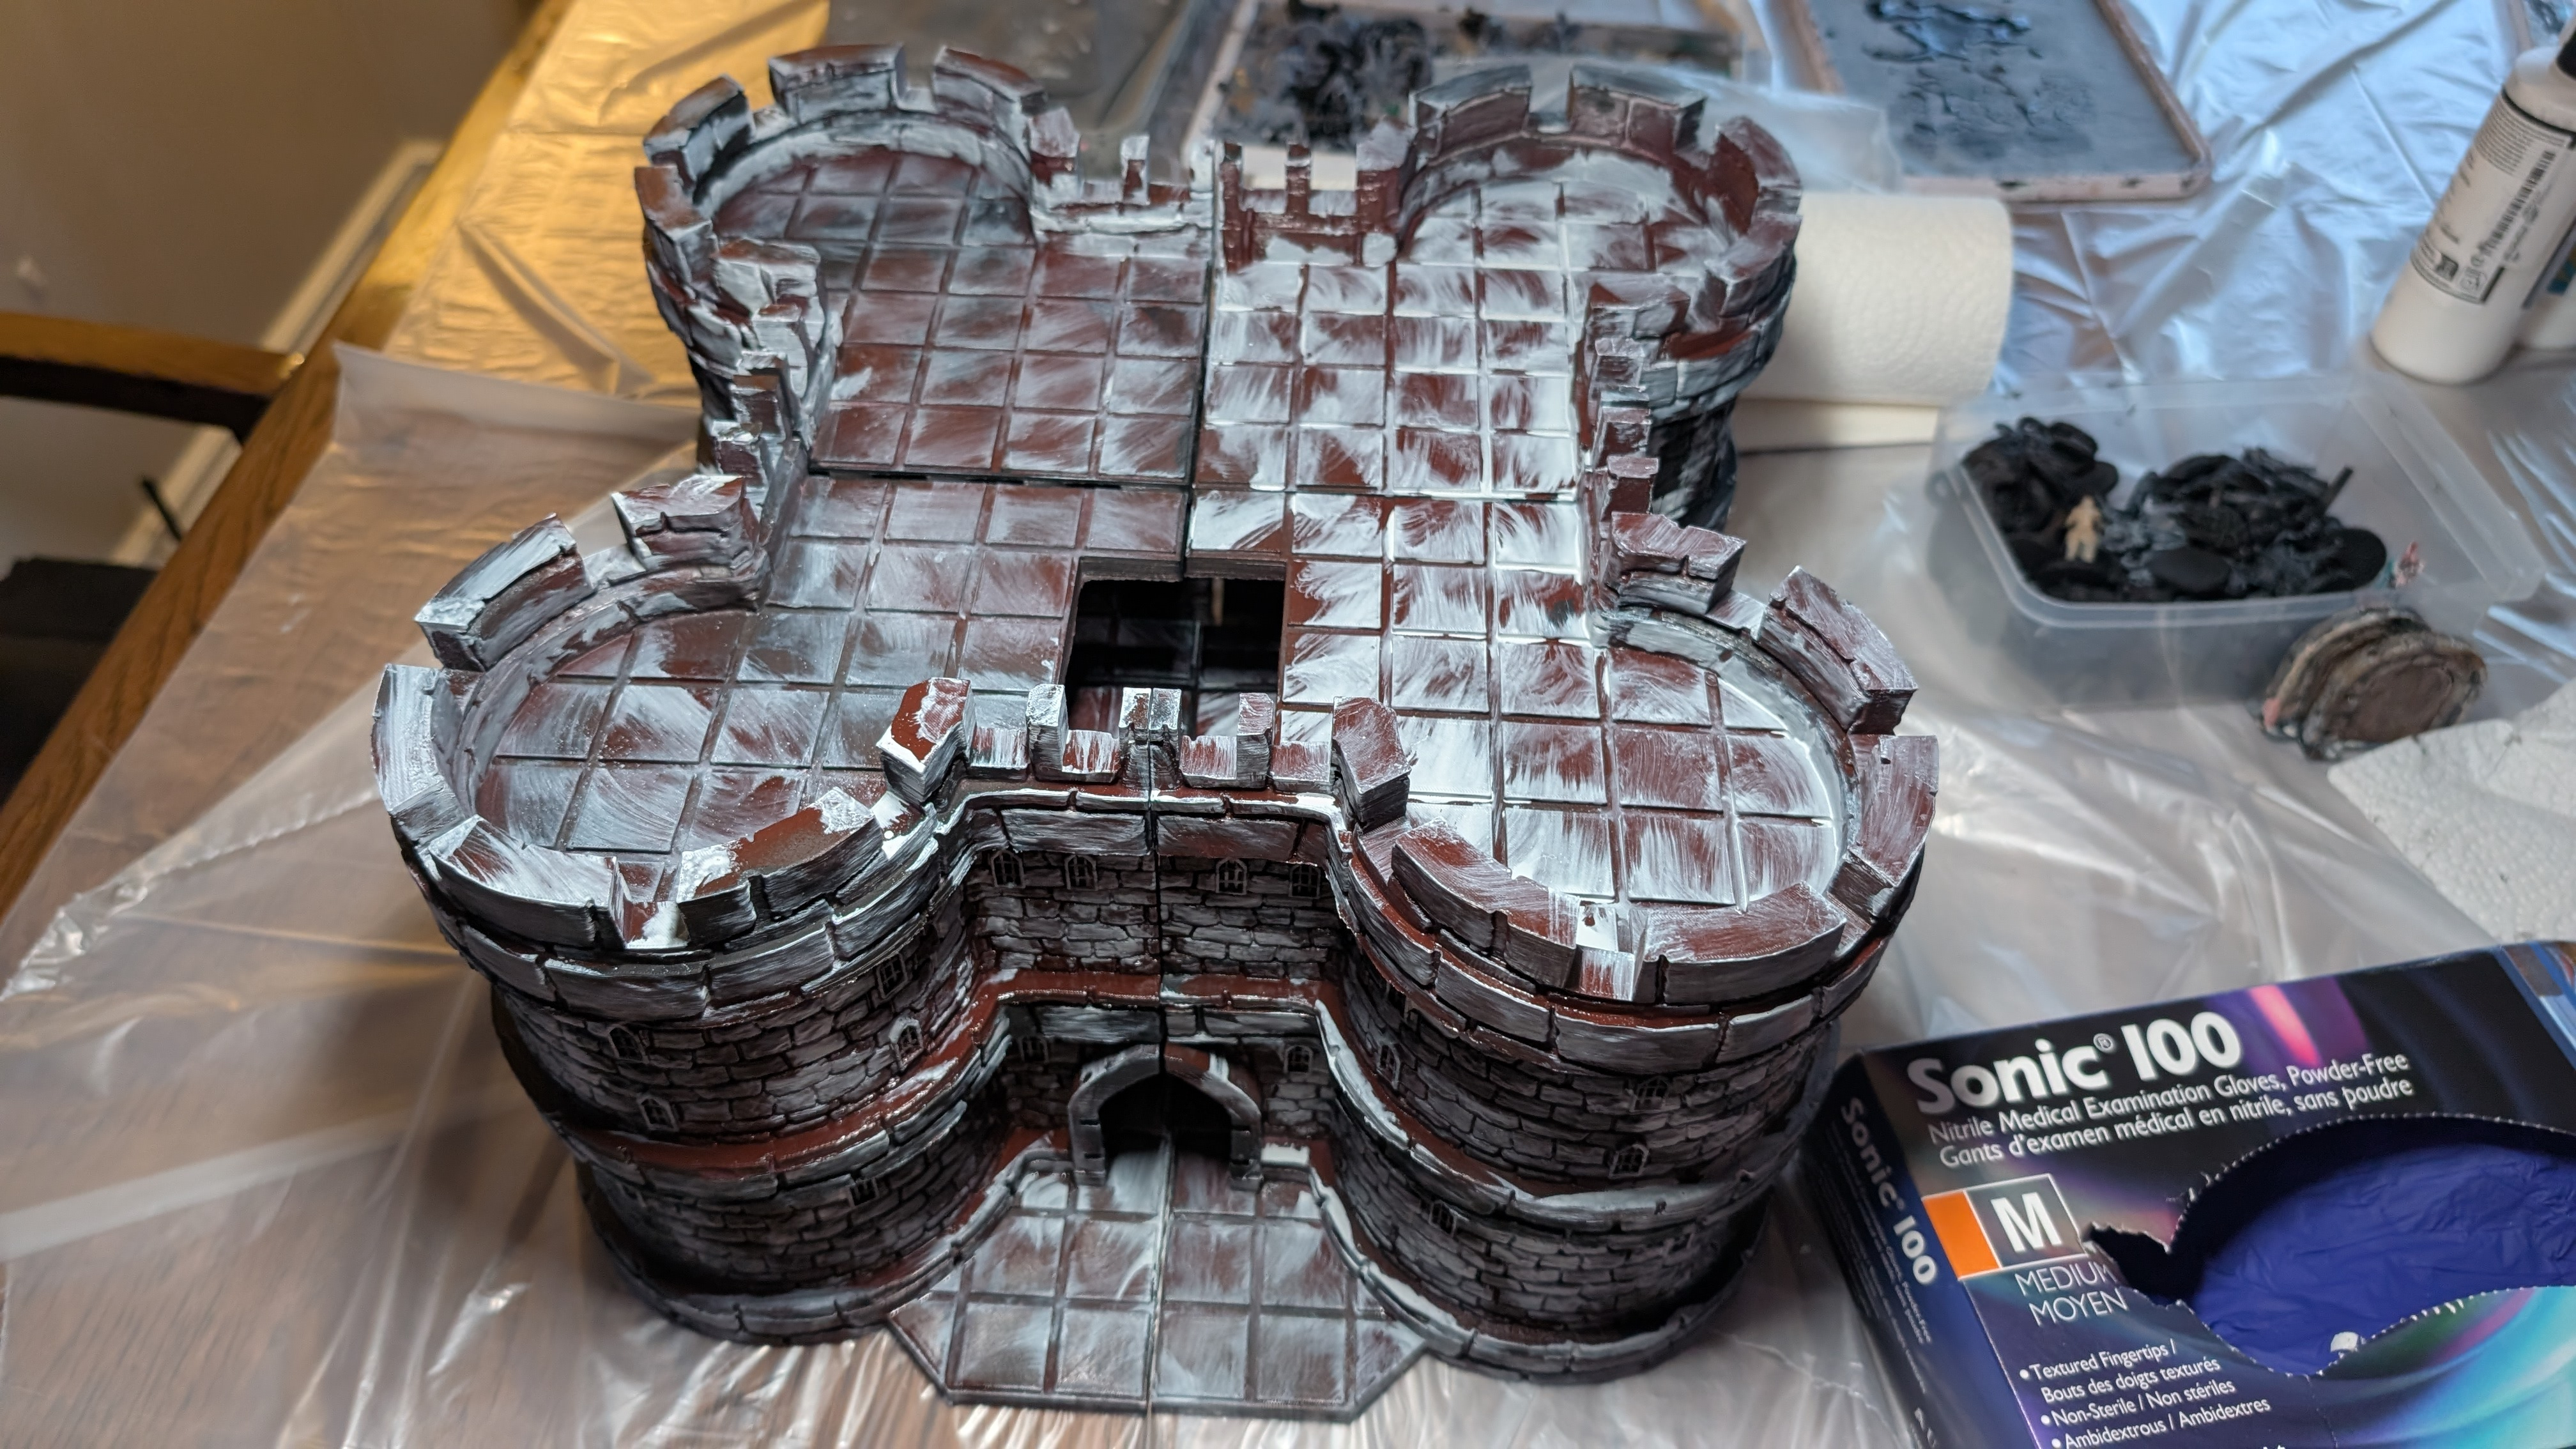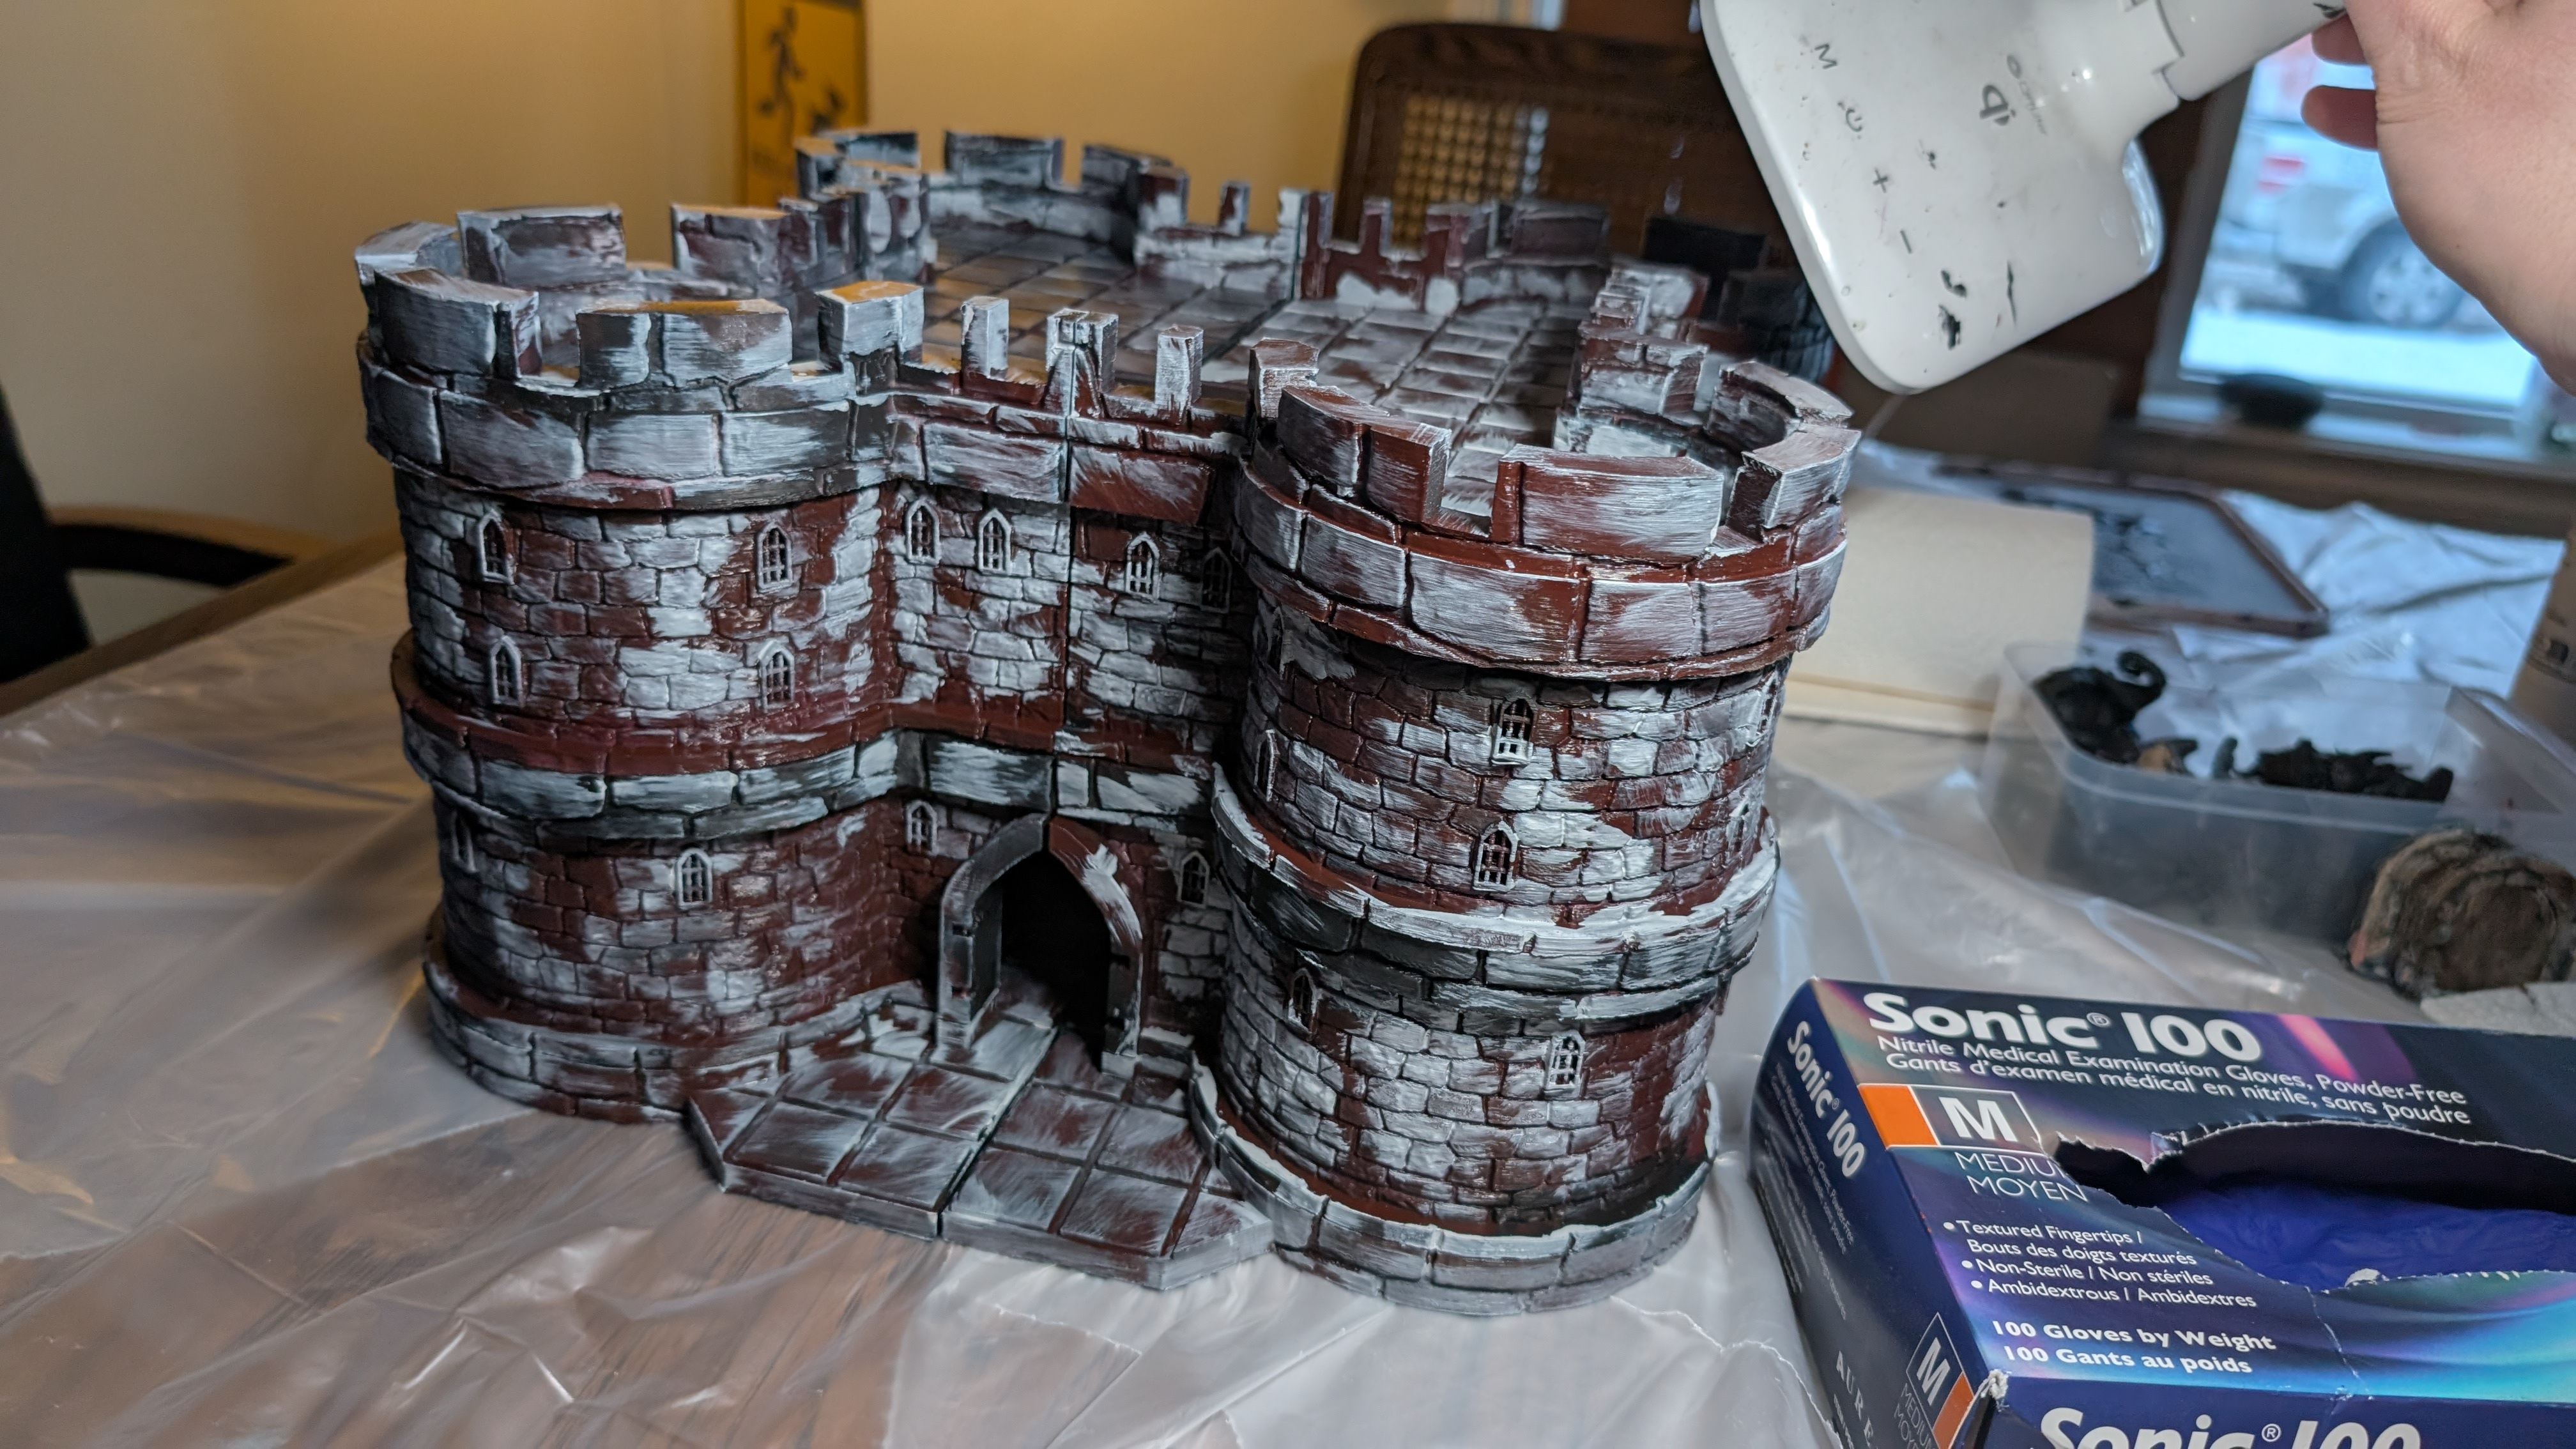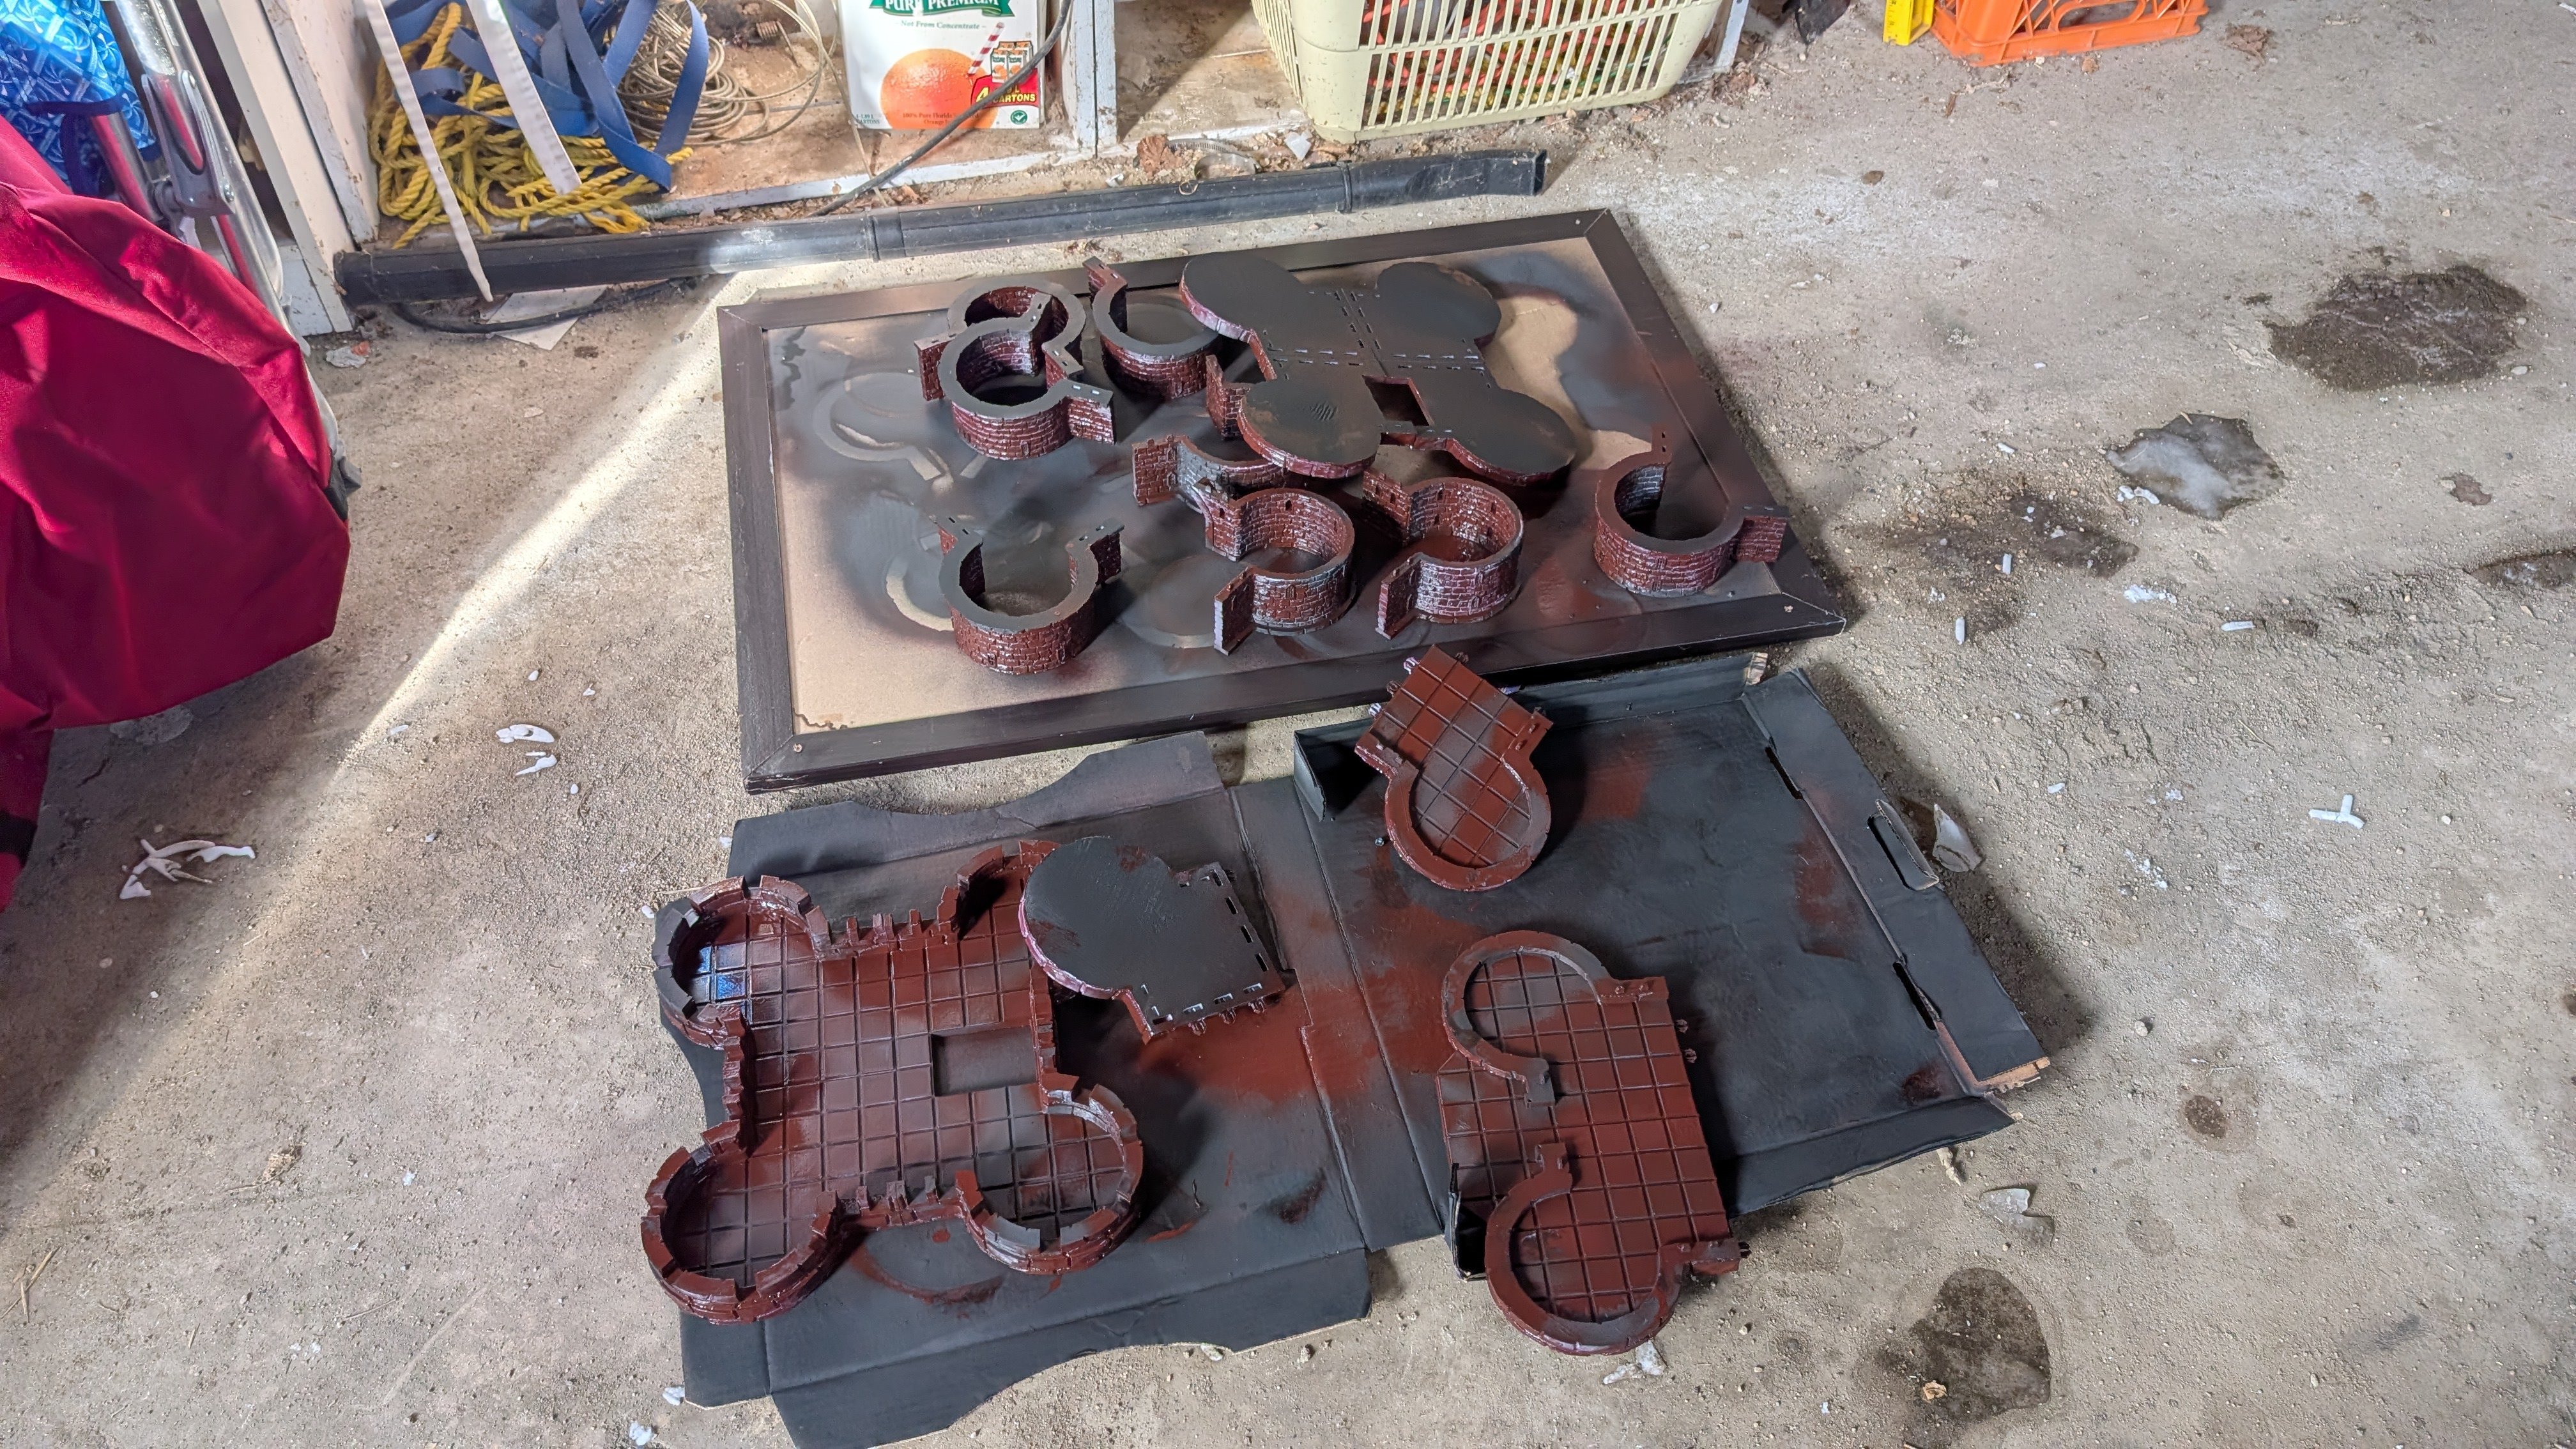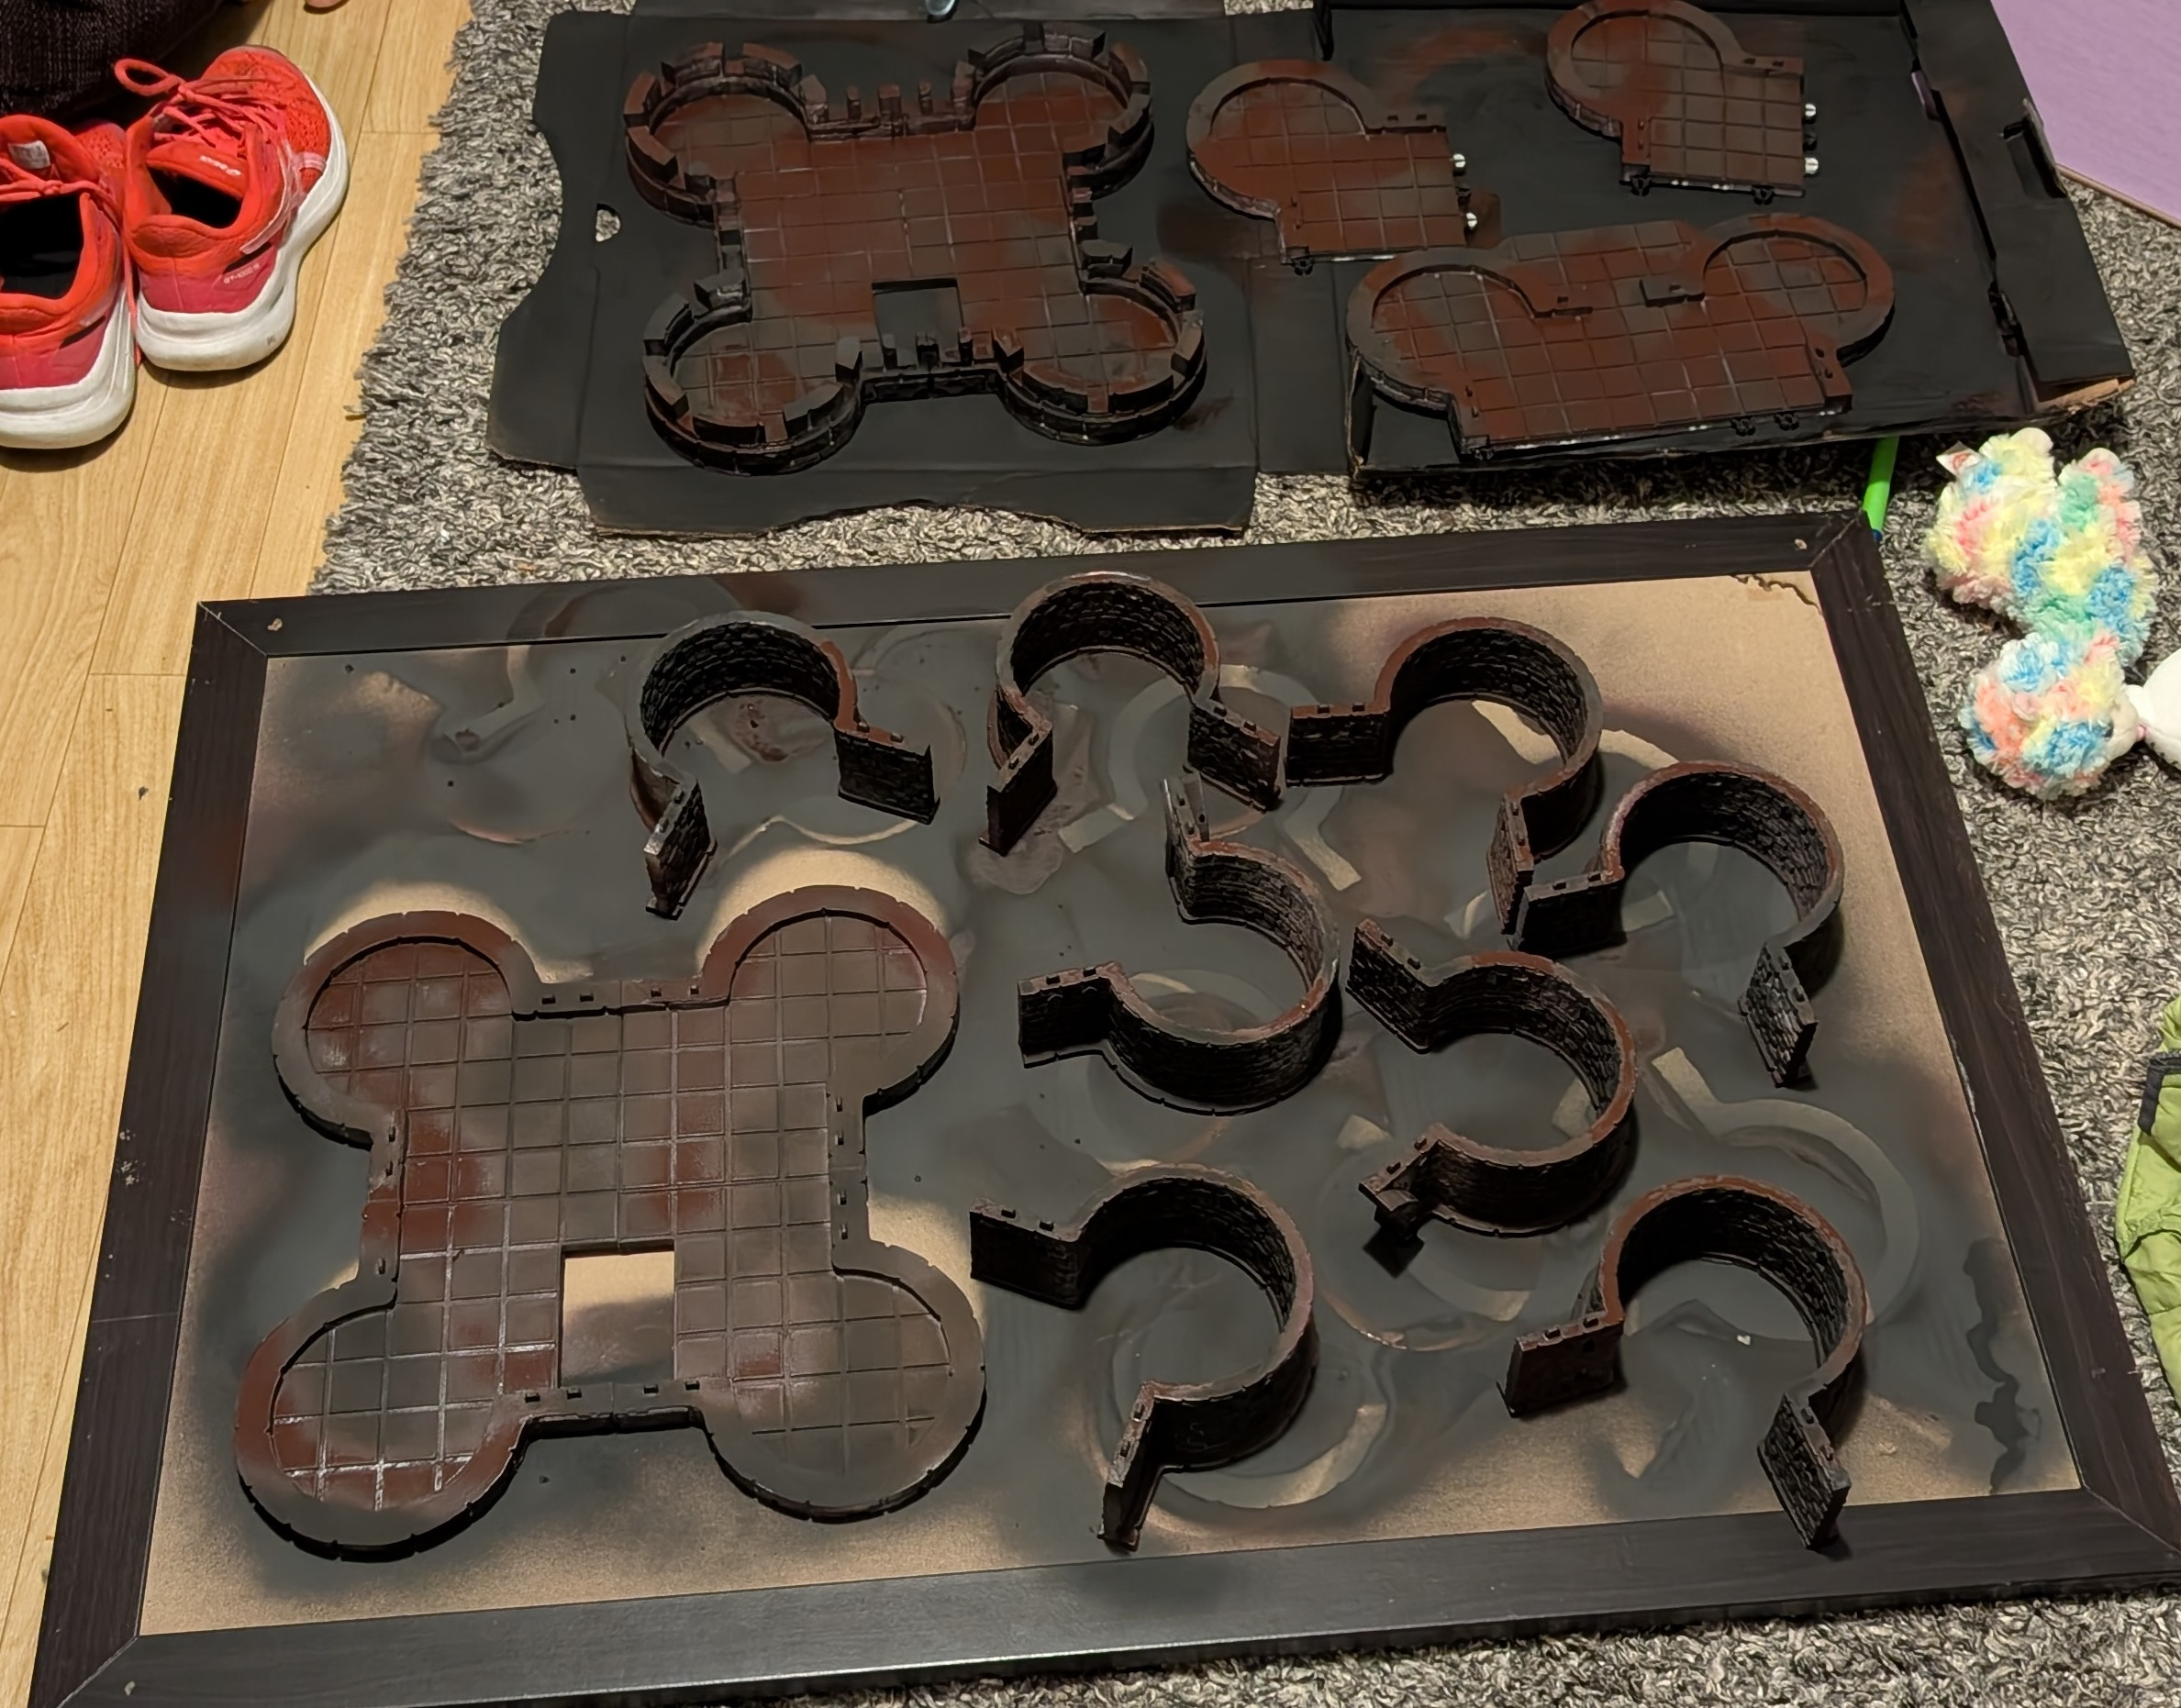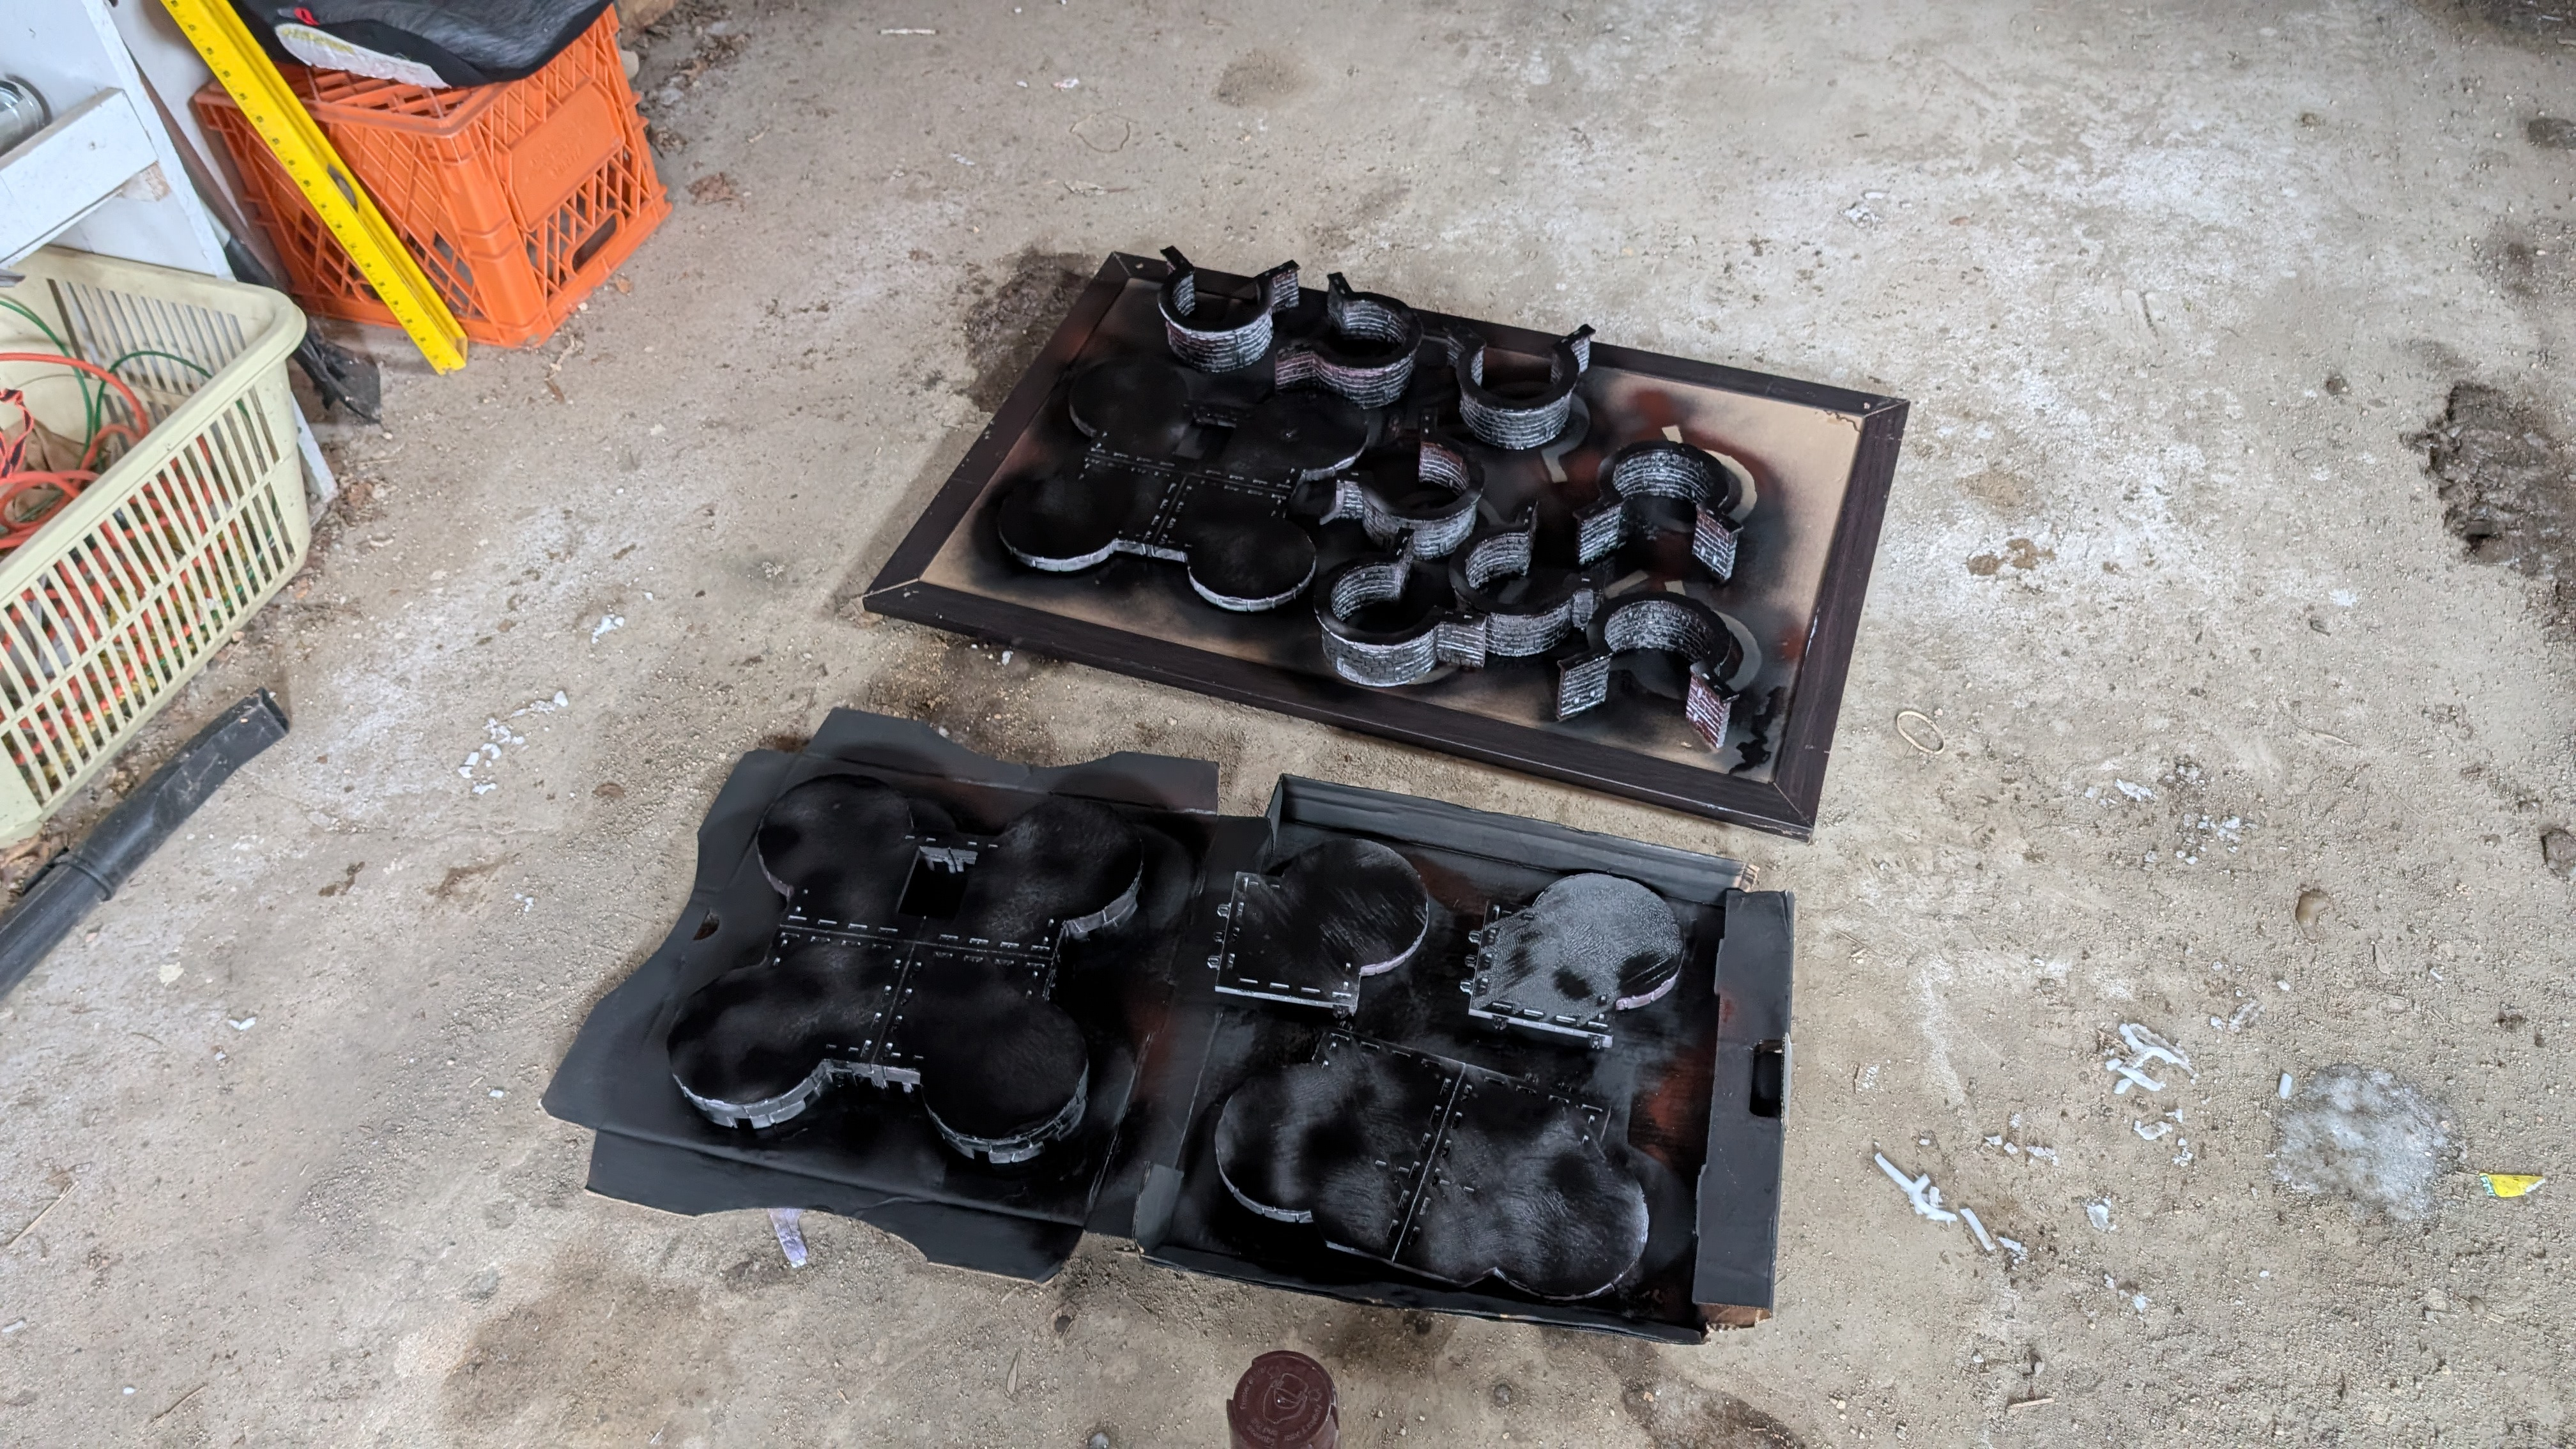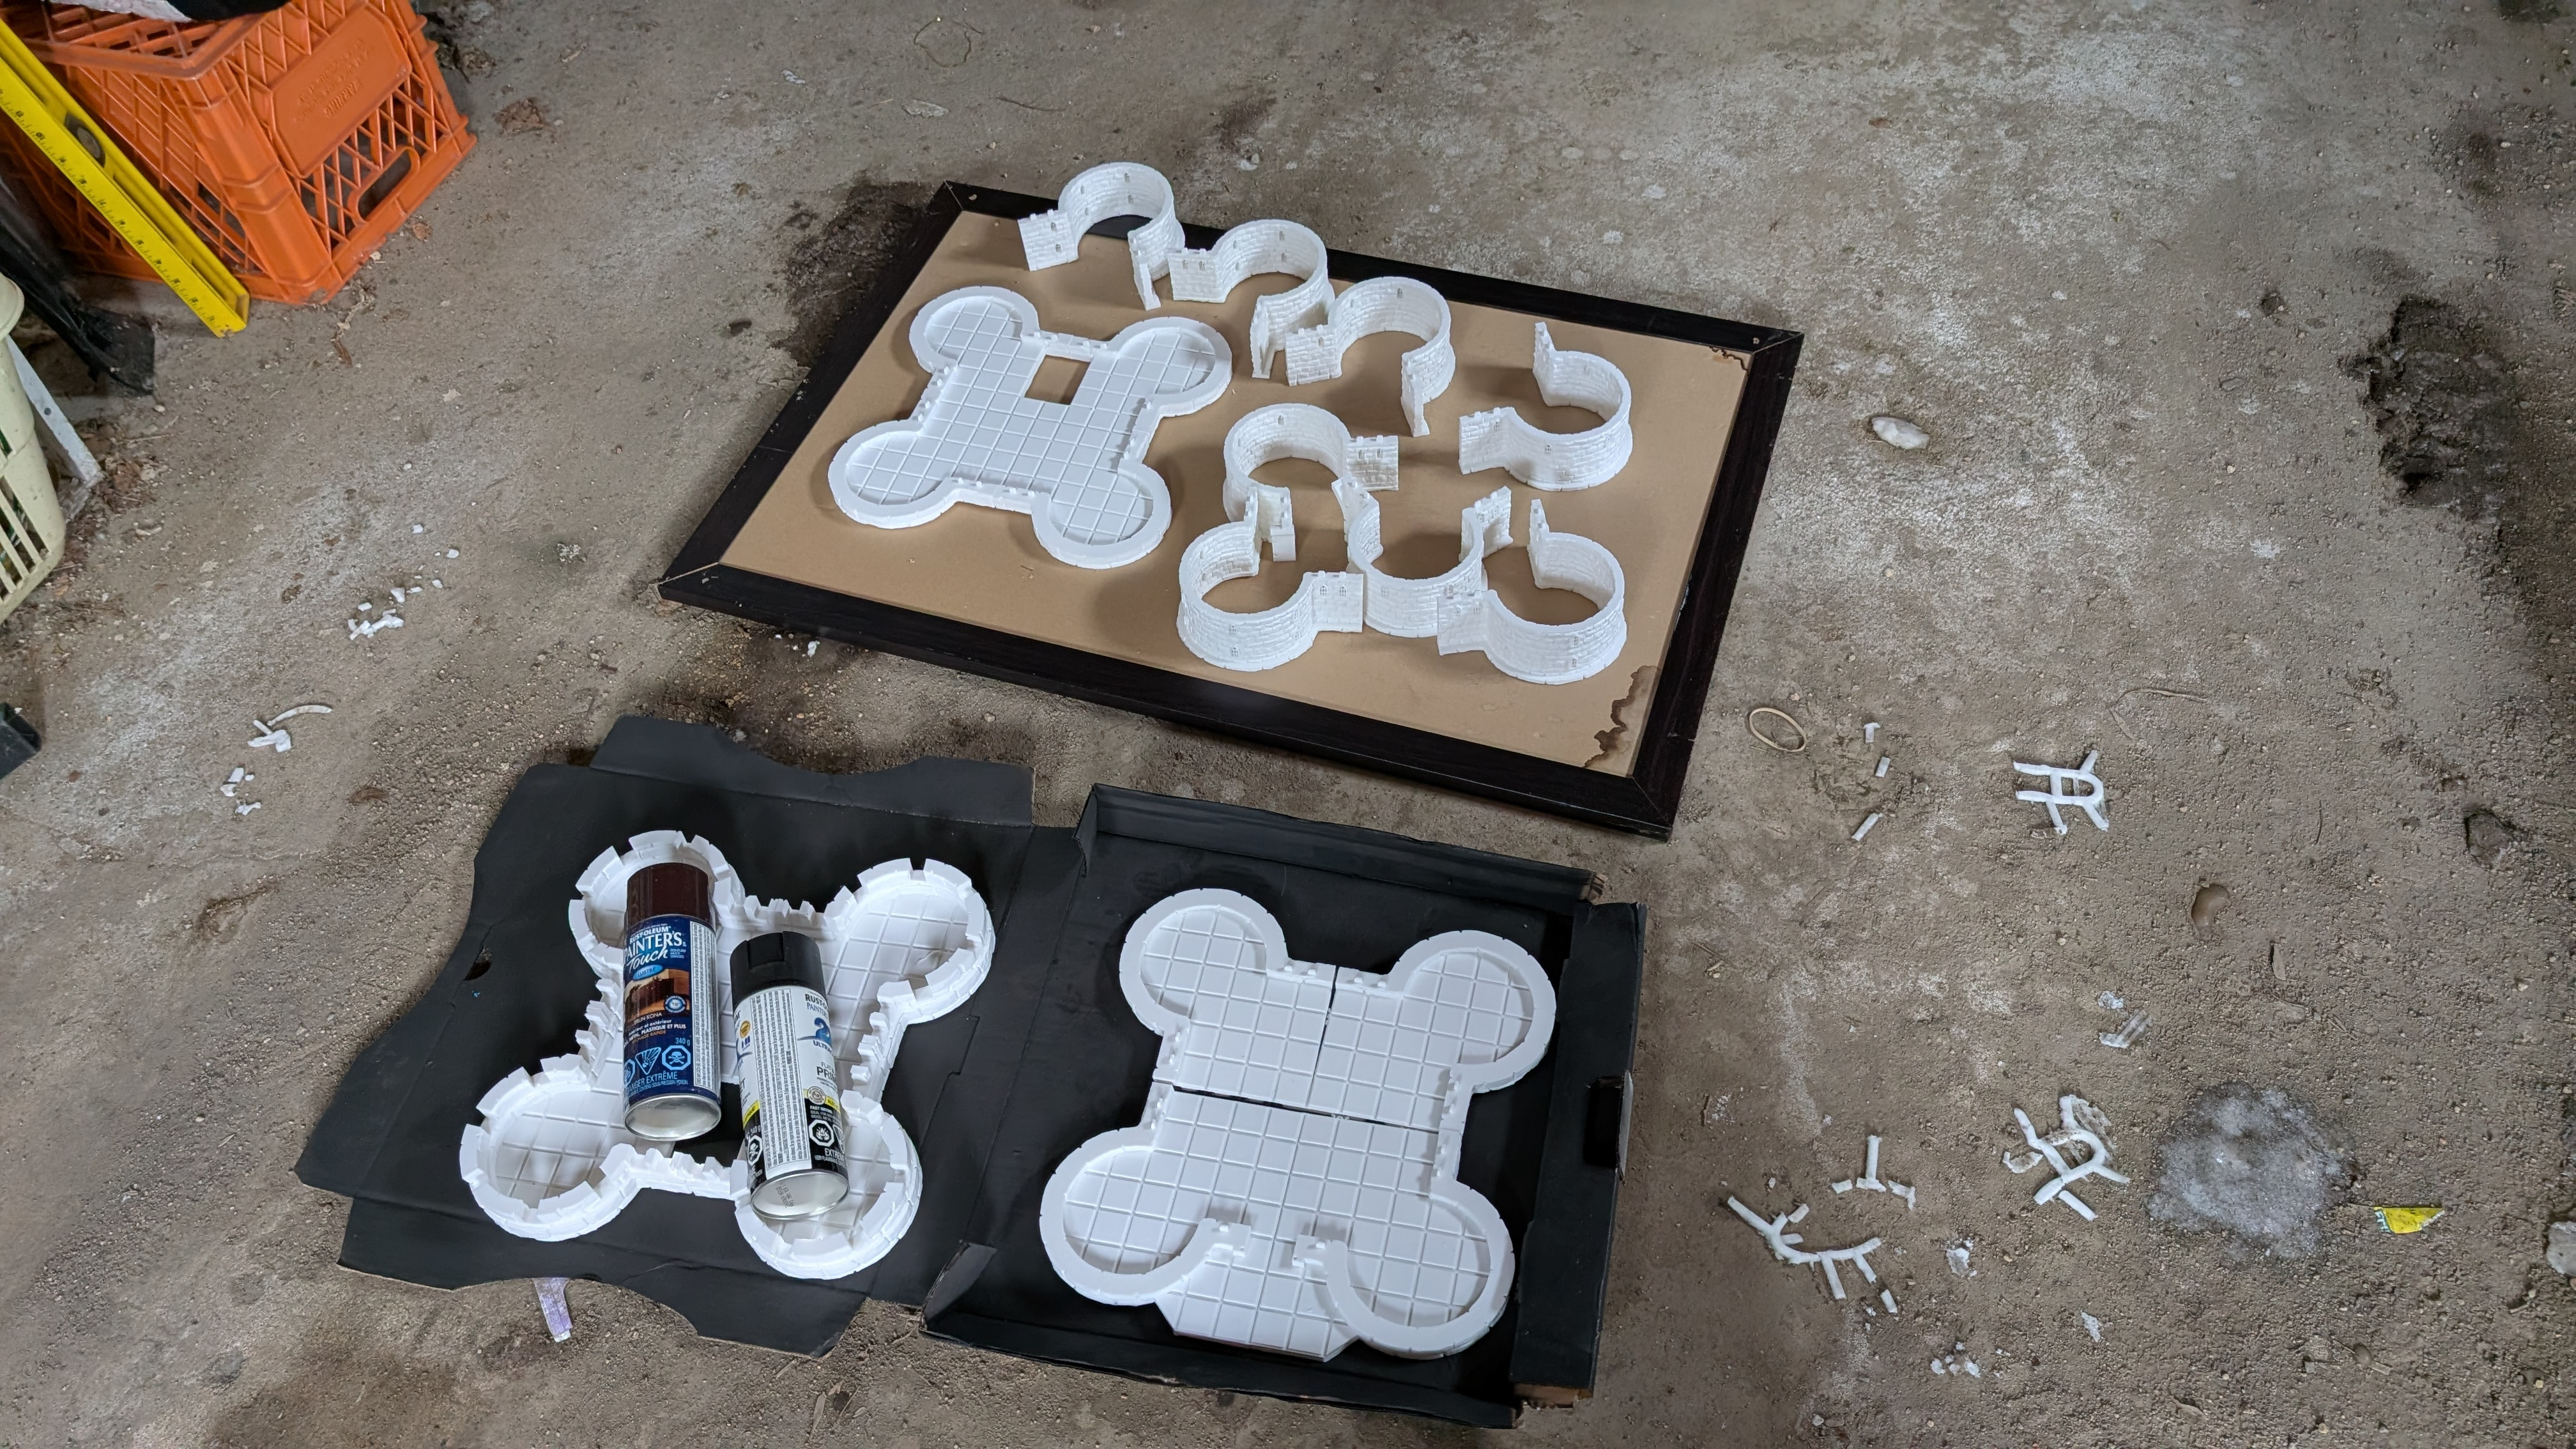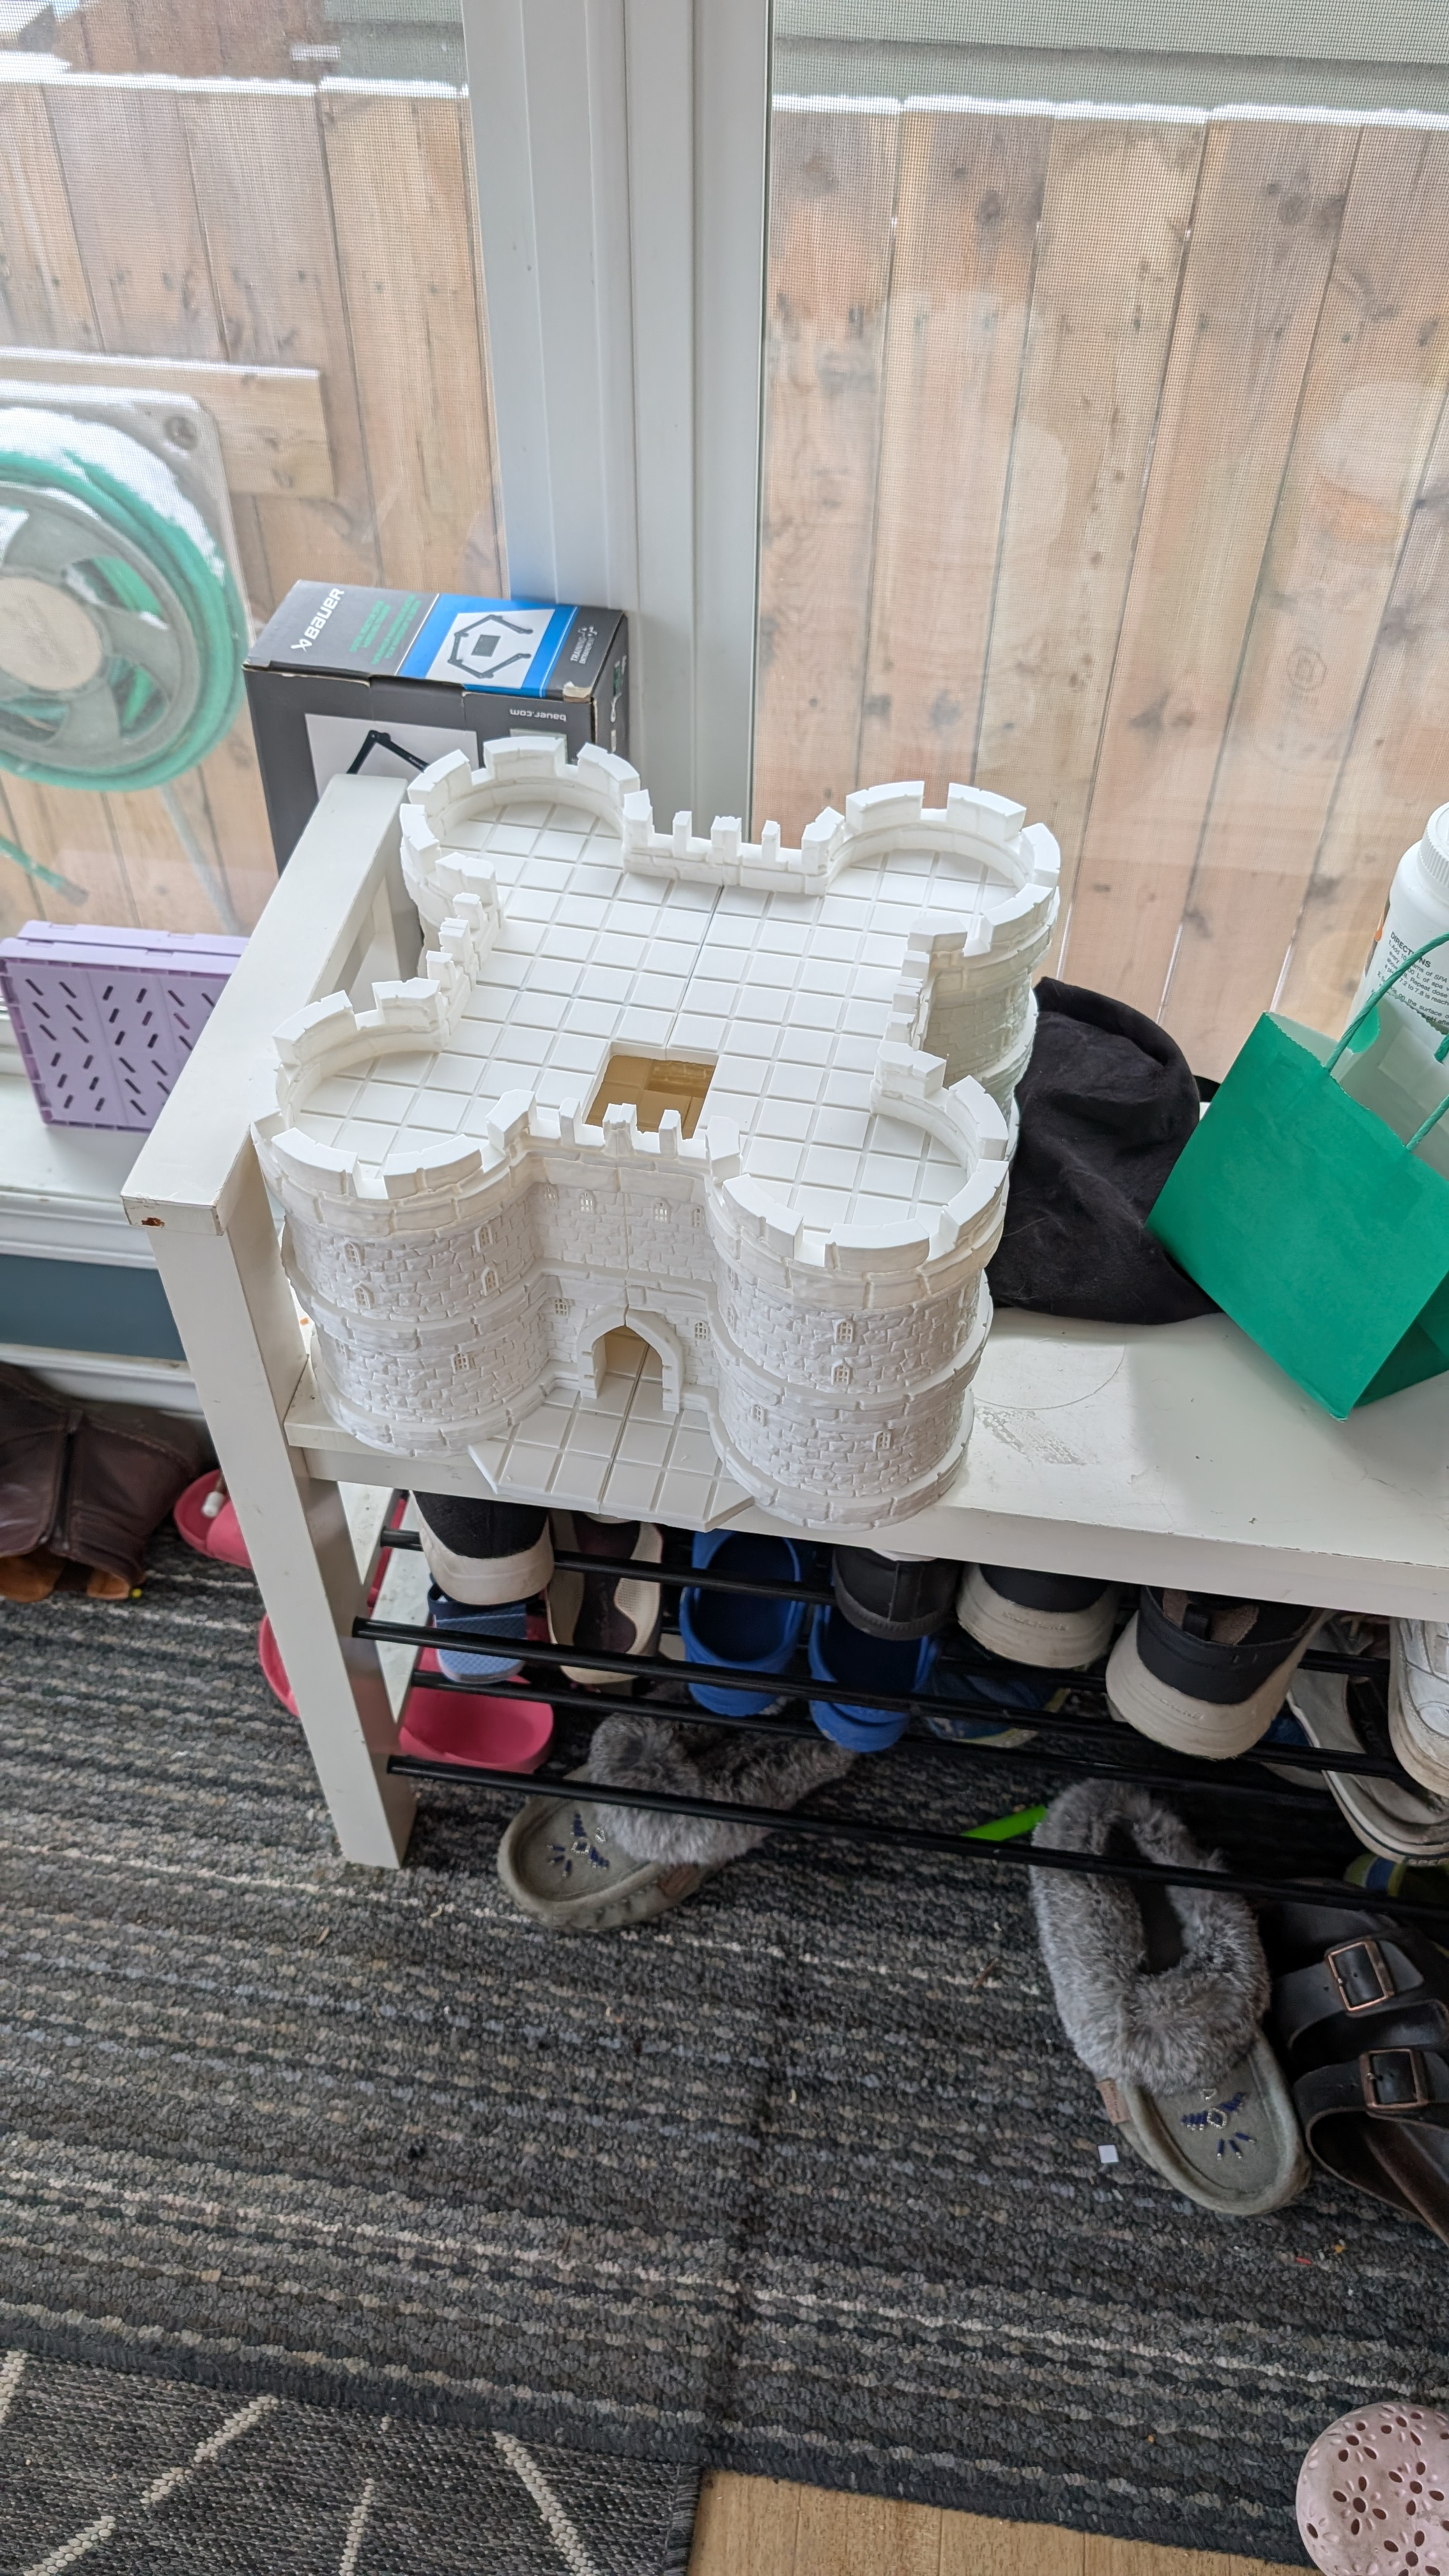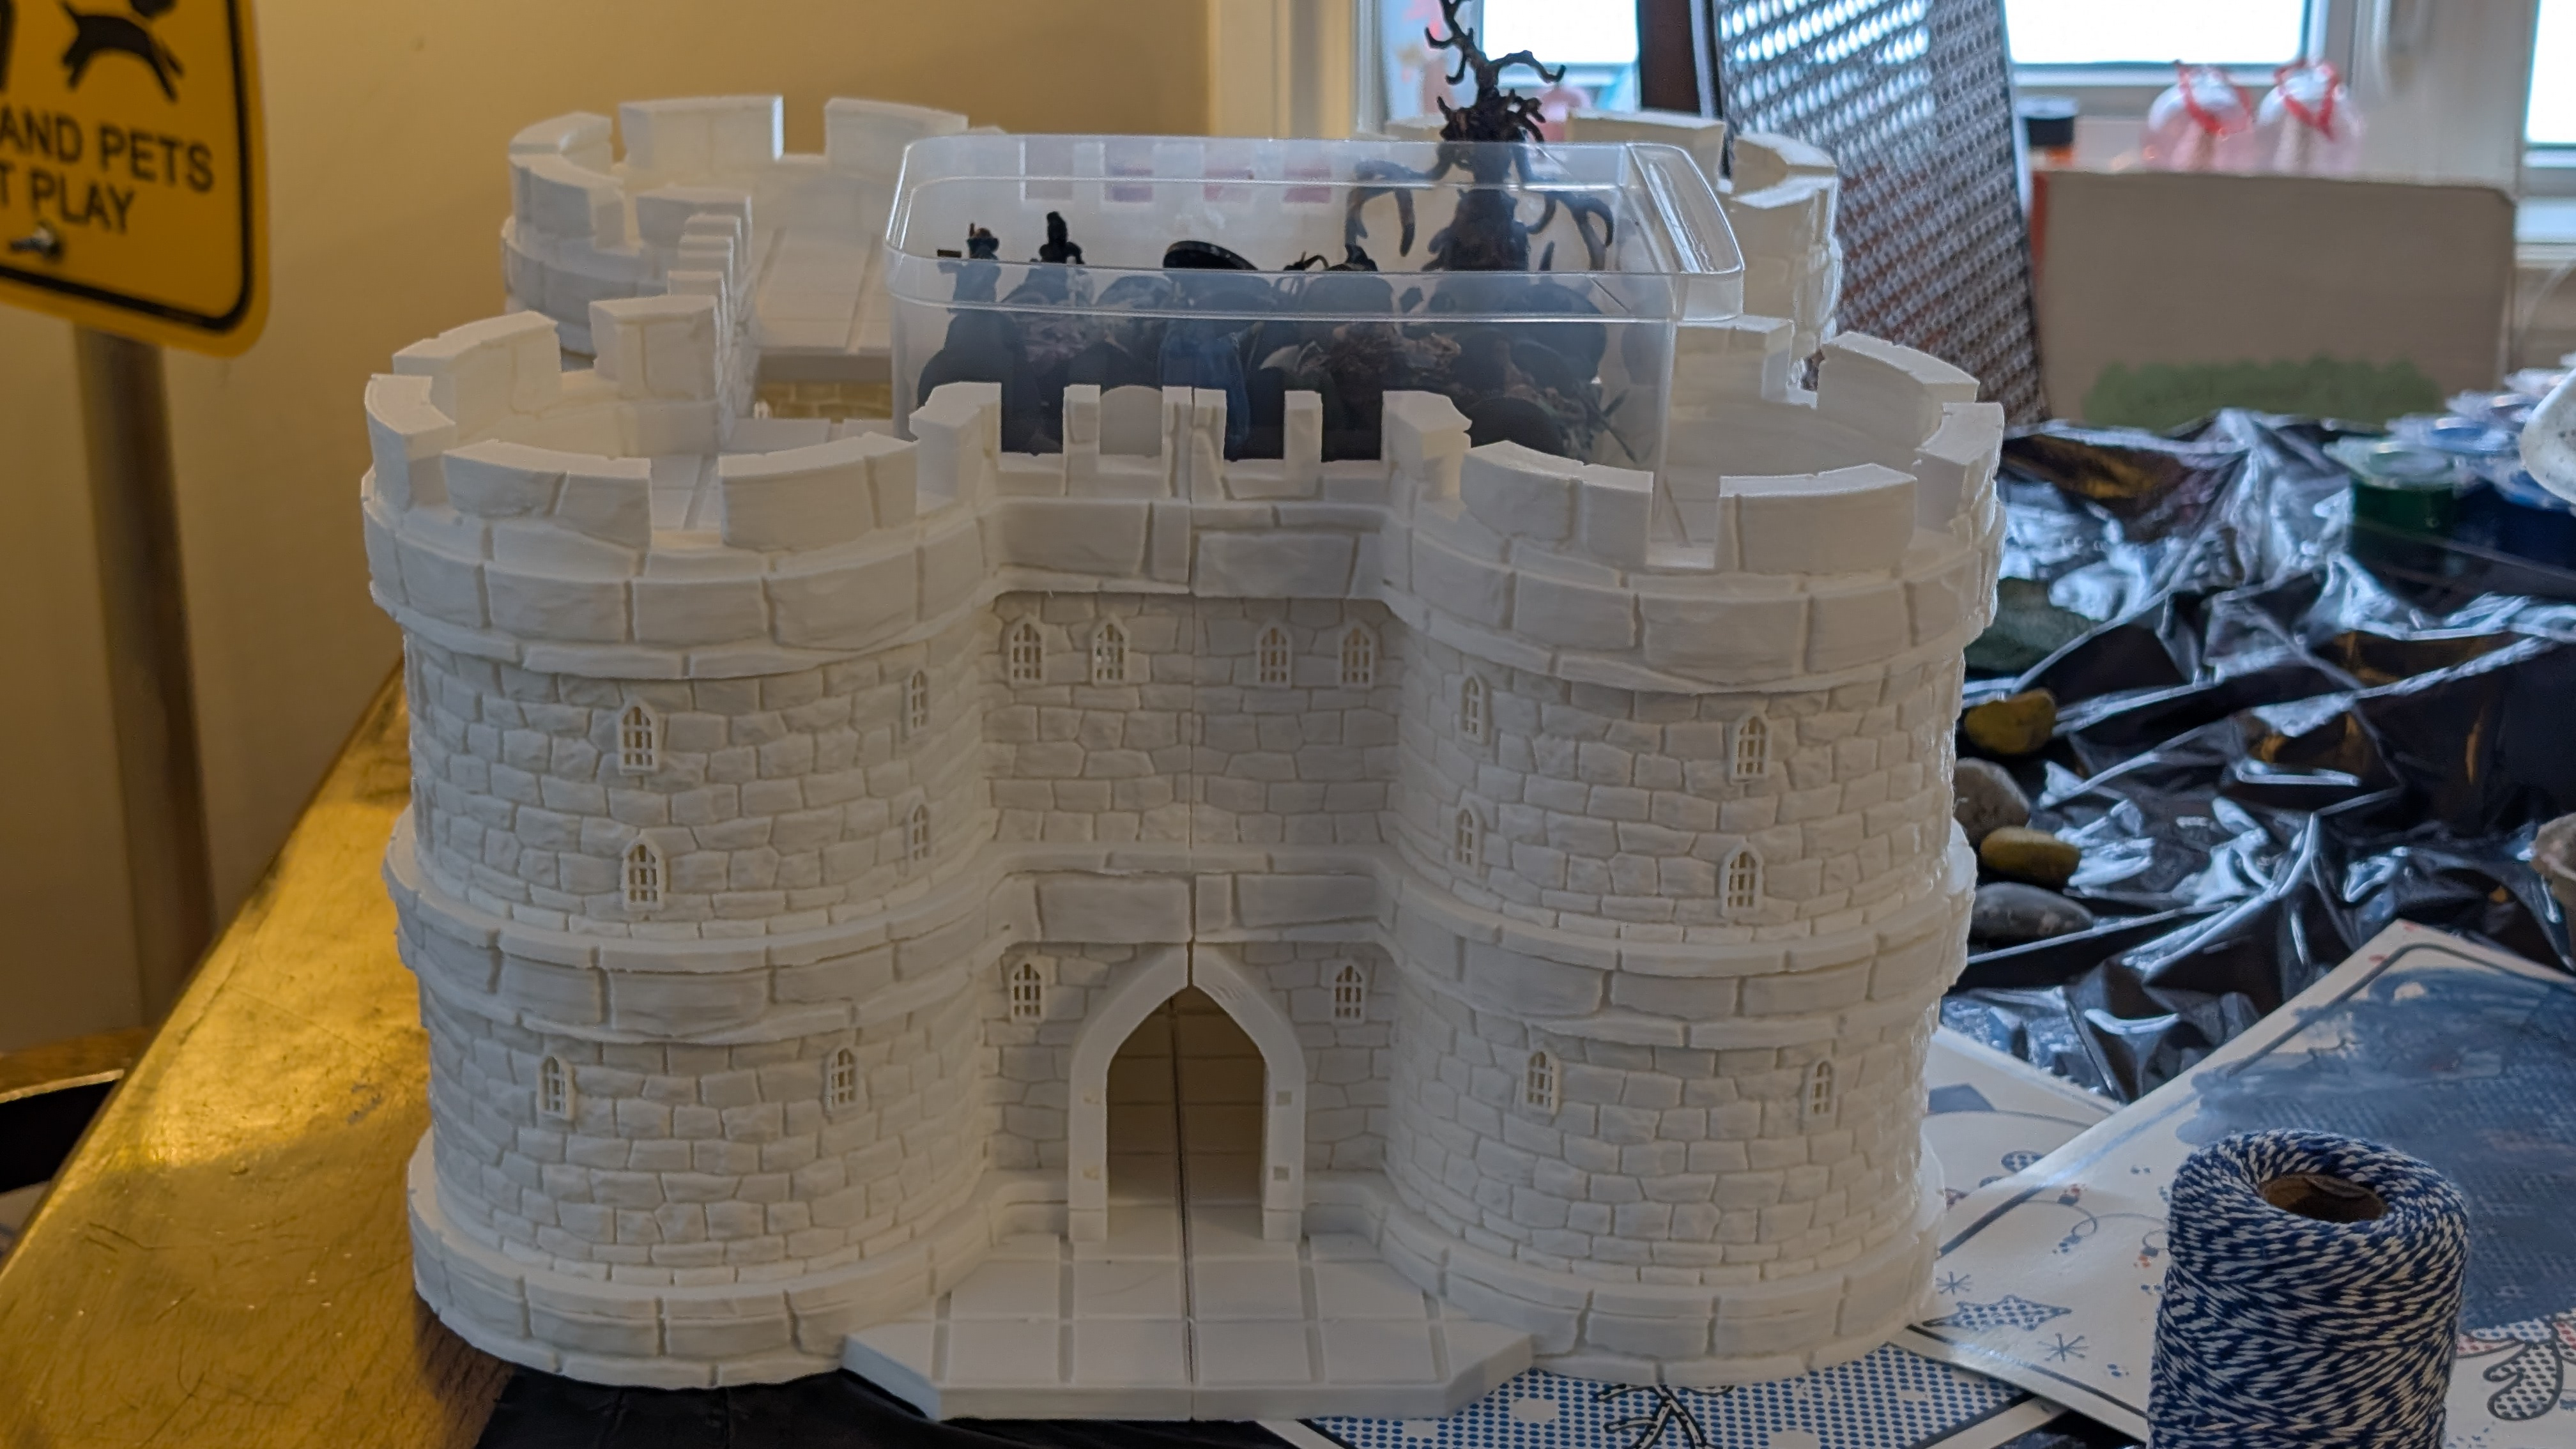
I’ve included a monster gallery on this post showing the full painting process all the way up to the end here. I’ll write a section explaining what I did for painting a bit further down on this post.
The weekend project is done and now I can move onto this coming week of mayhem before taking a vacation with the family. Getting this painted has been a major milestone on this project and I can finally see a light at the end of the tunnel here as we just need the interior wall system done and then this can be published.
As I’ve rambled on about over and over you can get the free / untextured files for this fort over here: https://www.patreon.com/posts/149470893 but I am aiming to email all Patrons (free and paid) with a coupon code for 100% off of the textured version of this fort.
Painting Process
If you scroll allllll the way to the end of the gallery you can see the unpainted / full fort. I like print withwhite PLA+ so that I know what I have primed and also what I haven’t primed but it’s also the cheapest filament you can buy and well… let’s just say that I have short arms and deep pockets. This is our starting point.
For painting I received some advice from Facebook (I know maybe not the best place for advice) that instead of using a black primer that I should use a dark brown – since very very few things in nature are pure black. I couldn’t find a very dark brown primer but I settled on blending dark brown glossy (not ideal but it’s what I could find) paint and black. I just used Rustoelum – I’ve used it for my other terrain and it seems to work well.
So with that primed two coats. I did more brown on the second pass targeting the windows specifically and looking for spots that I missed. That was it for priming – I let it dry and air out overnight and then brought it inside to get the brushes out.
For brush work I started with vallejo black primer finding any last little bits of white PLA that was showing up – specifically hitting the edges where the OpenLock clips connect and any other spots I could find.
Next I did my usual vallejo grey primer / dry brush across the entire model. This is meant to be pretty light and not seep into the cracks. This primer runs a bit so there are some spots where it seeped in. Next I used Golden Titanium White and did the same thing but much drier and lighter – by the end of hitting the entire structure with this I was kicking up acrylic dust – it was dry dry dry but this is responsible for the lightest highlights that you’ll see.
I almost called it for the day but I decided to power through and finish the last part which was a wash using some medium and dark umber brown paint by golden. This went over pretty much everything except the bottom of the model.
I think it looks pretty good – there are a few parts of the glossy brown primer that are still pretty apparent but I don’t mind it. I was thinking that I’d need to do more blending between panel – so a final pass with it fully assembled but I think it looks fine. I could maybe hit the windows with a black or bronze but again I don’t know that it needs it – it’s a nice little structure just the it is.
Mini Project Retrospective
It’s a little early for a full retro on this but I think that the fit issue still irks me. I wish that I had caught that earlier. I also think the mid wall parts should maybe either have openlock clips to attach to each other. I always grab at a wall to move it and the floor is the most stable and secure part for that kinda thing.
We’ll see how the publication process goes – this was a TON of work but ultimately this isn’t anything suuuuper special (yet) so idk if it will sell or get much engagement at all. Combine that with maybe my lackluster photos and the fit issue (!) idk if it’ll be out with its best fort foward 😉
I still think painting is painful and challenging. I have other models I want to be working on but in a way it’s nice to shift gears and to let that creative ambition build up. While I’m painting I can think about all sorts of improvements or other projects I want to make. It’s good.
Outro
As usual – if you like what I do consider subscribing. I don’t tend to paywall my work and I don’t think that I wanna be the “Subscribe for the March / April / May Bundle” guy. I wanna focus on doing free + fun things like this Fort / Modular Terrain System, a make 1000+ dnd minis in a year challenge, building sites like GmBuddy.com (to help GMs find minis for their campaigns) and mobile apps like SpellSage (to help casters manage their spells!). So if you like what I do and wanna see more of it consider subscribing. By becoming a paid patron you can also get access to a Google Drive folder with ALL of my minis and permission to sell prints of them commercially.
That’s all for now. Thanks as always for following along on this adventure!